LOG HOME INDOOR PHOTOGRAPHY
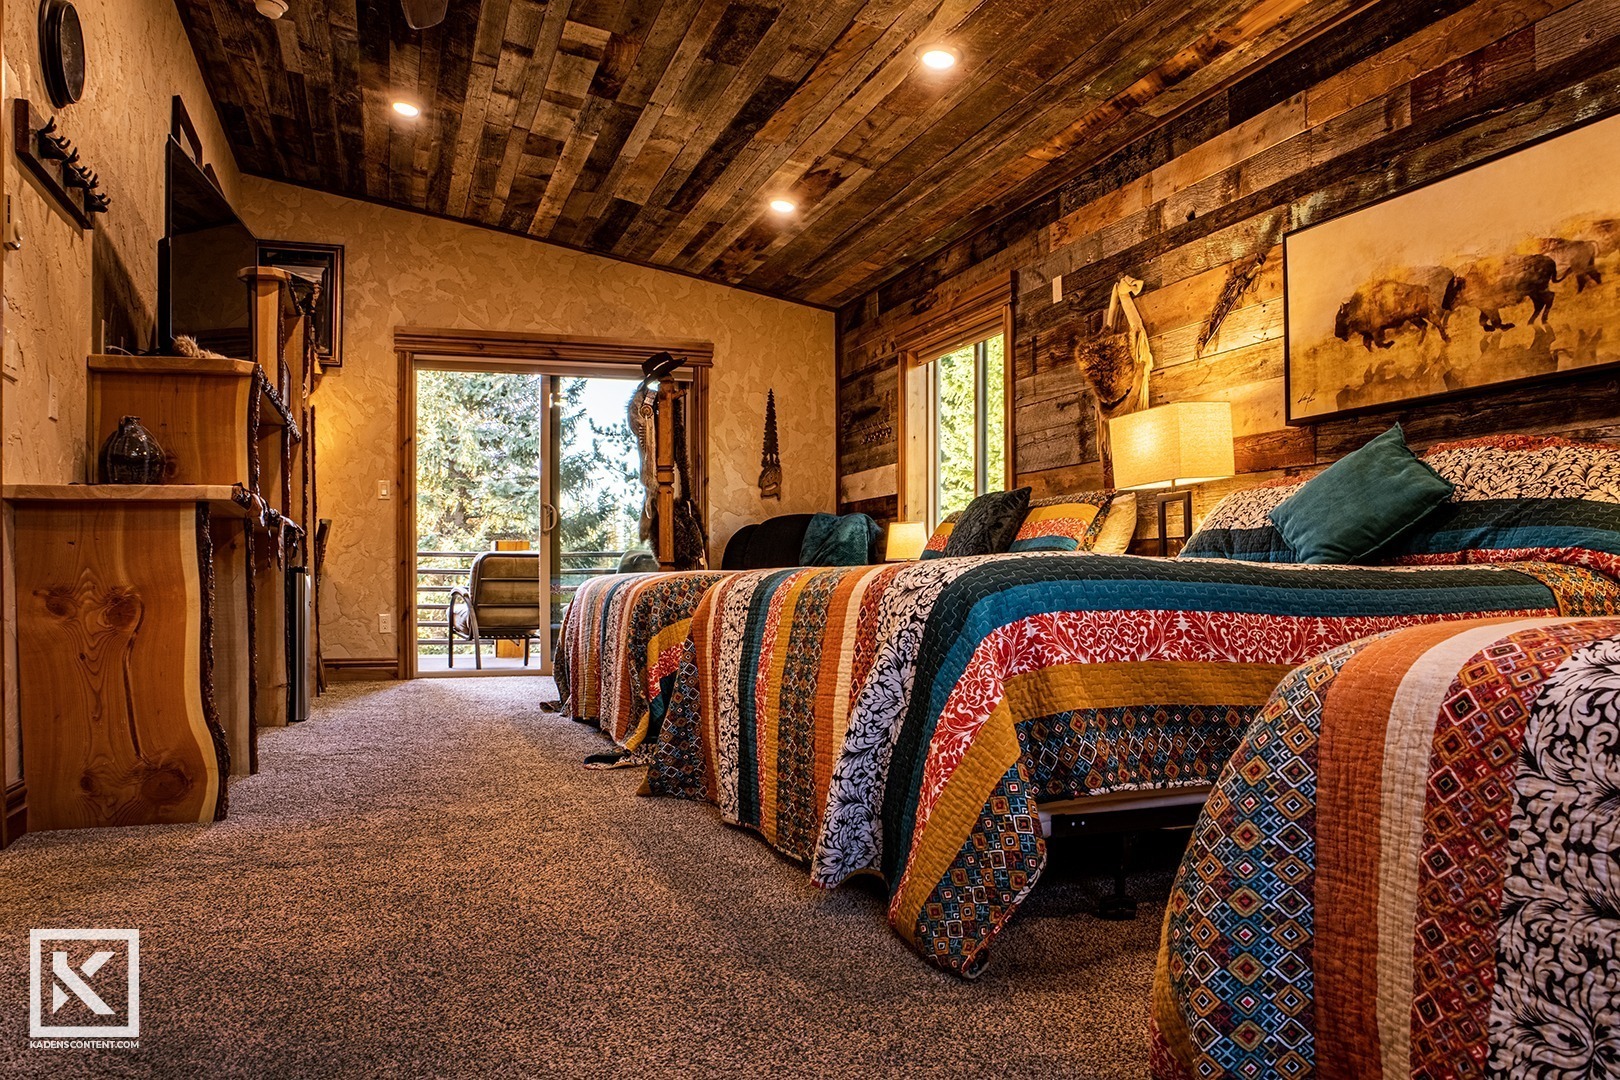
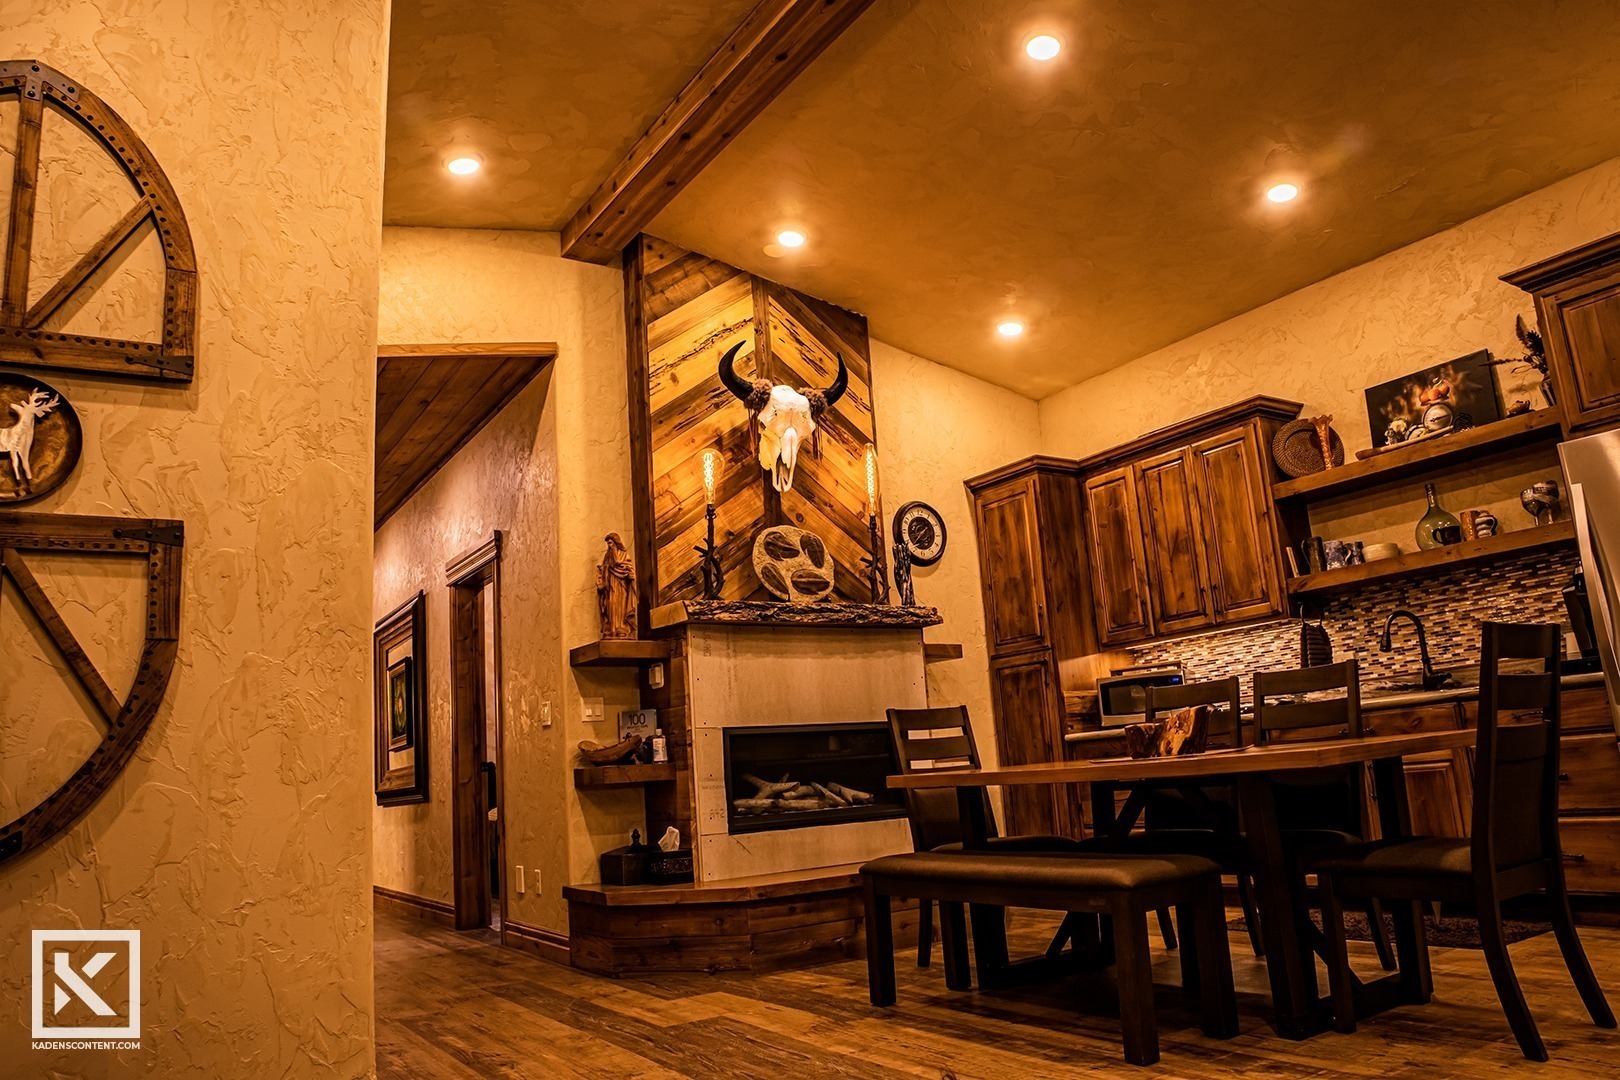
I recently had the opportunity to try out architectural photography on a beautiful log home in Island Park, Idaho. The interior of this log home was designed beautifully and had plenty of amazing subjects to photograph. Time was short, but it was well worth it to capture amazing photos of the interior of this log home.
For this photoshoot, I used my camera’s kit lens (15-45mm) to get as wide of a shot as I could. However, had I used a specialized wide-angle lens, many of the shots would have been much easier. I would highly recommend purchasing a wide-angle lens if you choose to pursue architectural photography. This would have made my photography of the log home much simpler.
This photography process began early in the morning immediately after I had finished capturing shots of the exterior portion of the log home. There were several other photographers alongside me, so we each had to rotate quickly through each room. It was a constant struggle trying to capture the perfect shot while someone else would randomly find their way in front of your camera. Nevertheless, I am super happy with many of the amazing photographs I managed to capture of this beautiful log home.
CAPTURING LOG HOME PHOTOGRAPHY
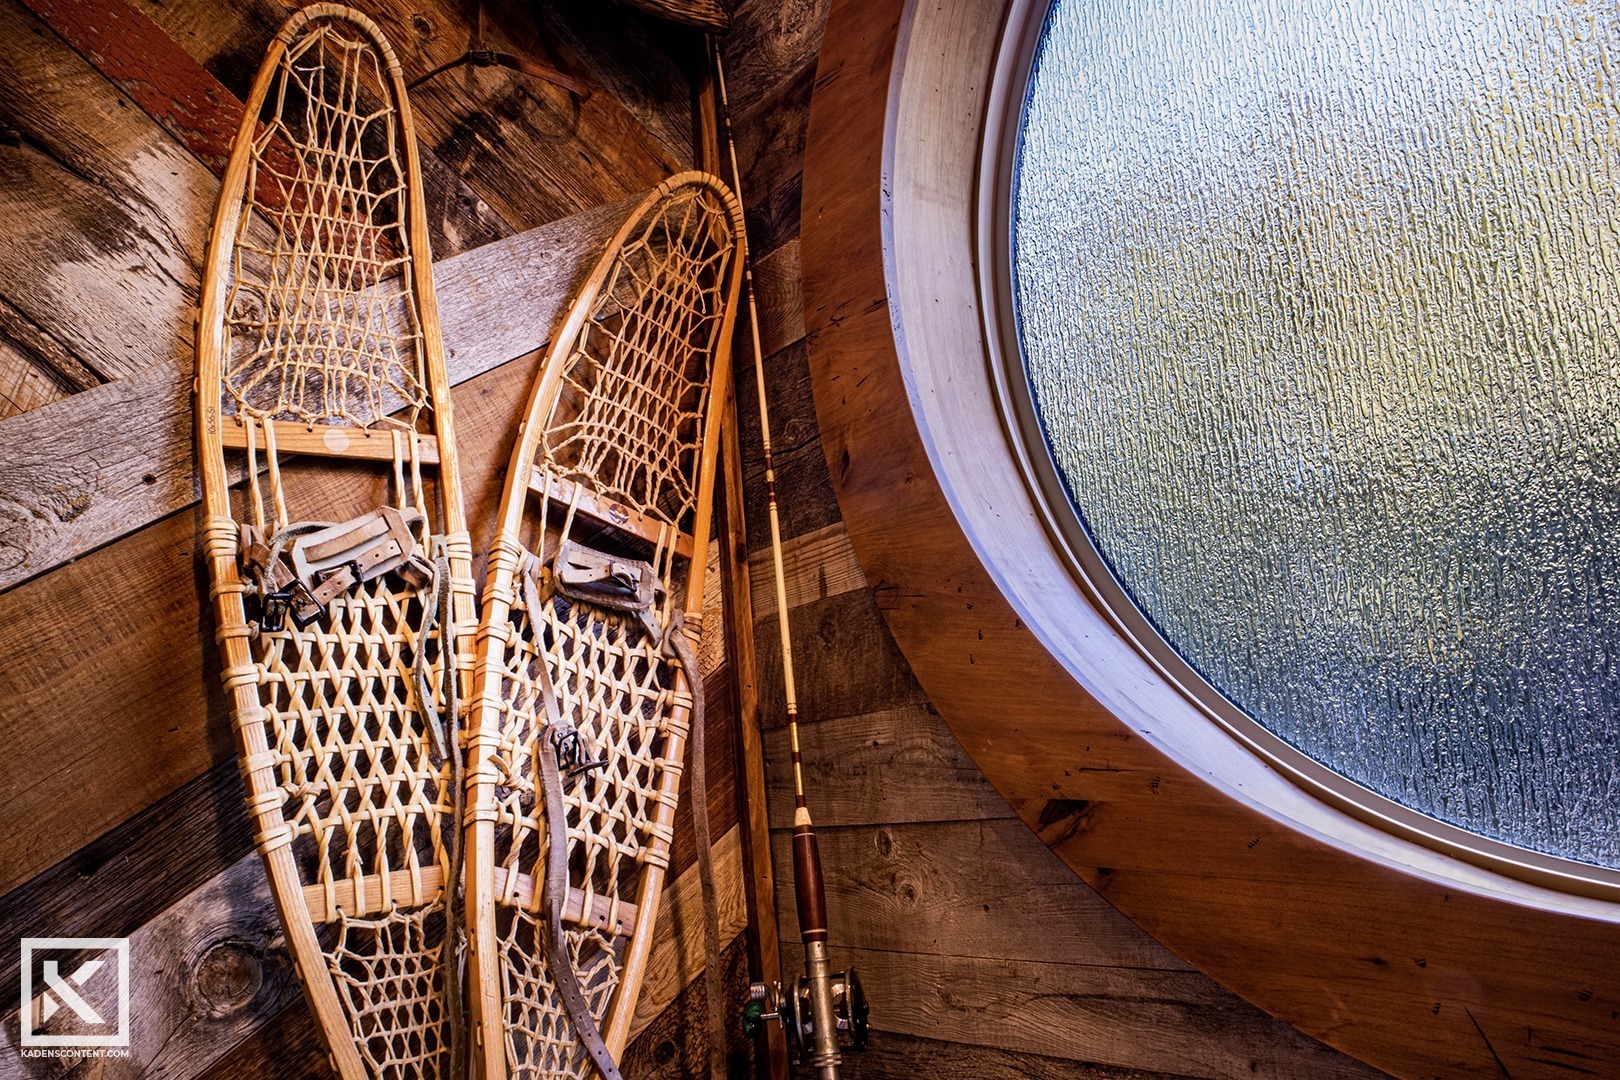
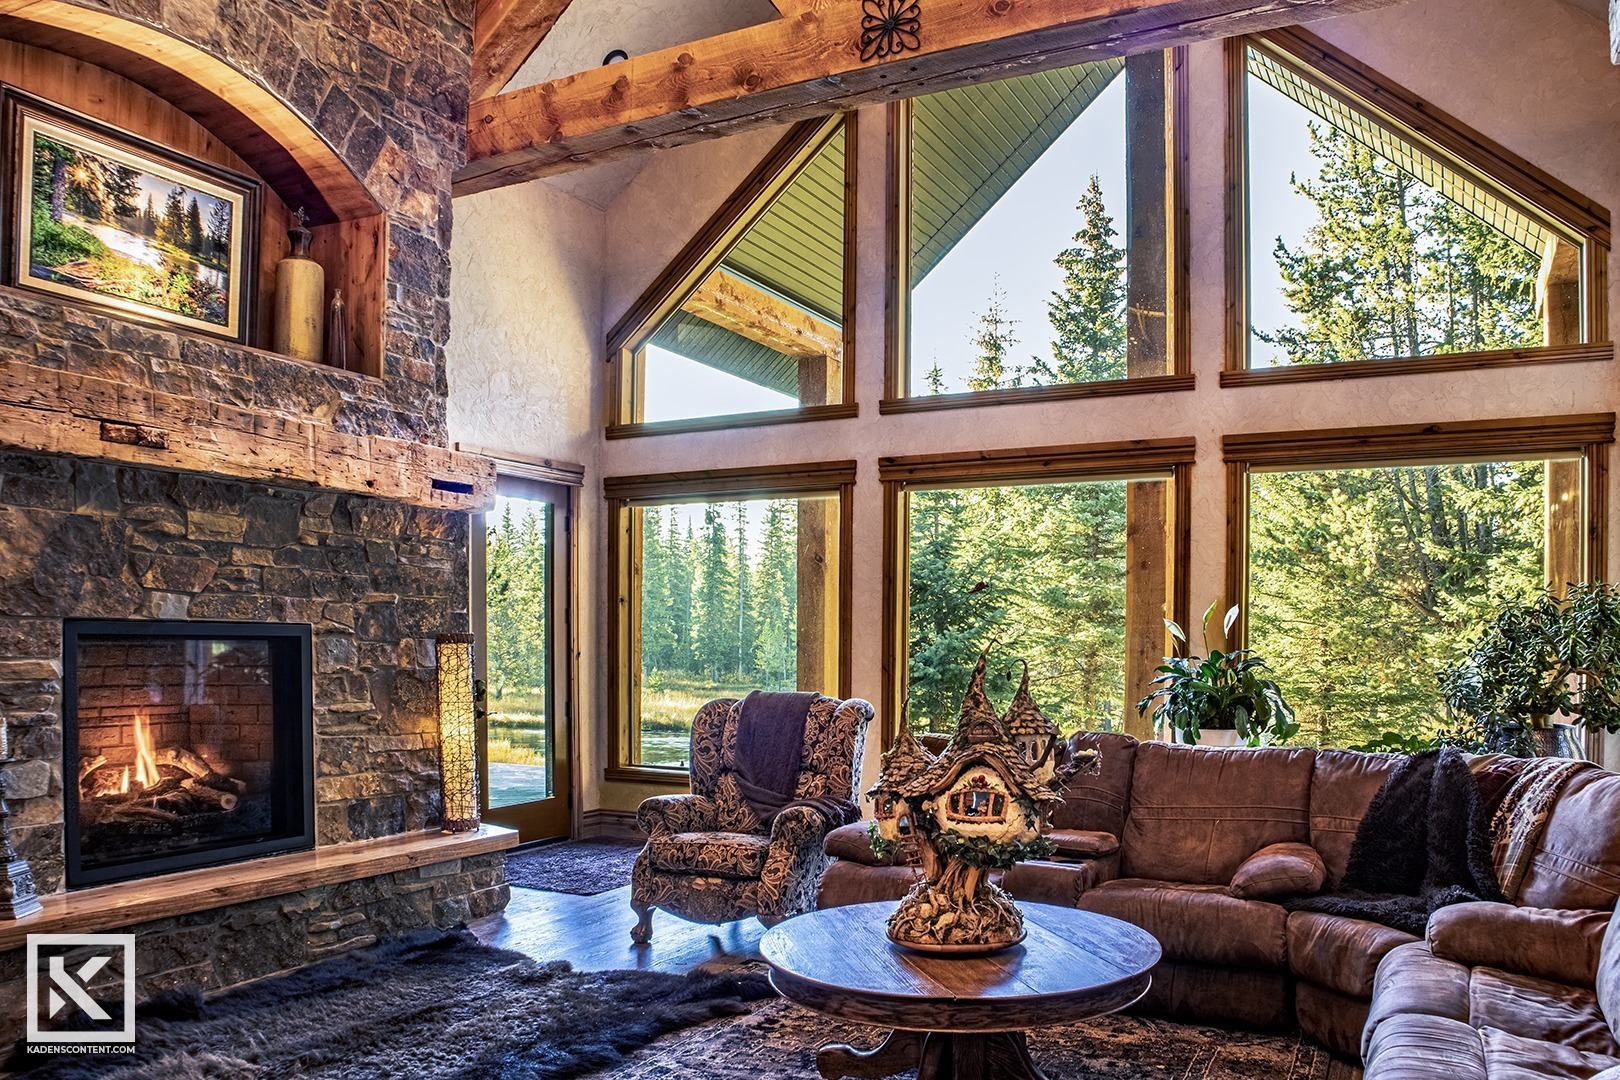
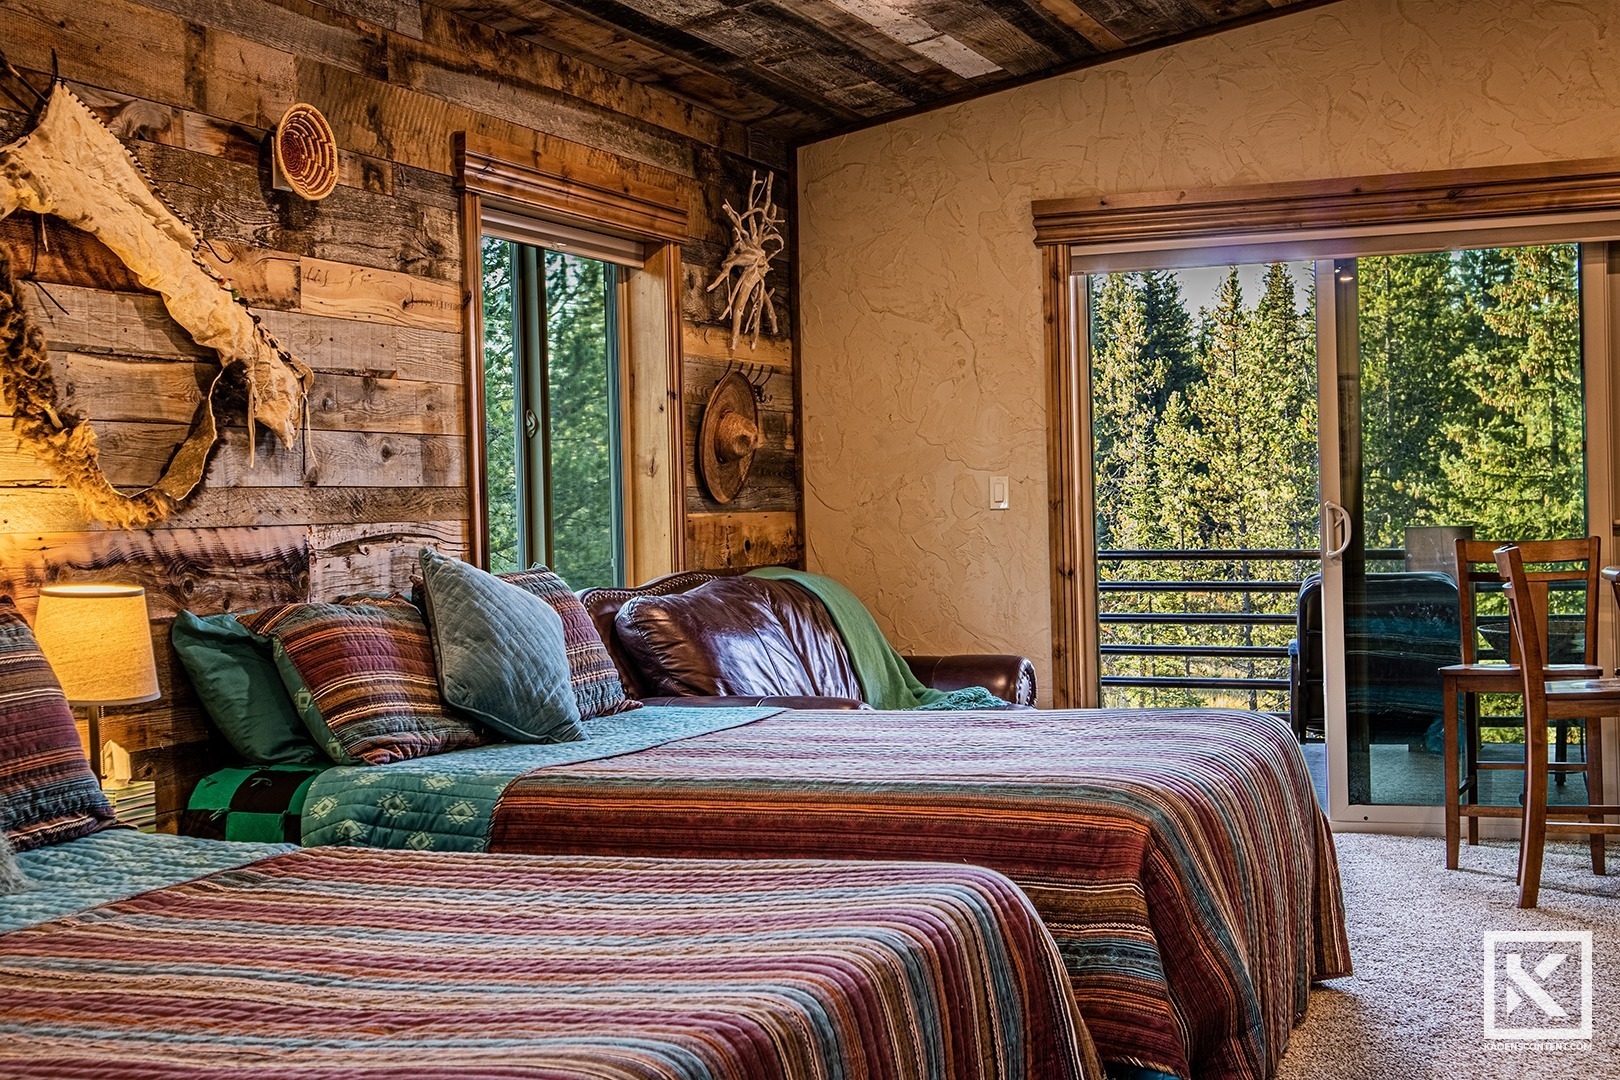
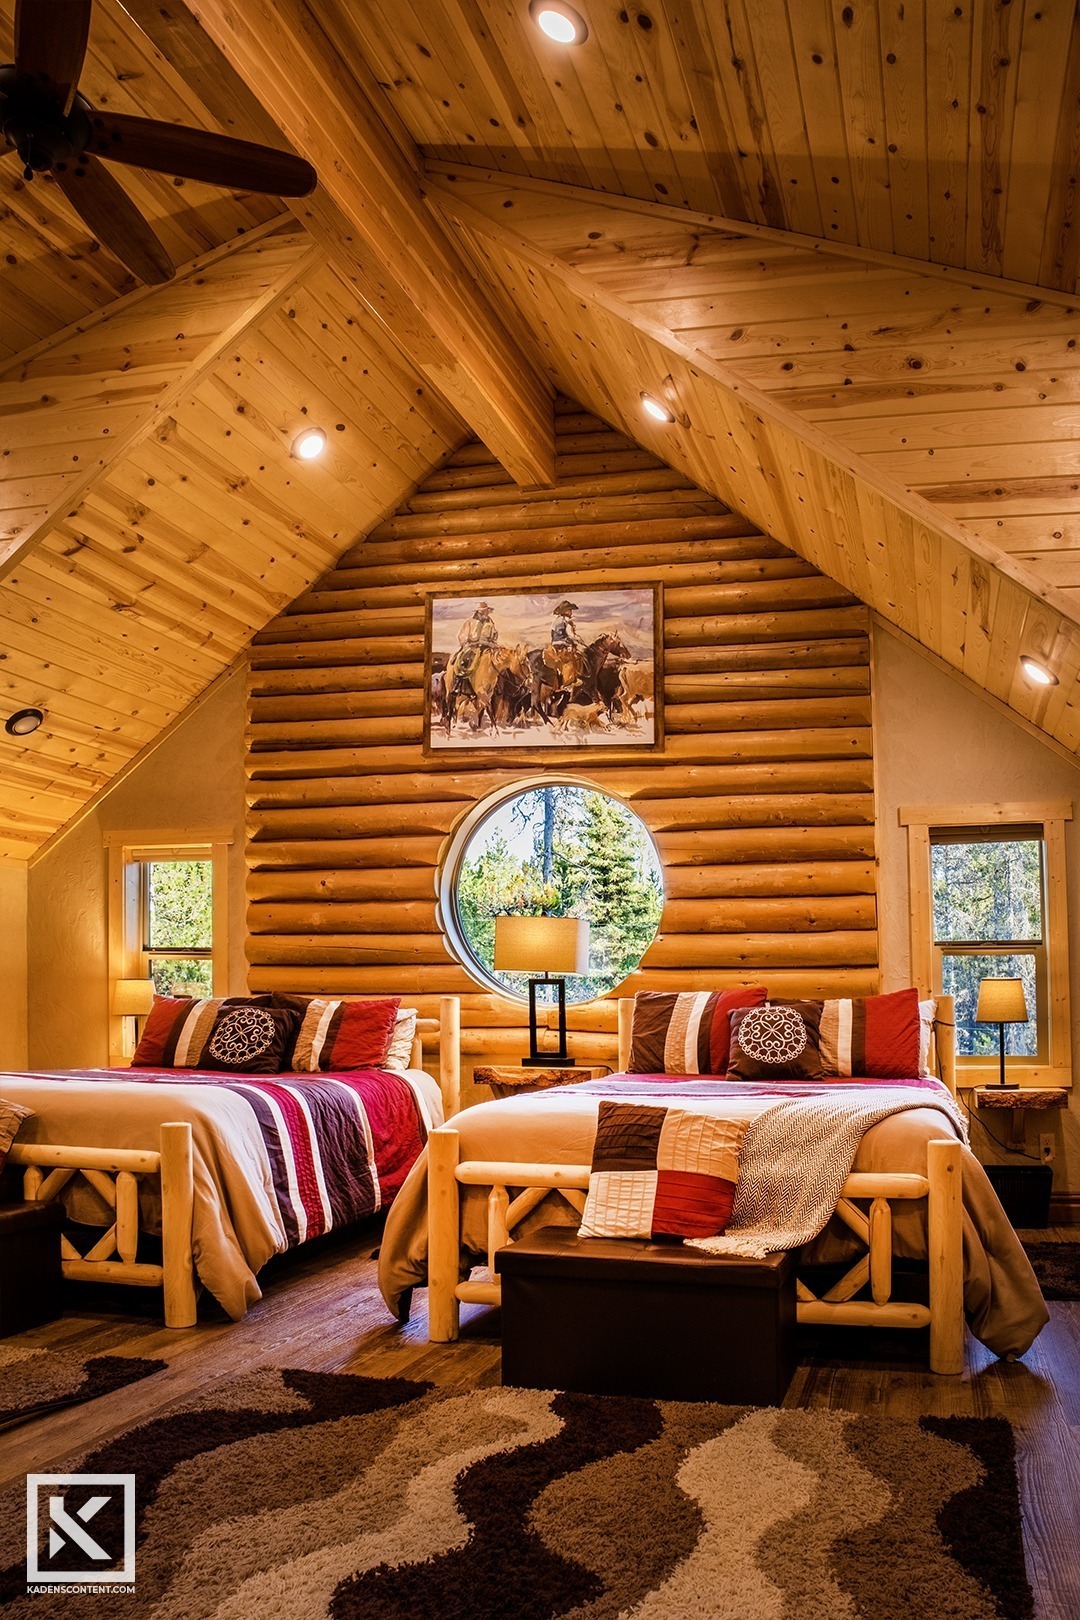
My main goal for this photoshoot was to capture the amazing accent pieces of each room. In some cases it was props, in others, it was the structure of the room itself. Each room had amazing attributes that were so much fun to capture. Everything tied so well together to show the complete beauty of the log home as a whole.
To best light my photography of the log home, I set up bracketing on my camera. By bracketing all of my shots, I was able to get three separate exposures for each image I could take into editing. This would make it possible later to go through and merge these pictures to get the best amount of detail. It also helped a lot with maintaining the colors of the sky.
Bracketing is a camera setting that you can set up on your camera. By bracketing, you capture an additional overexposed and underexposed shot according to how you set the settings of your device. The overexposed shot will give you well-illuminated details of your main subject, while the underexposed shot will give you well-illuminated details of the sky. The original shot, which is captured at your specified exposure, will give you the natural highlights and shadows of the photograph. By merging each of these individual shots later during editing, you can take the great quality of each to get one amazing photograph. This worked amazingly in my log home photography.


FIND MORE
If you are interested in finding more Log Home Photography, look here or here.
You can find more of my Commercial Photography here.
As always, thank you so much for looking into my content. I hope that it could both interest and inspire you as you continue on in your own endeavors.

Kaden, I love the variation in angles you used! I feel like that makes architecture look more interesting and less boring. Here is my attempt: https://bekahjarnagin.com/indoor-cabin-photography/ and Alice’s: https://www.alicedurenphoto.com/idaho-home-indoor-photography/. I also found this cool article: https://www.photographyacademy.com/12-ways-to-compose-this-cabin-in-the-woods/.
Hey Kaden, these photos are absolutely stunning. I love all the different angles you were able to capture. You definitely have an eye for photography. Check out my attempt at https://cenneidighphotography.com/rental-realtor-photography/ also go take a look at https://bekahjarnagin.com/indoor-cabin-photography/ she also did an amazing job. I learned a lot of information at https://photofocus.com/photography/real-estate-photography-for-the-short-term-rental-industry/
Love these photos. They look so professional. You did a great job of showing off different parts of the inside including specific objects or images. Love it! You can check out my post: https://www.night-nd-day.com/architectural-photography/
You can also check out Cenneidighs post here: https://cenneidighphotography.com/rental-realtor-photography/
Or this other awesome post by Format: https://www.format.com/magazine/resources/photography/architecture-photography
Wow Kaden, you got some amazing shots of the cabin! You found all the little details and captured those brilliantly. I love everything about your post! 🙂
Here’s a link to my post: https://katiehulse339530563.wordpress.com/2022/11/11/real-estate-architectural-photography/
Here’s a link to Chase’s post: https://chasemuir2020.wordpress.com/2022/11/12/indoor-architecture/
Here’s a link to article on Idaho real estate photography: https://www.idaho-realestate-photography.com/
These are beautiful Kaden! I love the creative angles you got. It really shows off the aesthetic of the cabin. Check out my post https://dallintphotography.com/idaho-indoor-architecture-photography/ as well as this awesome post by another photographer https://deborahhardeephoto.com/architecture-8/ and also our friend Kaylee’s post! https://kayleelamaephotography.com/architectural-and-real-estate-photography/