BLOG
Teton Photography
HOW TO CAPTURE AMAZING PHOTOGRAPHY AT GRAND TETON NATIONAL PARK
Several other photographers and I traveled around Grand Teton National Park practicing our photography for one whole day. Along the way, we managed to capture hundreds of different shots of various wildlife, landscapes, and nature. It was a little difficult at times, but I loved learning more about photography and the amazing scenery that Grand Teton National Park has to offer.
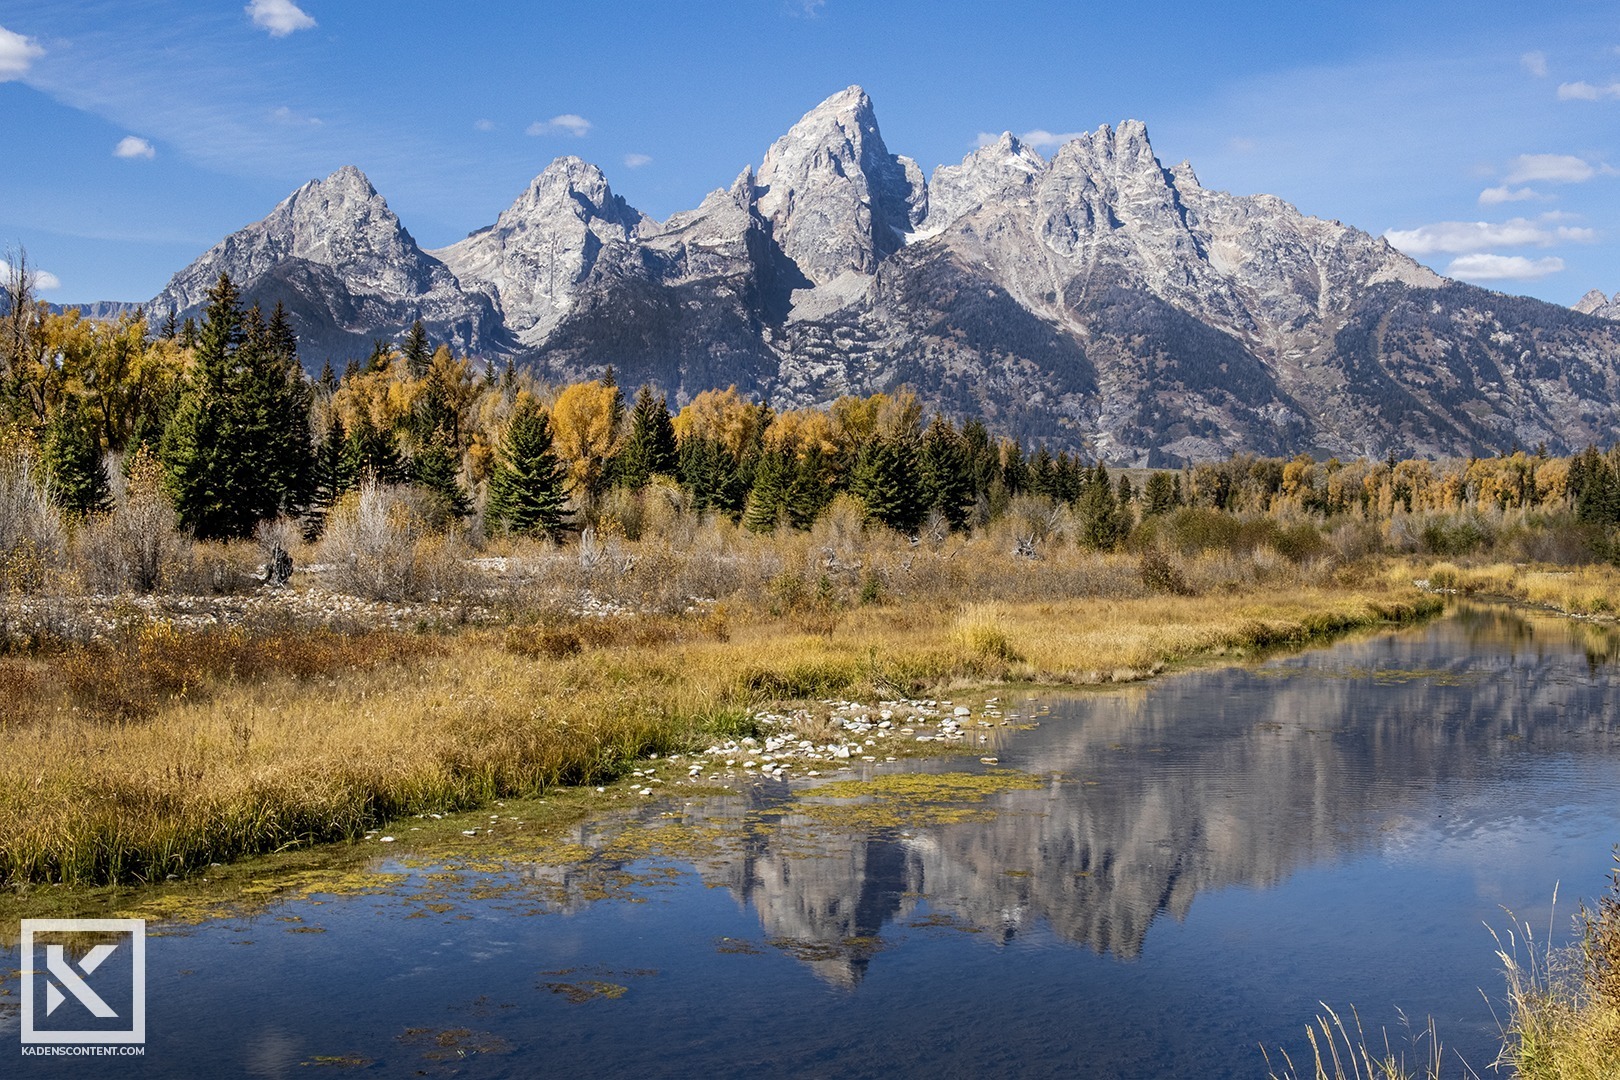
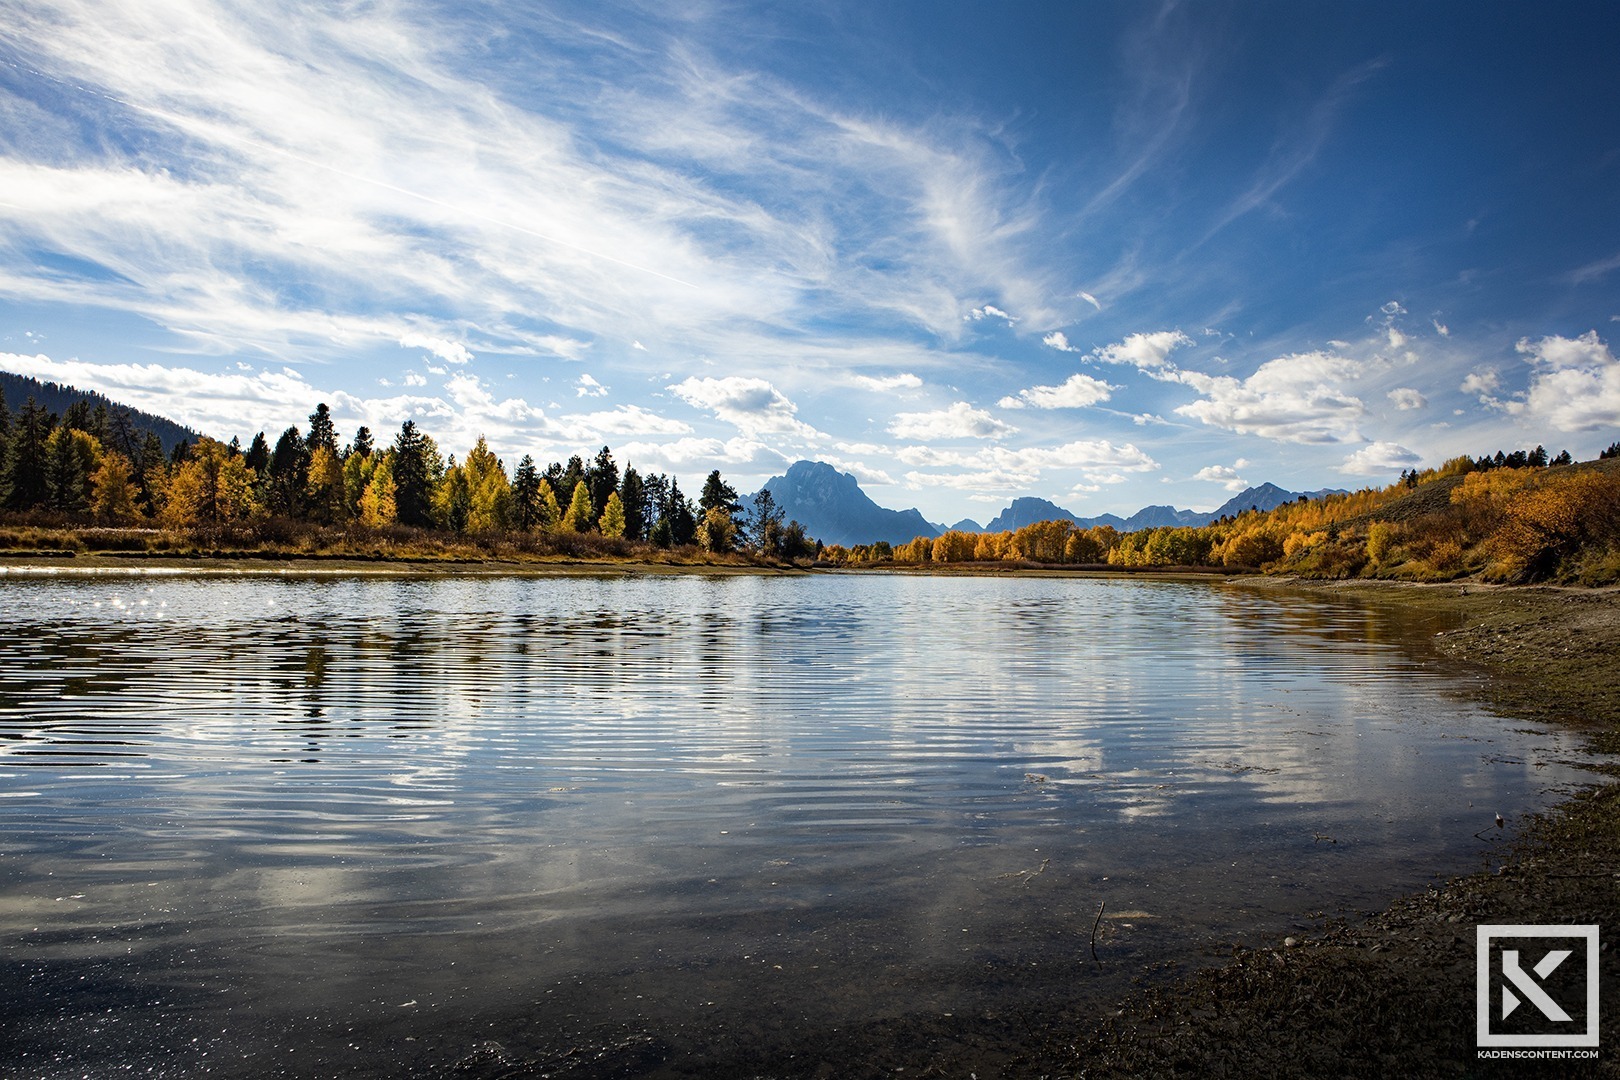
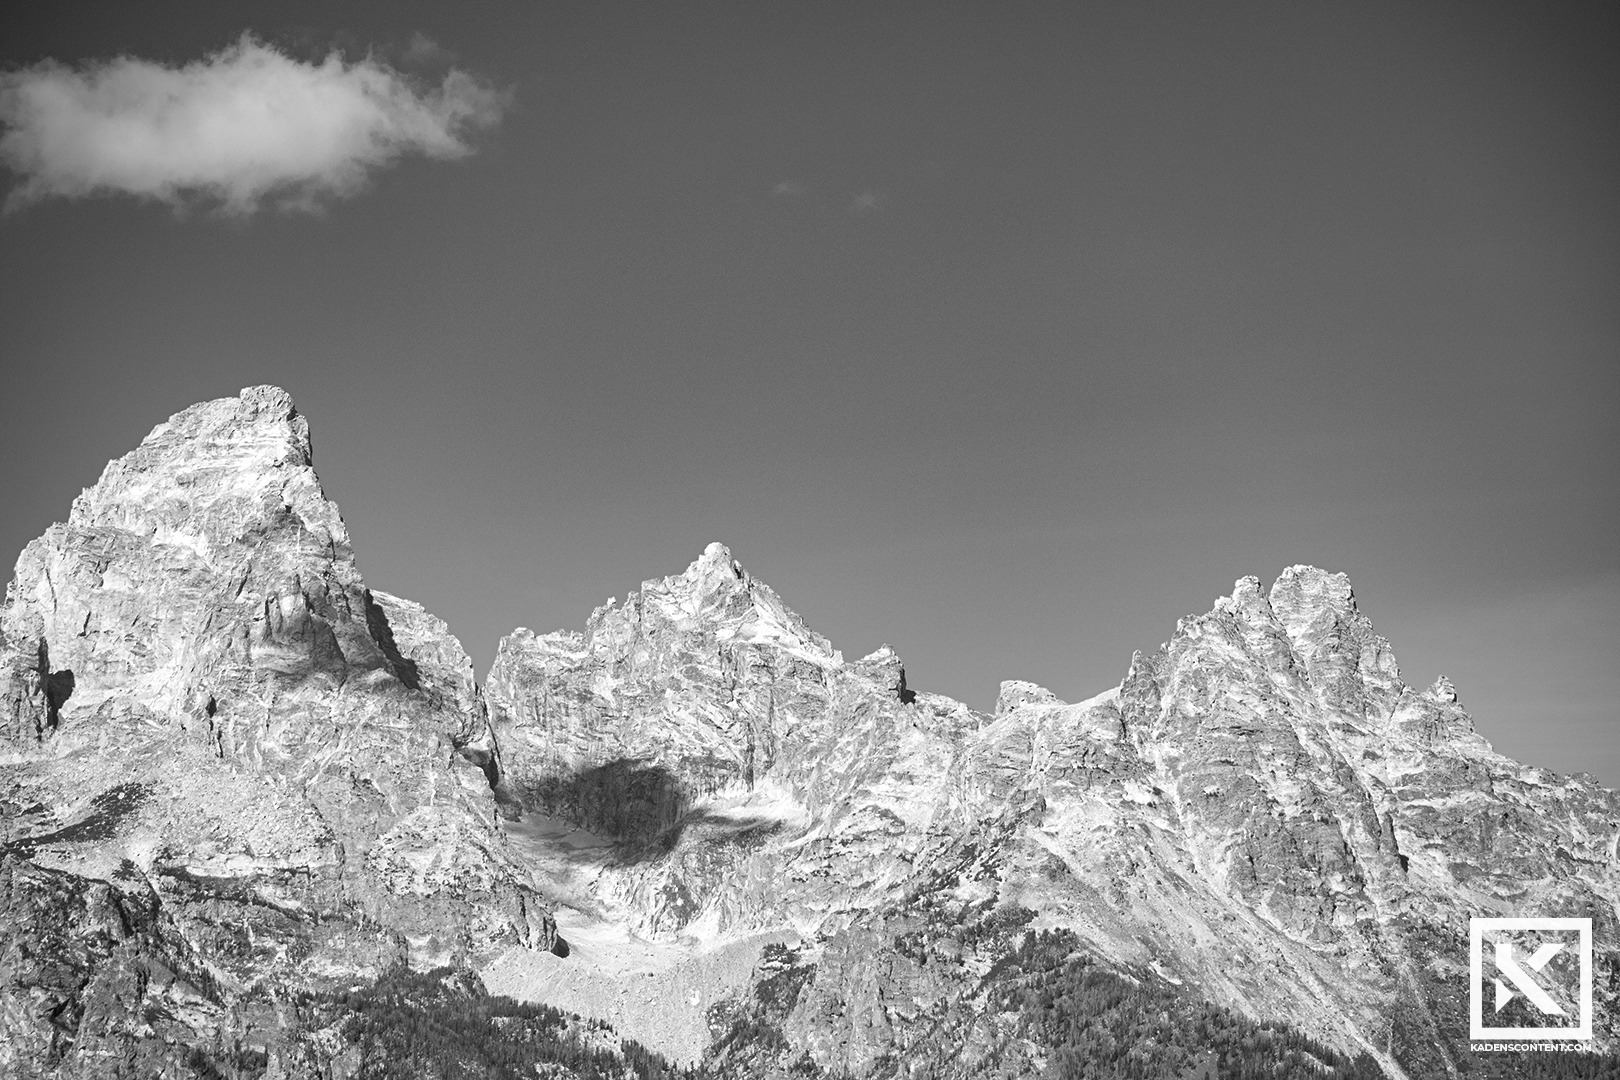
Our photography group started off by capturing amazing shots of the Grand Teton peaks. This first image shows an angle of the peaks from Schwabacher Landing. The steady stream in front of the peaks created an amazing composition where I could capture an awesome reflection. At that time of day, the sun was at a perfect angle where the peaks were decorated by shadows.
CAPTURING AMAZING TETON PHOTOGRAPHY
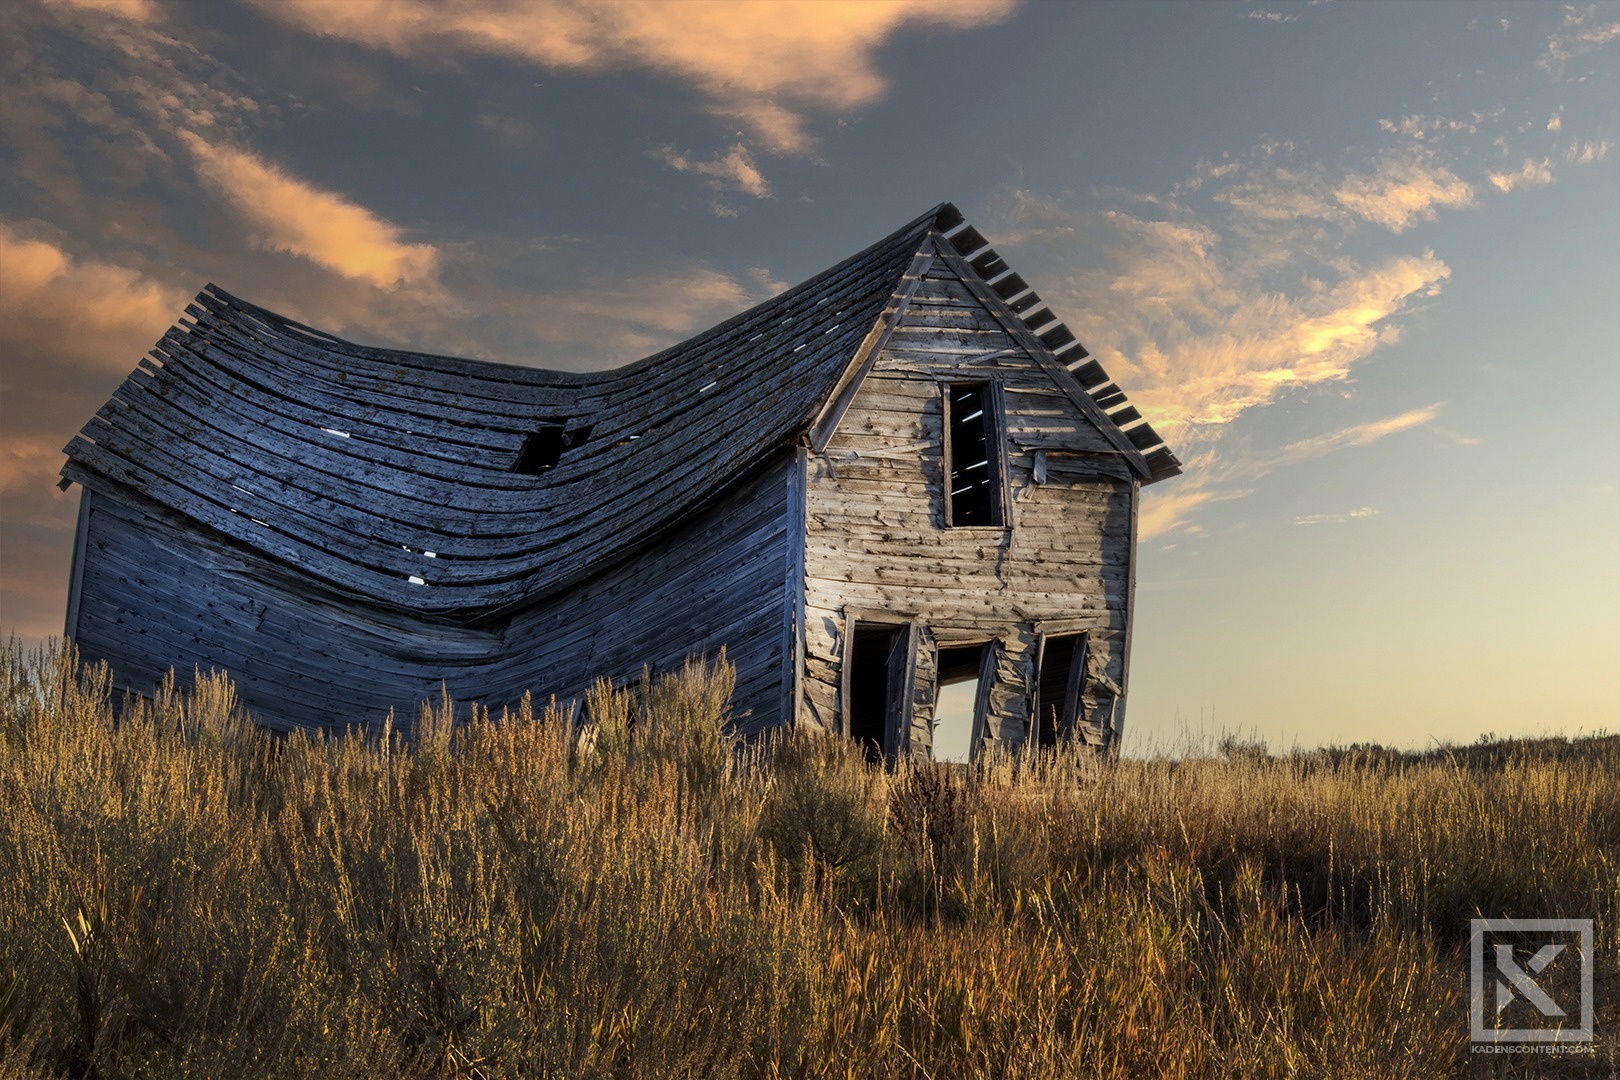
Nearby the Grand Teton National Park, our photography group visited an interesting old shed that twisted and contorted from all the heavy snowfall over the years. We stopped by and took a few shots of its bent and twisted frame. Even though the frame looked like it should have collapsed long ago, it was still managing to stand. It had an awesome story and I wanted to share it through the shots I captured. I am super happy with the results.
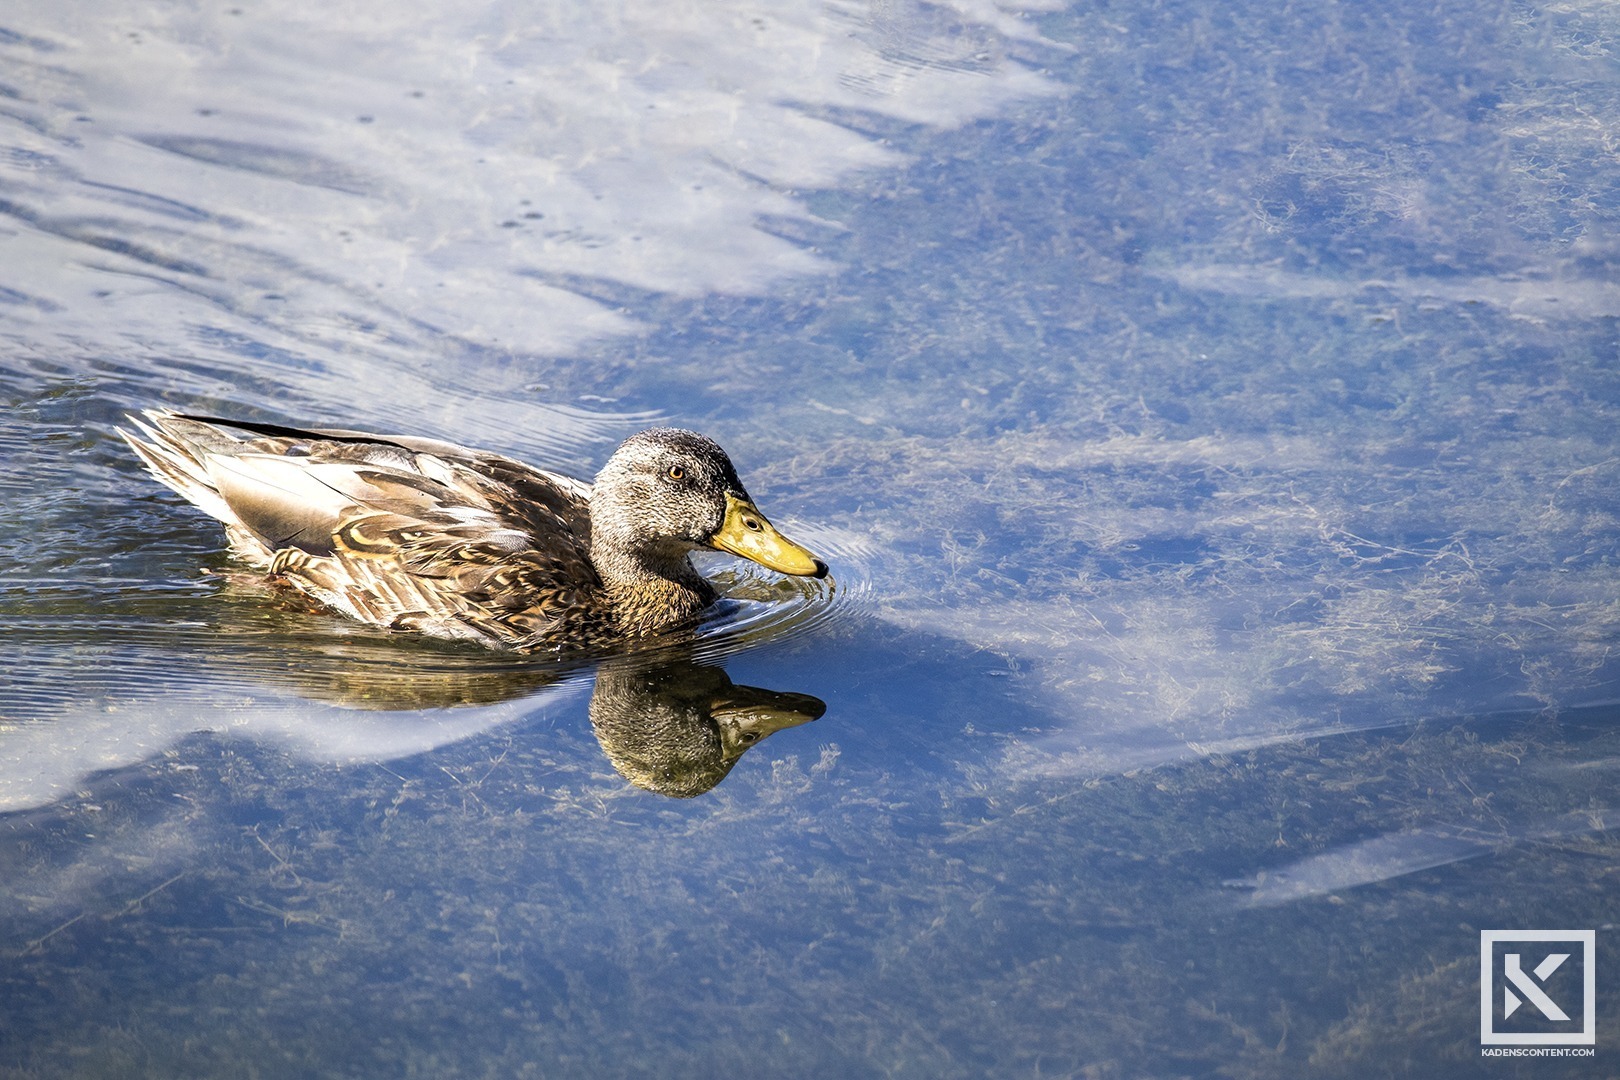
As the day continued on, we kept running into different landscapes and wildlife. While at Schwabacher Landing, there were several ducks swimming around in the water. I thought it would be awesome to get a real up-close shot of one of them, so I got out my zoom lens and focussed on a single duck. After a few attempts, I managed to get a really nice shot of one gliding across the water. I even managed a small reflection.
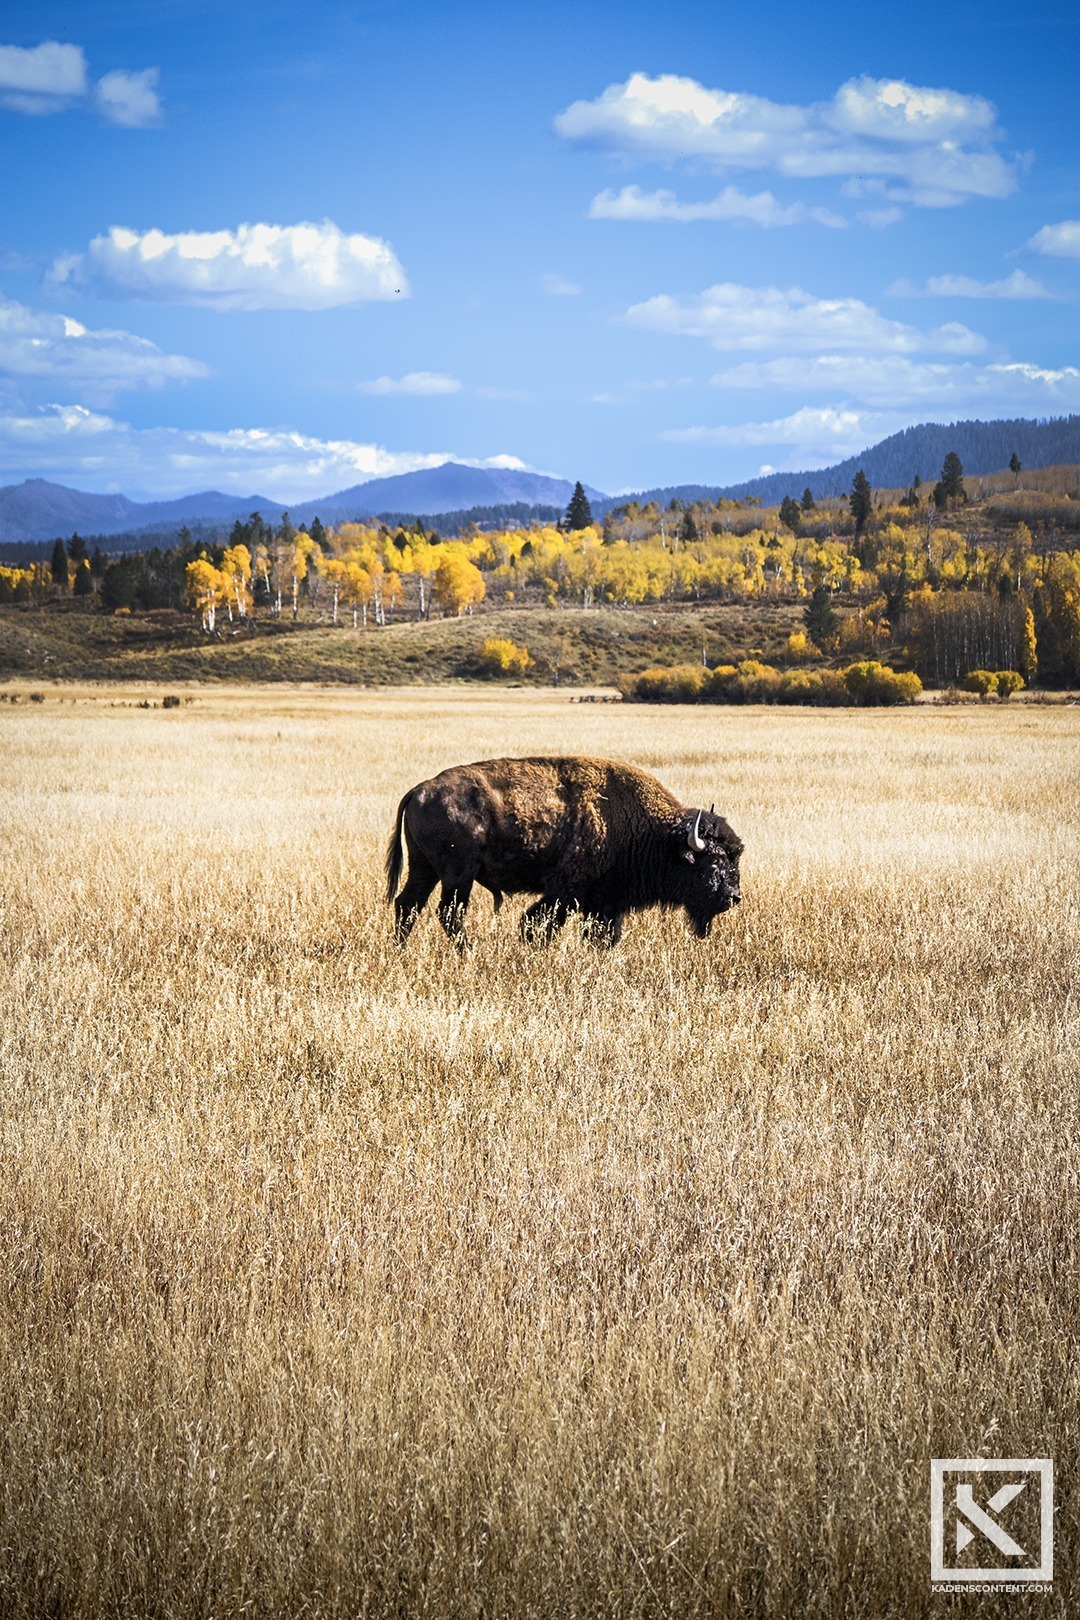
Somewhere inside the Grand Teton National Park, our photography group came across a large herd of bison just off the side of the road. Carefully we each prepared our cameras and captured a few shots. It was a little scary taking pictures of wildlife that felt that close, but we all kept a safe distance.
If you are looking into practicing landscape photography, then I would recommend bringing a camera to the Grand Teton National Park. It is a ton of fun, and you will get countless amazing photos.
FIND MORE
If you would like to see more Gand Teton photography, visit here.
You can find more of my Fine Art photography here.
Product Advertisement Design
HOW TO CREATE YOUR OWN PRODUCT ADVERTISEMENT DESIGN
Creating your own product advertisement design can be a lot of fun. It’s very simple; all you have to do is take one of your product photos and design it with a few words to make it an advertisement. The product that I decided to create an advertisement design for was Welch’s Sparkling Red Grape Juice Cocktail.

SETTING UP FOR A PRODUCT ADVERTISEMENT DESIGN
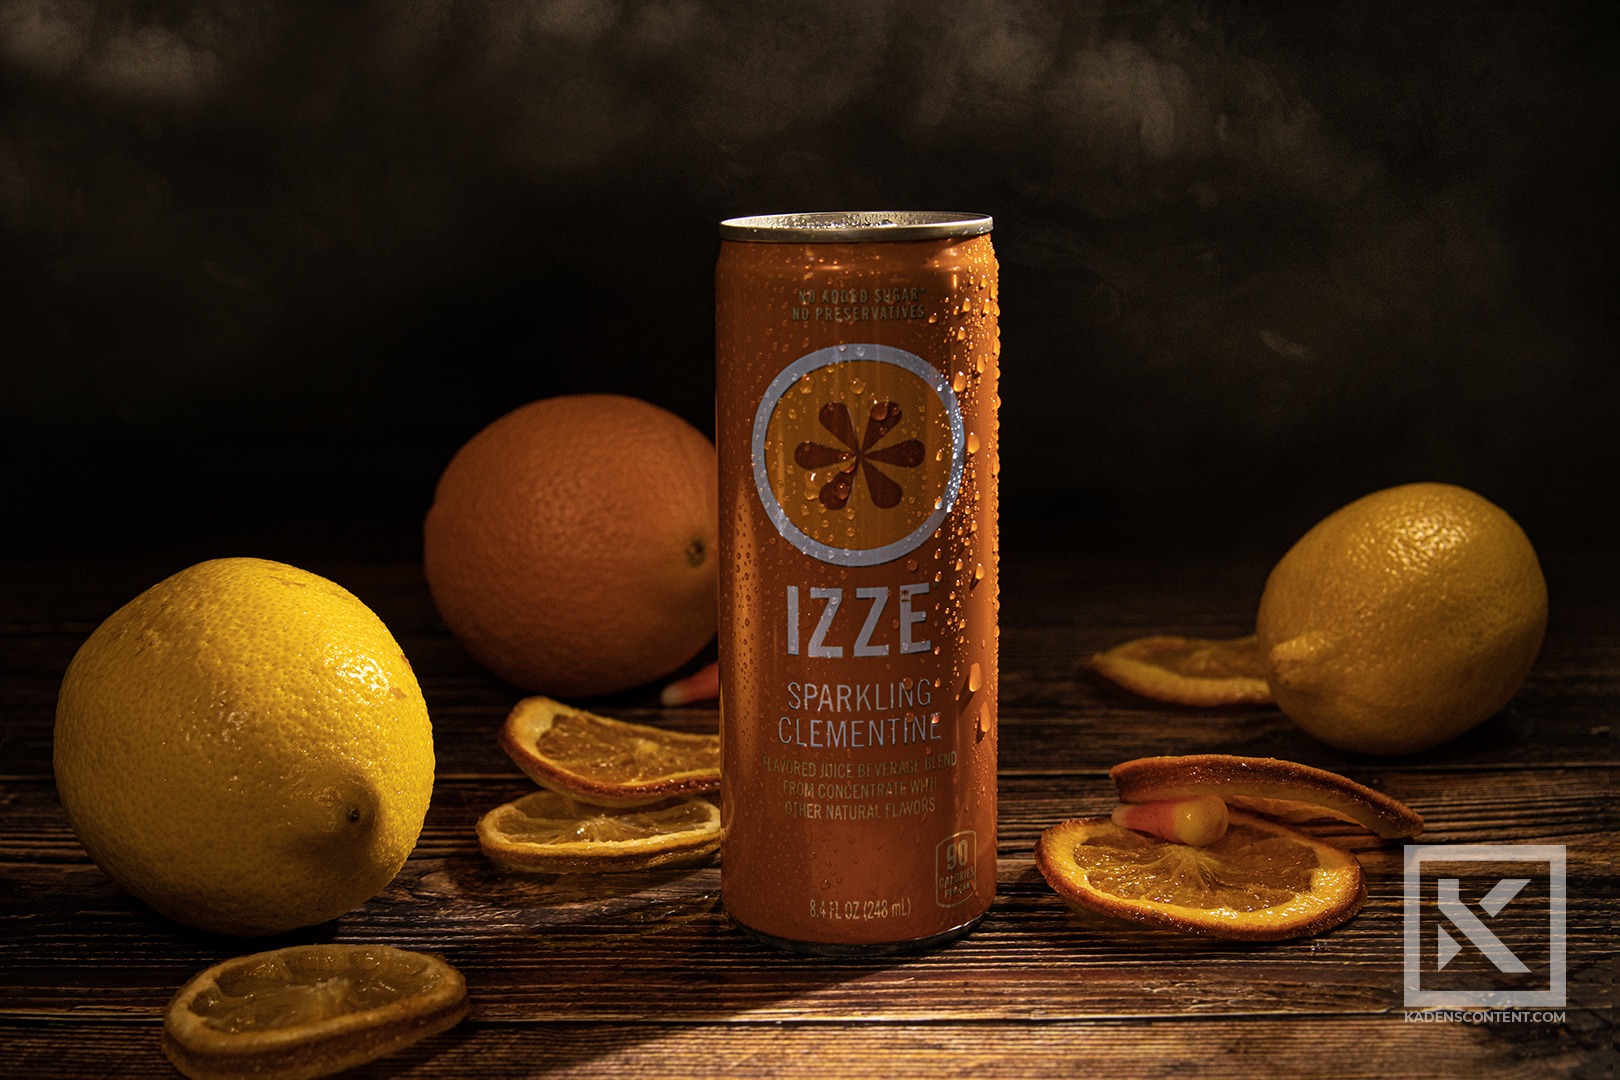
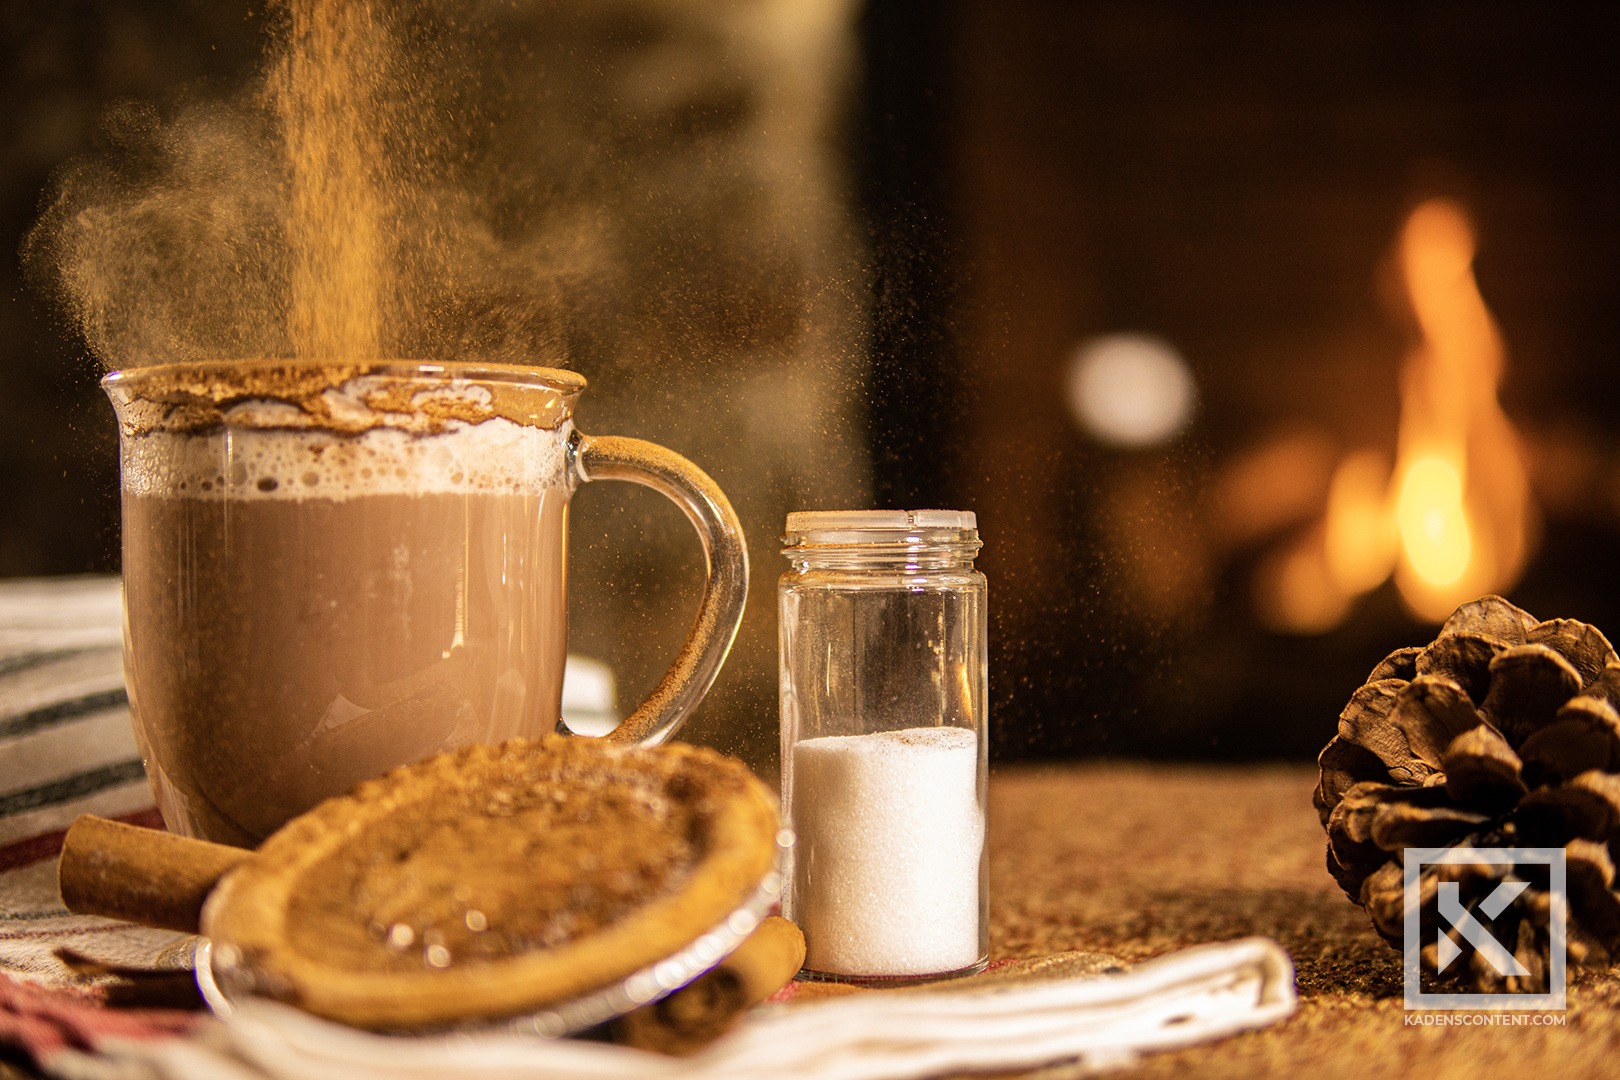
The first thing that I needed to do to get ready for creating my product advertisement was to take a picture of my product. The product that I decided on was one of Welch’s sparkling cocktails. I took this product and set up a shot in front of a fireplace to create a warmer design for the advertisement. I also added a few more decorative elements to add to the mood of the design. Find more of my Idaho Product Photography here.
Once I had my product set up, I positioned my camera to get more empty space off to the right of the subject. This would leave room for some of the text I would add later.

After I captured my photo, I was ready to begin my product advertisement design. First, I started by setting up a layout for the text. I took the blank area that I left while taking the original photo and began mapping out where I would place the text.
I set up the text for the advertisement to be between the bottle and the fire. If the text were set up wrong, it would cover the fire in the background, so I adjusted the design accordingly.
I wanted the slogan that I added to the design to reflect the feeling behind the advertisement, so I looked a little more into the product. Once I had the slogan figured out, I placed it into the allotted area and designed it accordingly.
There was also a need for a logo, so I began looking for the Welch’s logo so I could add it to the advertisement.

FIND MORE
For more examples of product photography design, visit here. You can also see more on Behance.
Idaho Product Photography
This week, I had the amazing opportunity to go out and capture a few shots of indoor and outdoor Idaho product photography. Living in Idaho, product photography can be captured in some of the most amazing places. For these shots, I went with a group of photographers to Island Park, Idaho. While some of the products were a little difficult to photograph, the overall experience was a blast. Below are some of the indoor and outdoor Idaho product shots I managed to capture.
CAPTURING INDOOR IDAHO PRODUCT PHOTOGRAPHY
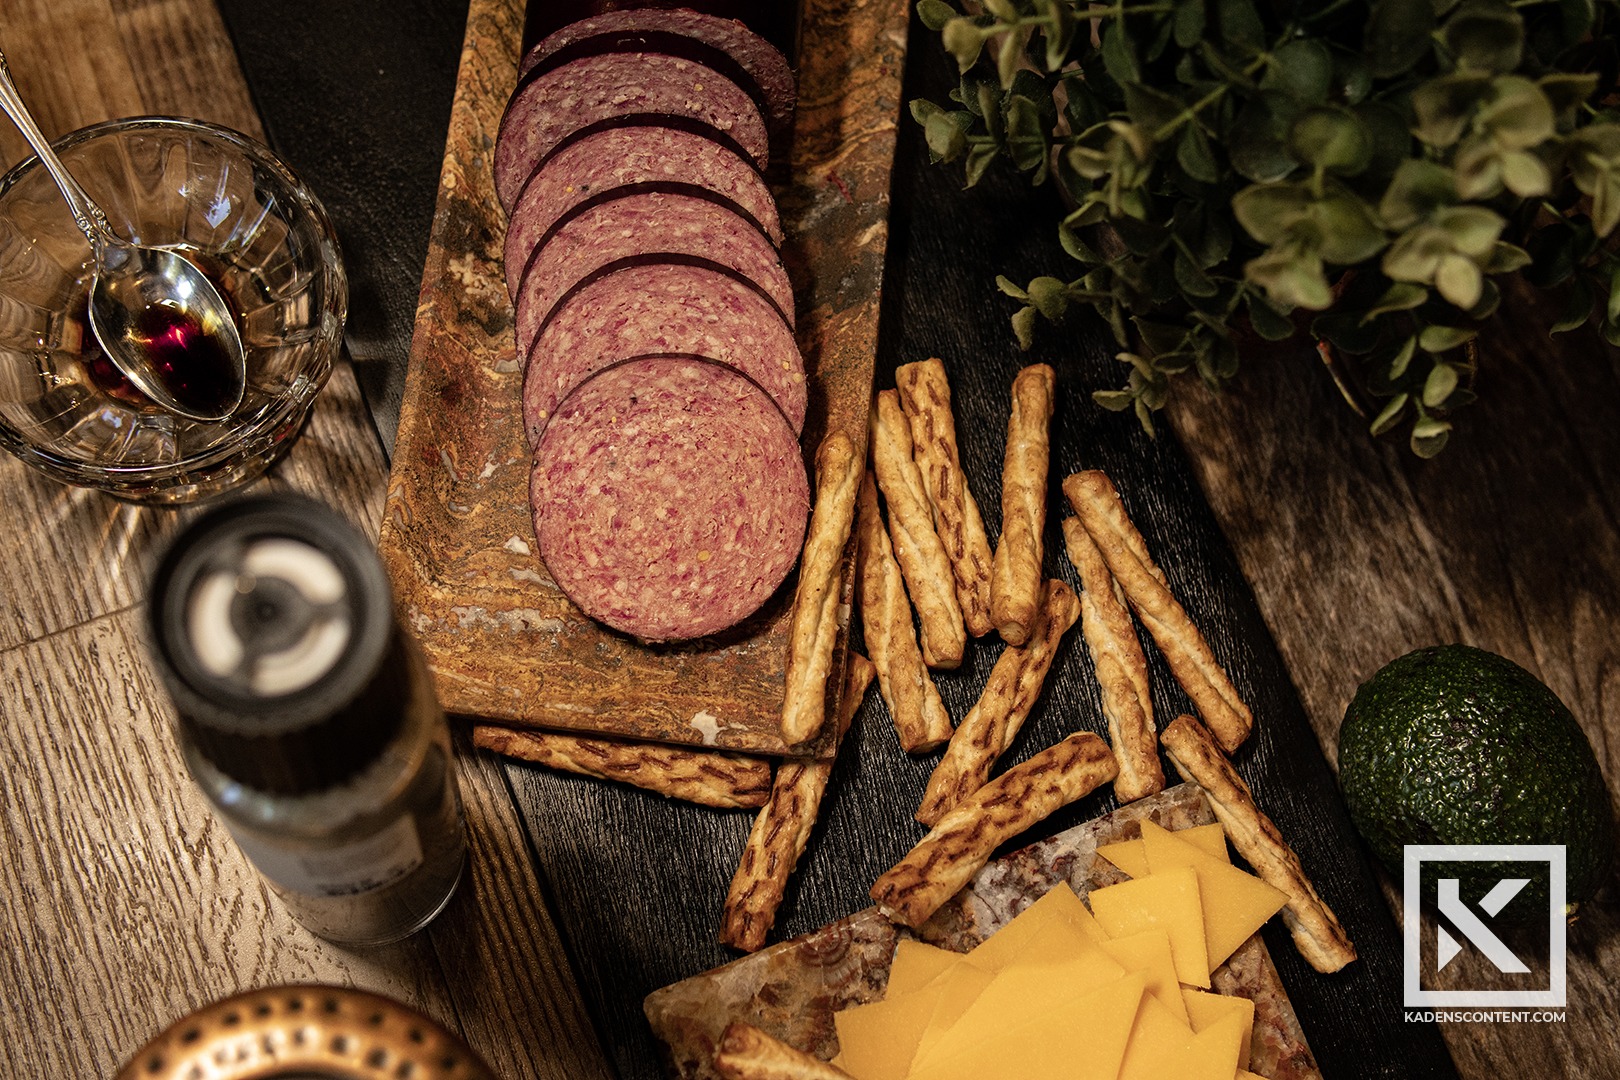
Capturing indoor Idaho product photography was a blast. First, a few stations were set up, each featuring a different food or product. Then, I rotated through each of them to find a fun angle that I liked. It was a blast to work with each product and find an interesting way to display each one in a pleasing way.
To make everything tie together, we used various food and product items that could help meet the Idaho theme of our photographs. To best photograph each product for the Idaho shoot, different lights were set up to help enhance each photograph’s angle. This created more dramatic lighting and creative angles that helped show off different photography techniques.
CAPTURING OUTDOOR IDAHO PRODUCT PHOTOGRAPHY
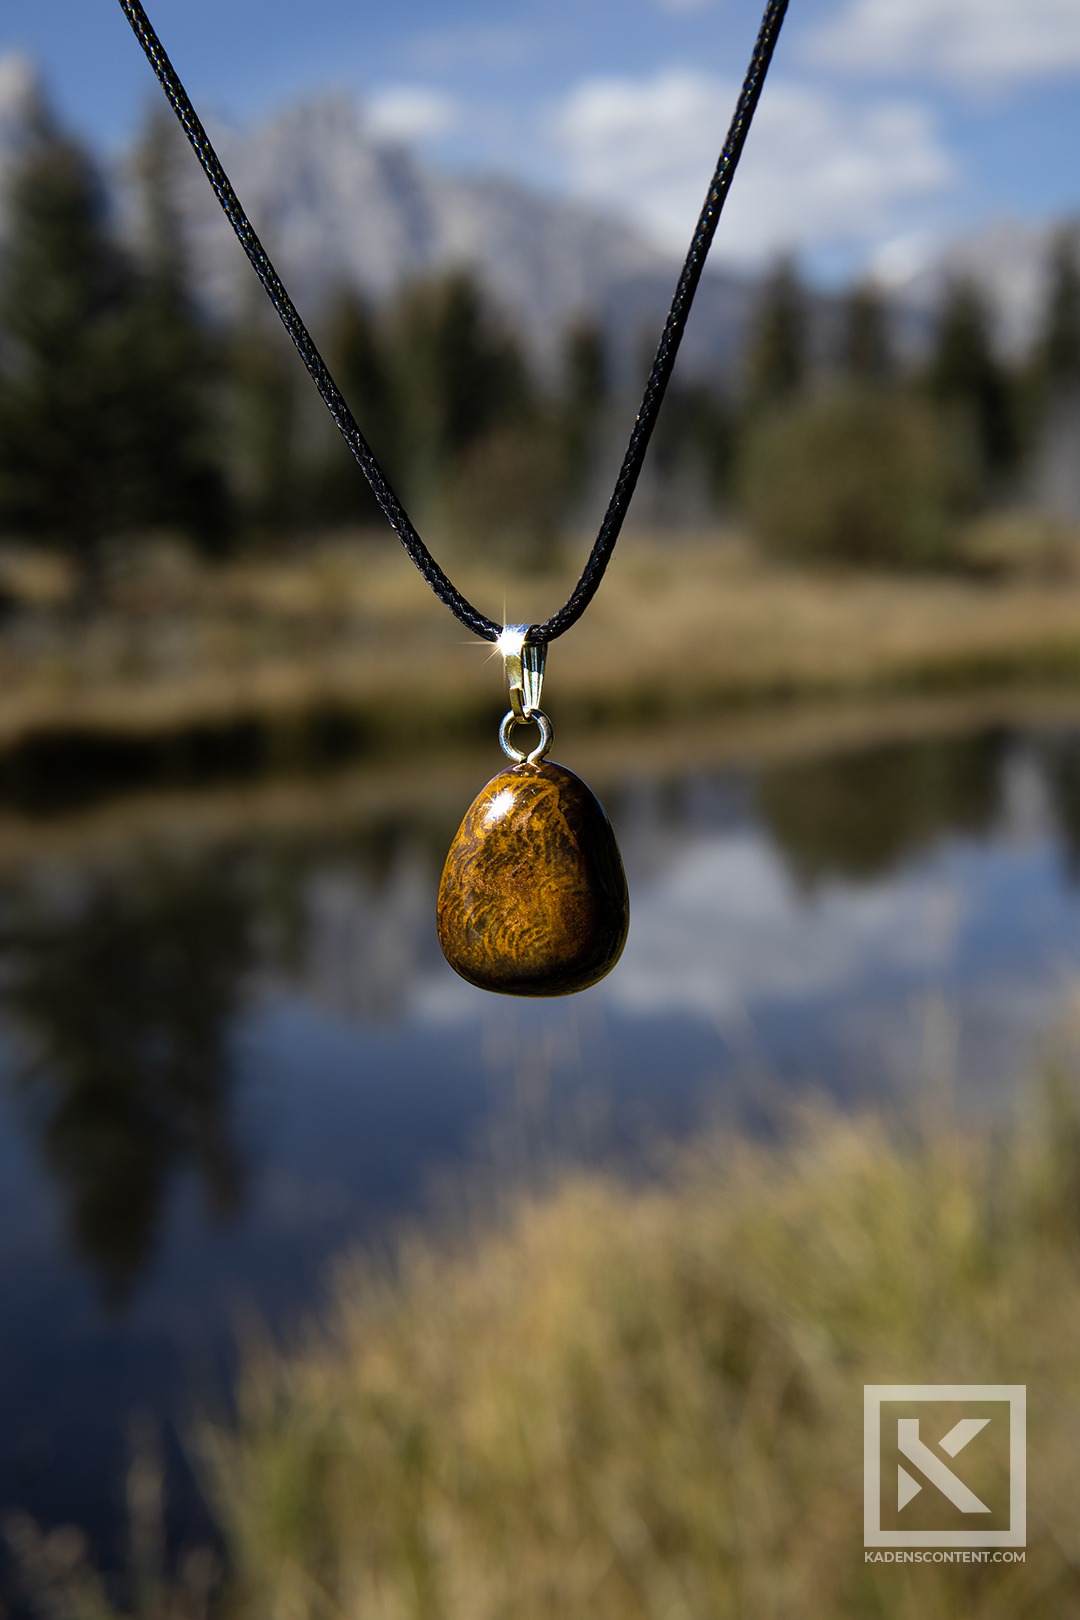
Capturing outdoor Idaho product photography shots was really fun as well. Outdoor product photography was a little more difficult to handle, however, I felt a lot more creative freedom as I set up each product in a different spot. I even managed to photograph a few product shots on the go. Nearby the cabin we were staying in at Island Park, Idaho, there was a small creek that created an amazing backdrop for some of my outdoor product photography.
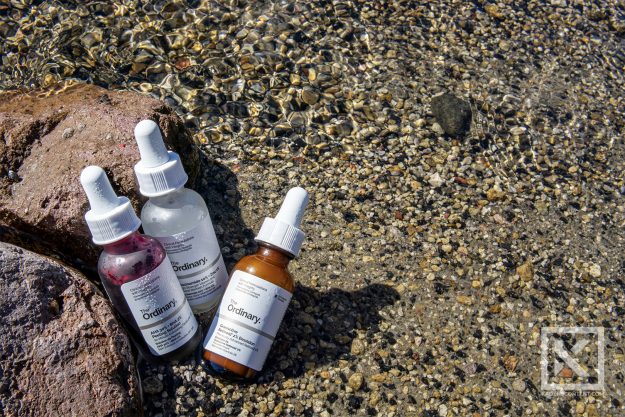
For my product shot with The Ordinary skincare serums, I set them each in a shallow part of the water propped against a few rocks. The movement of the water really added an interesting effect to the background. During the shot, I also sprayed a little bit of water on the bottles. These small drops helped showed off some of the qualities of the product.
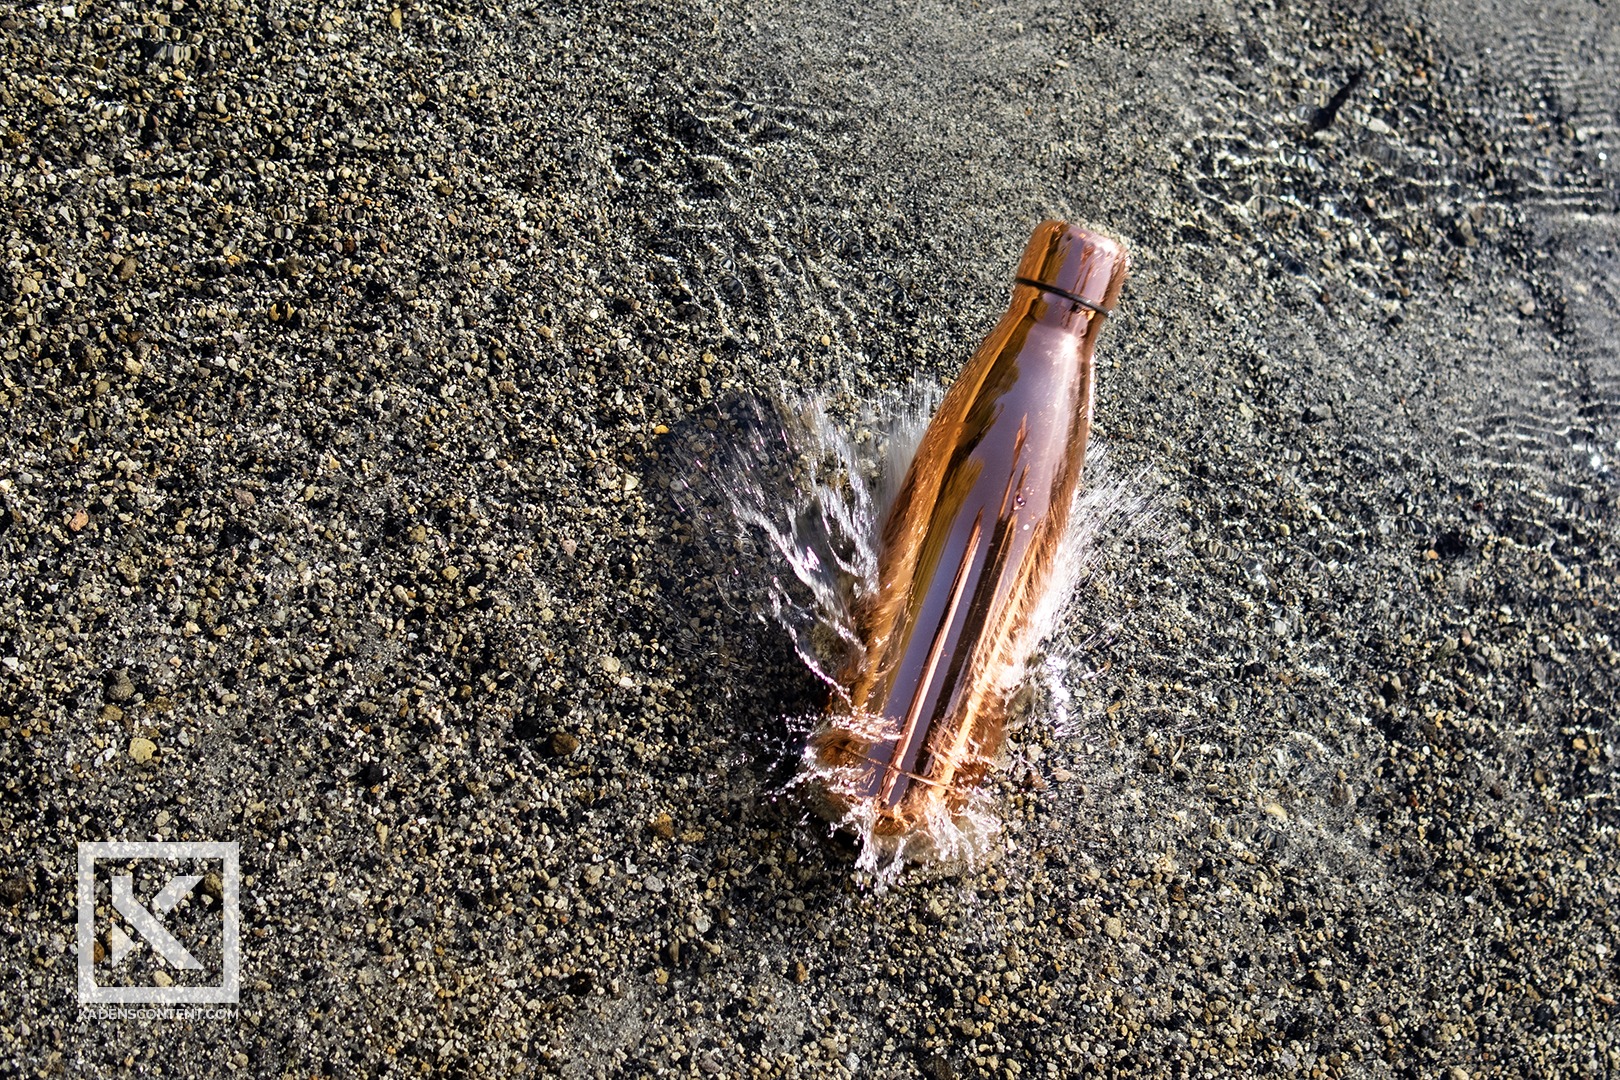
I also had fun creating a more interactive shot with my water bottle. I thought it would be awesome to get a shot of my water bottle being dropped into the moving water. To set up my shot, I first set up my tripod on a small dock above the water. I had the camera focus on the point of impact and then took several quick shots of the water bottle splashing into the water. It was a little difficult getting the timing correct, but eventually, I got a photo that I liked.
Overall, I am super happy with the product photography I was able to get. The experience was a ton of fun and I would recommend that you go out and try it for yourself. You might surprise yourself with what you are able to catch.
FIND MORE
If you are looking for more examples of Idaho product photography, then visit here.
Outdoor Light Painting
HOW TO CAPTURE LONG-EXPOSURE OUTDOOR LIGHT PAINTING
Capturing an outdoor light painting can prove to be an interesting challenge that yields amazing results. The window of opportunity you have to capture your image is fleeting and you need to be ready. Outdoor light painting is best captured during blue hour (just after sunset / before sunrise) which only gives you between 20-30 minutes. While you may be stressed for time, the results can be breathtaking.
PAINTING BLUE HOUR
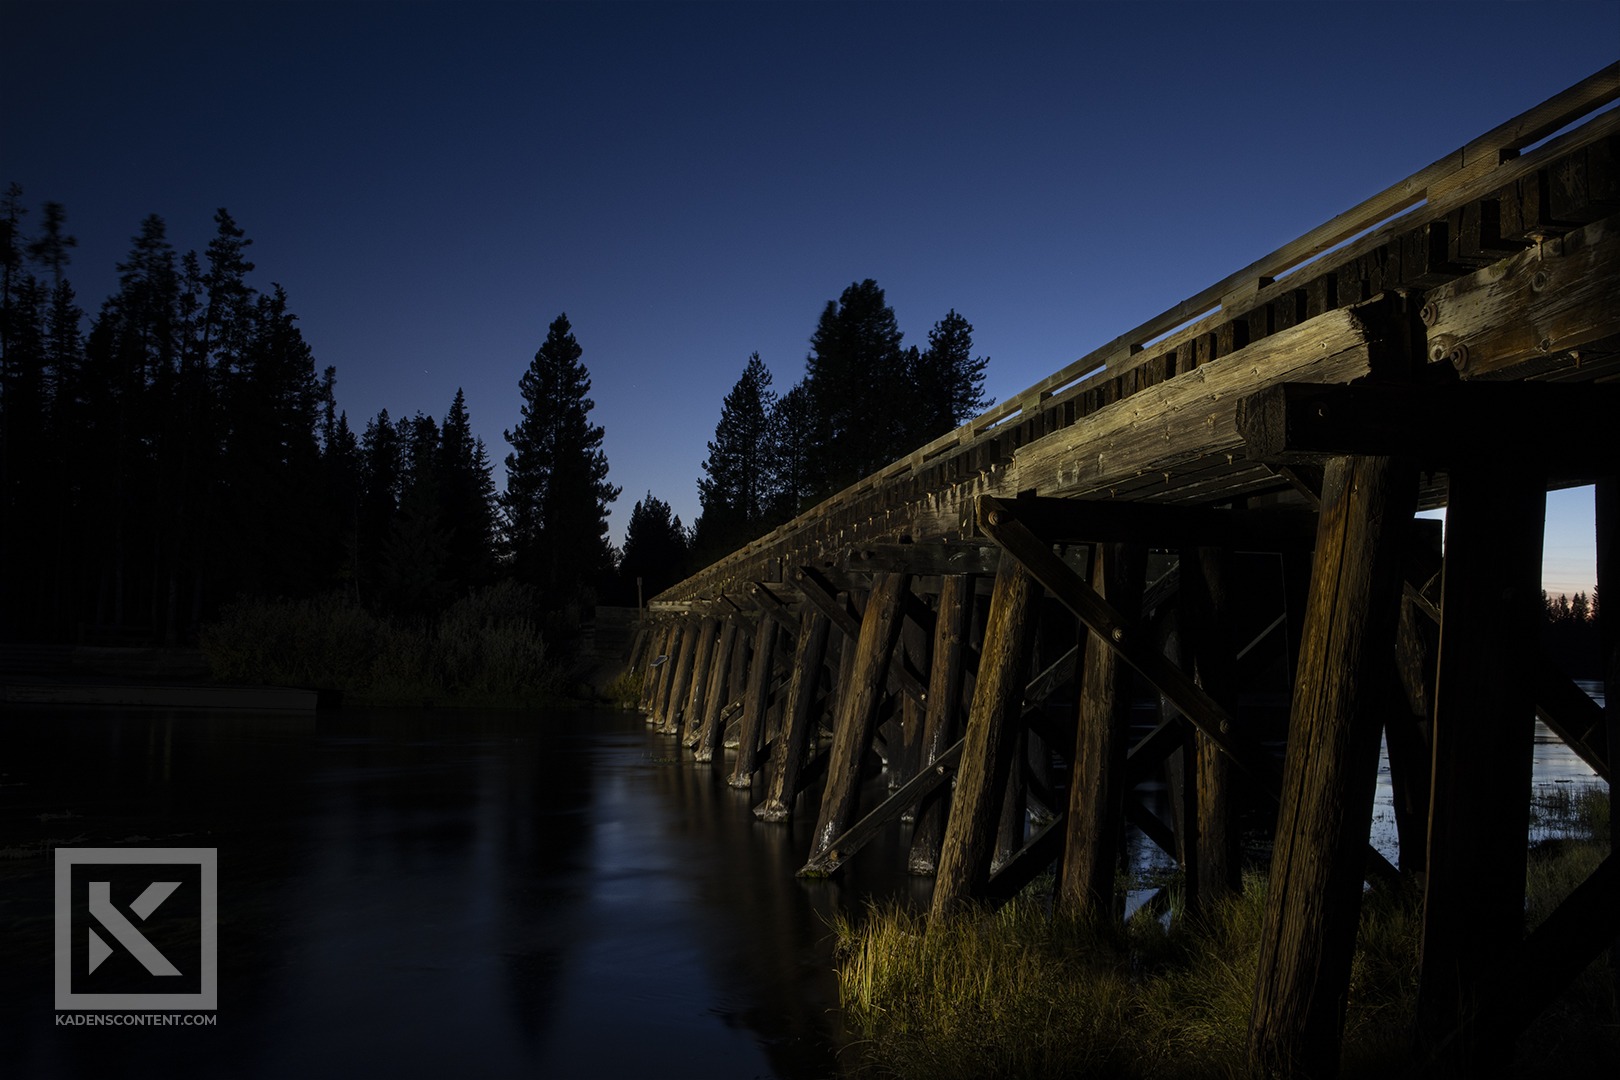
Capturing the above outdoor light painting was a real adventure. I waited in the freezing moments after sunset when the sky turned a deep blue. Once the sky turned a perfect color, another photographer waited out into the water with a high-powered flashlight. Similar to indoor light painting, once I opened the shutters of my camera, we shined the flashlight on the trusses supporting the bridge. With the right settings, in one shot I managed to capture both the rich blue sky and the amazing details of the bridge.
PAINTING CREATIVELY
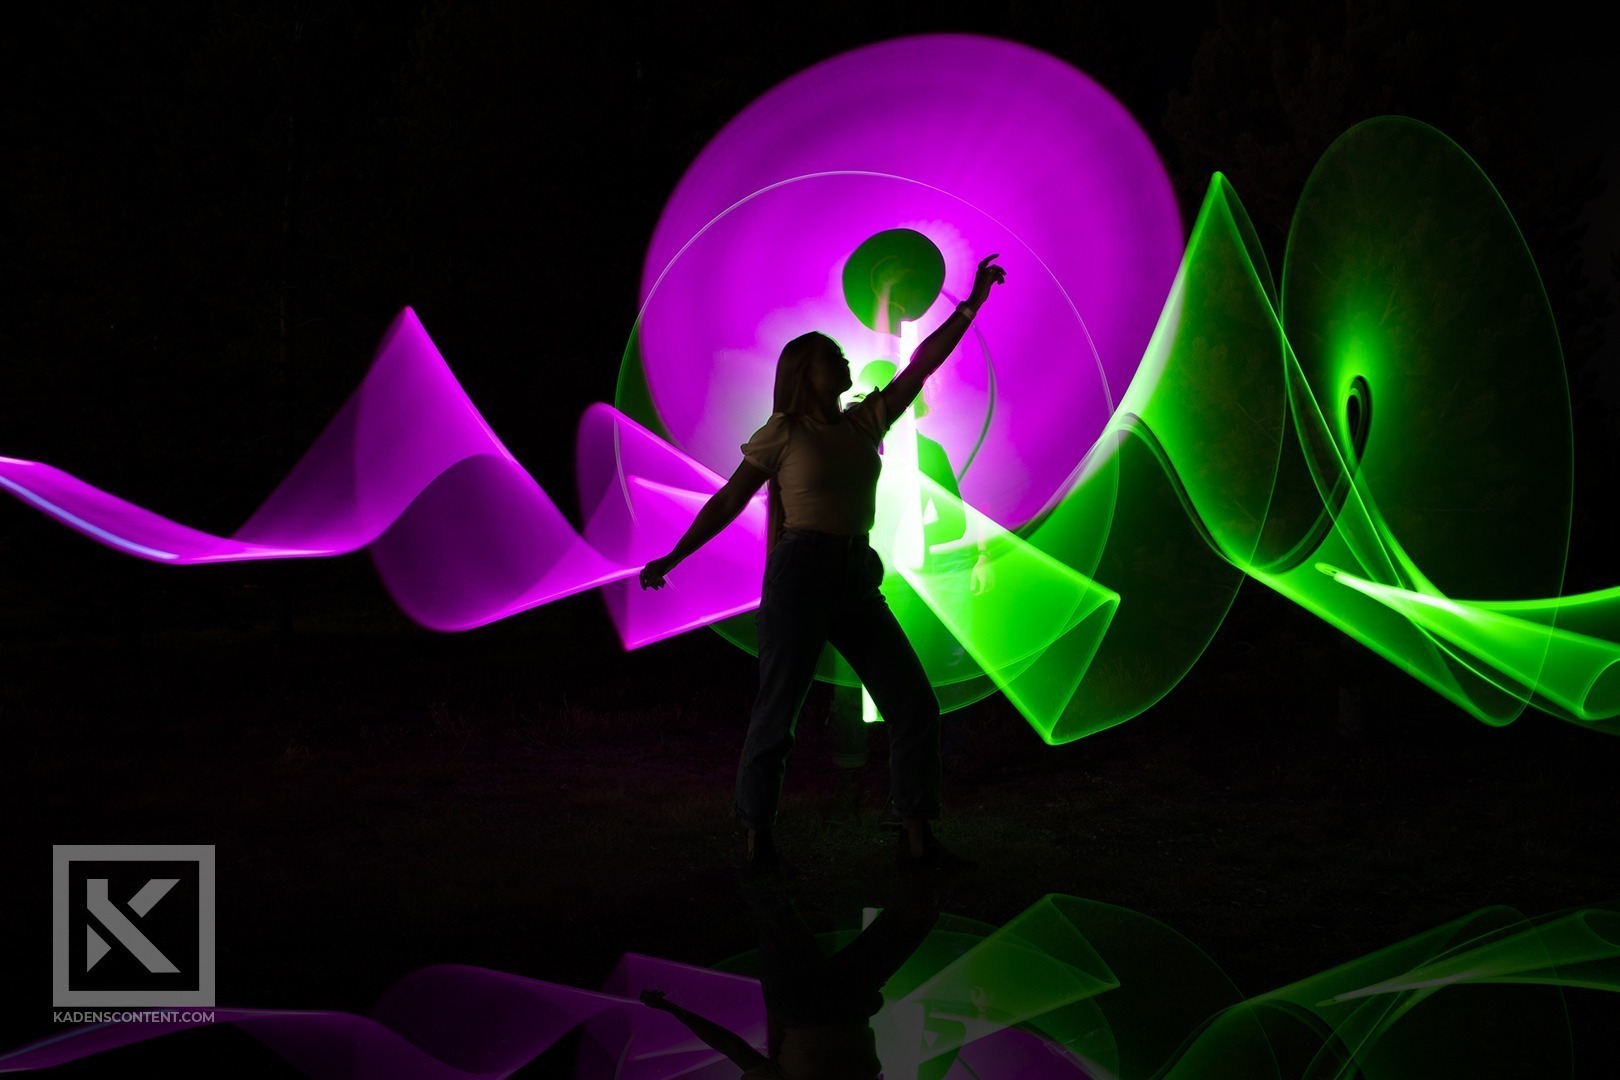
Outdoor light painting doesn’t just have to be of blue hour. With light tubes, you can capture the same cool effects as shown above.
For the above shot, a model stood in place as two separate light tubes were moved around her. The model had to stand completely still to refrain from capturing too much motion blur. As the light tubes were being moved, they would leave light trails in the image. By moving them in an interesting way, you can get endless creative results.
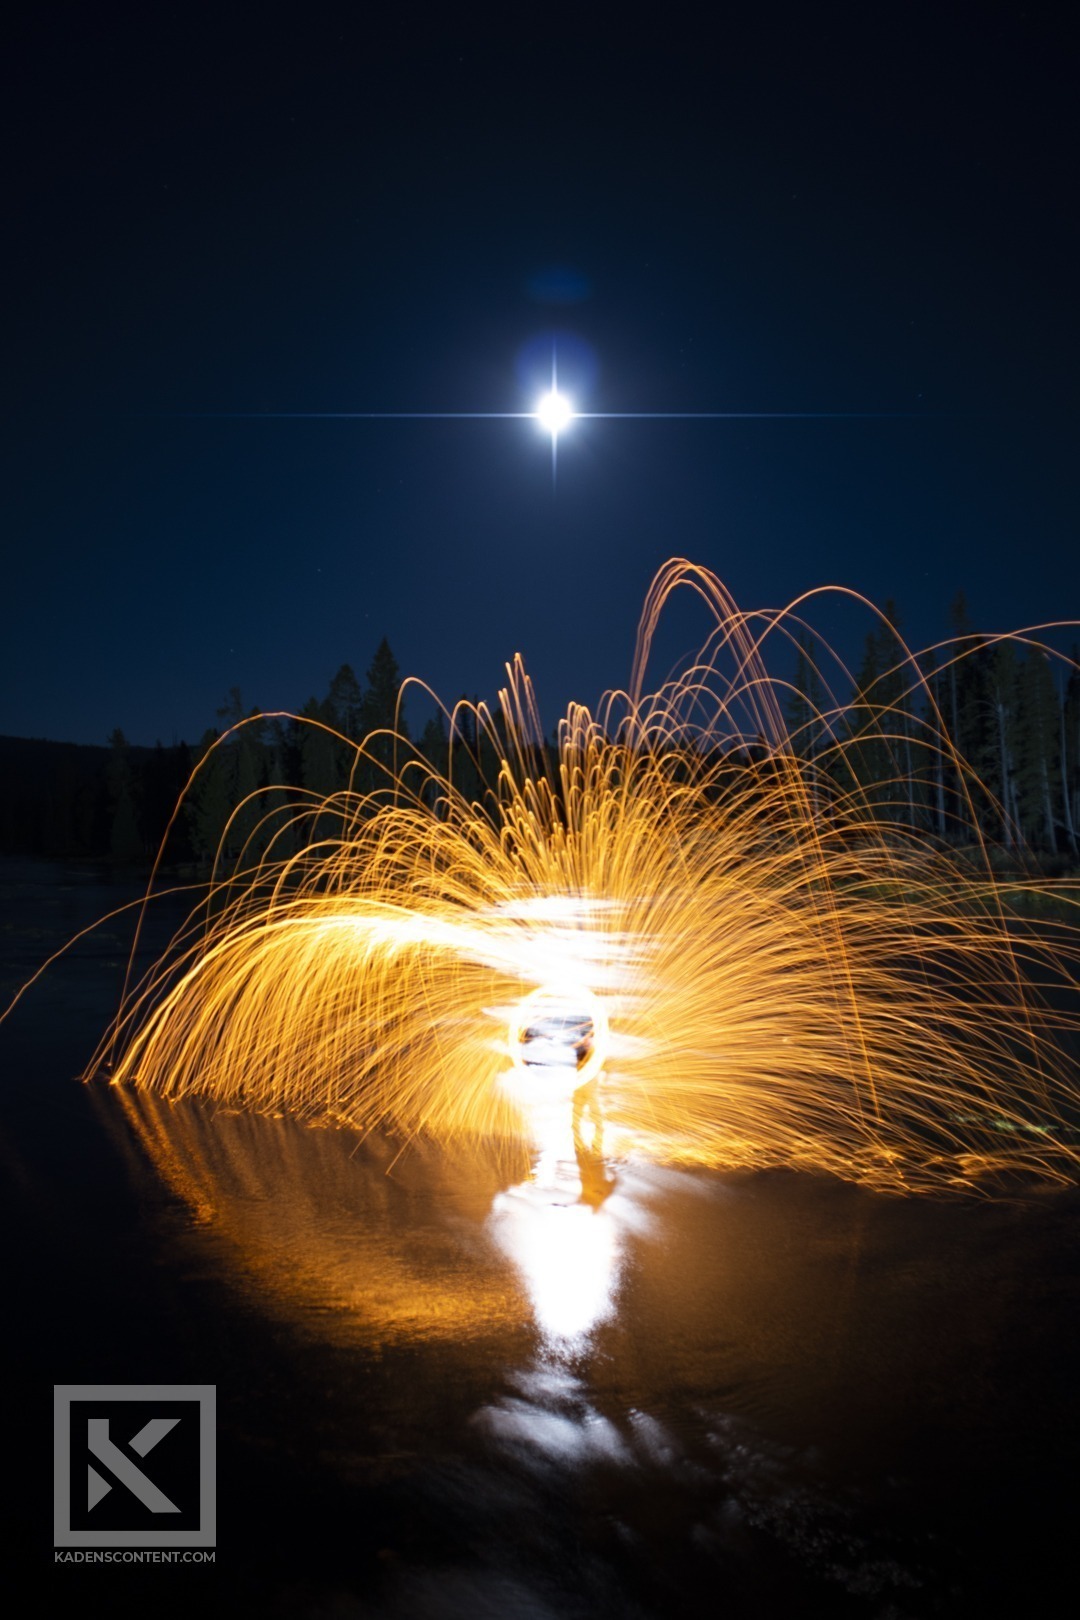
Another interesting way to capture light trails is to try spinning steel wool. By igniting steel wool and spinning it on a rope, you can get some crazy light trails that go off in every direction. I was super happy with what I was able to capture.
Interested in learning more about outdoor light painting? Learn more tips from MasterClass.
Indoor Light Painting
HOW TO CAPTURE LONG-EXPOSURE INDOOR LIGHT PAINTING
Setting up indoor light painting can be so much fun. In photography, setting up a shot with good light is crucial. Even in indoor studios, you have to be very careful with the amount of light you have illuminating your subject. With light painting, you have full control over the light that will be shown in your picture.
The key to indoor light painting is having a long exposure and a dark room. The longer you have your exposure set on your camera, the more light you are going to pick up in the image. In indoor light painting, you control this light with nothing but a small hand-held flashlight.
CONTROLLING THE LIGHT
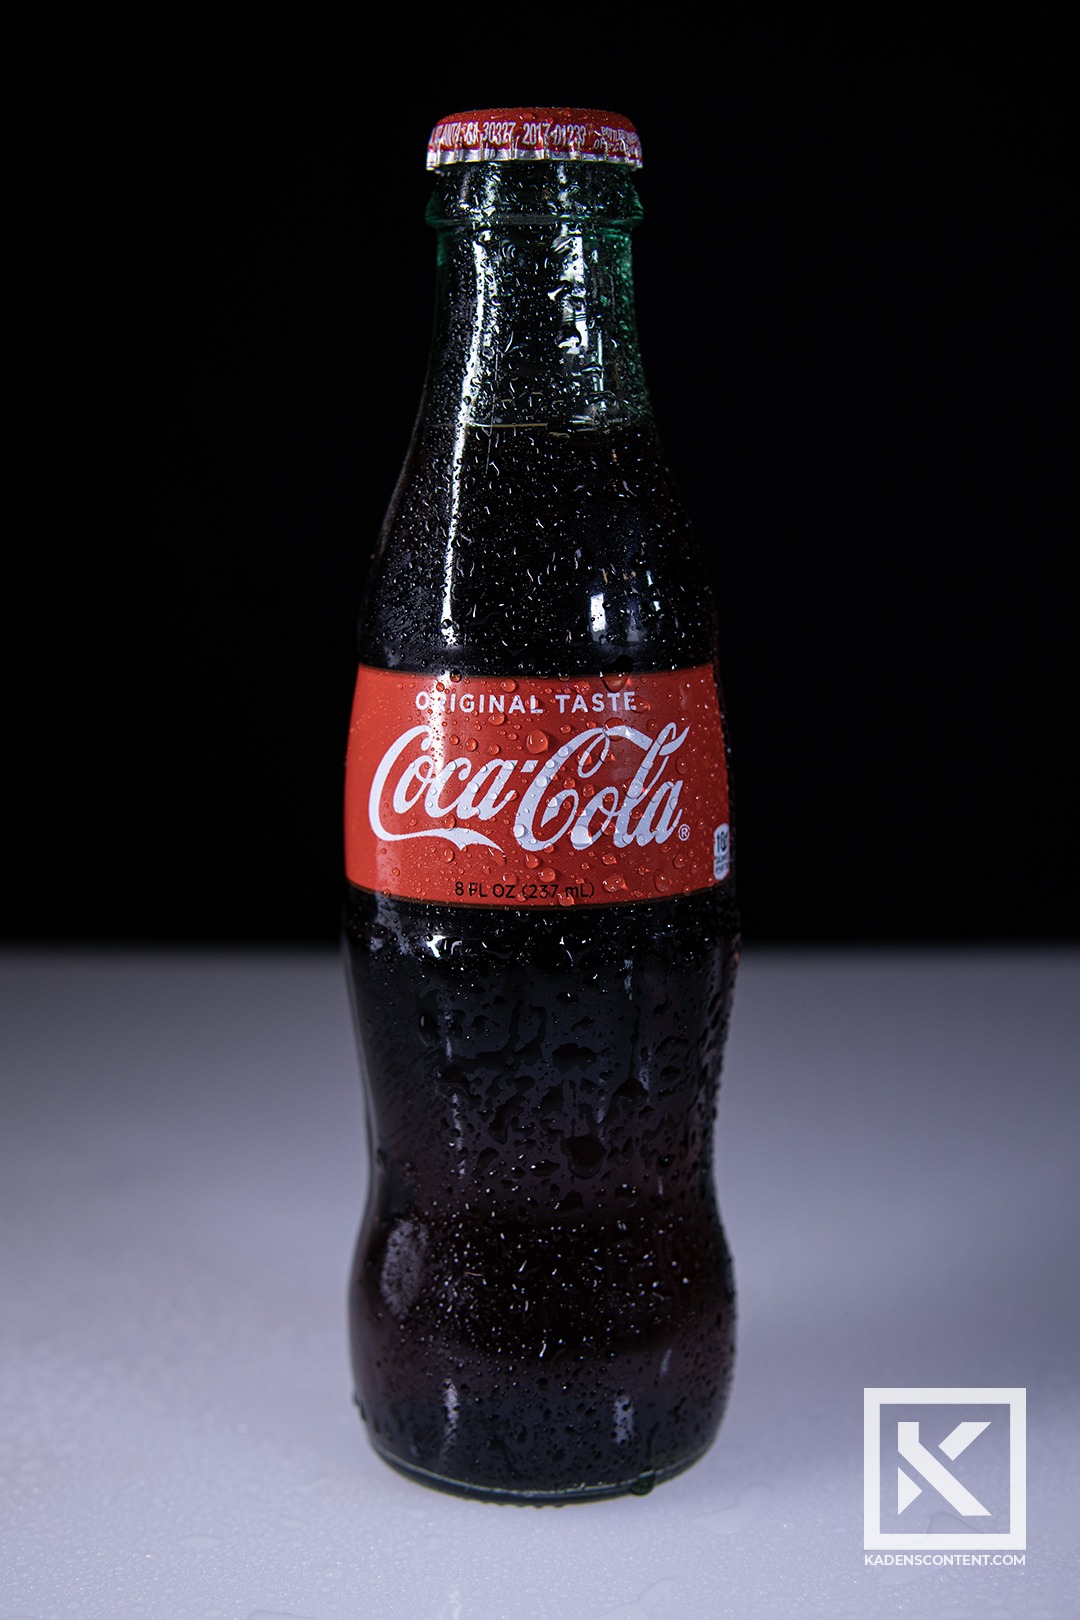
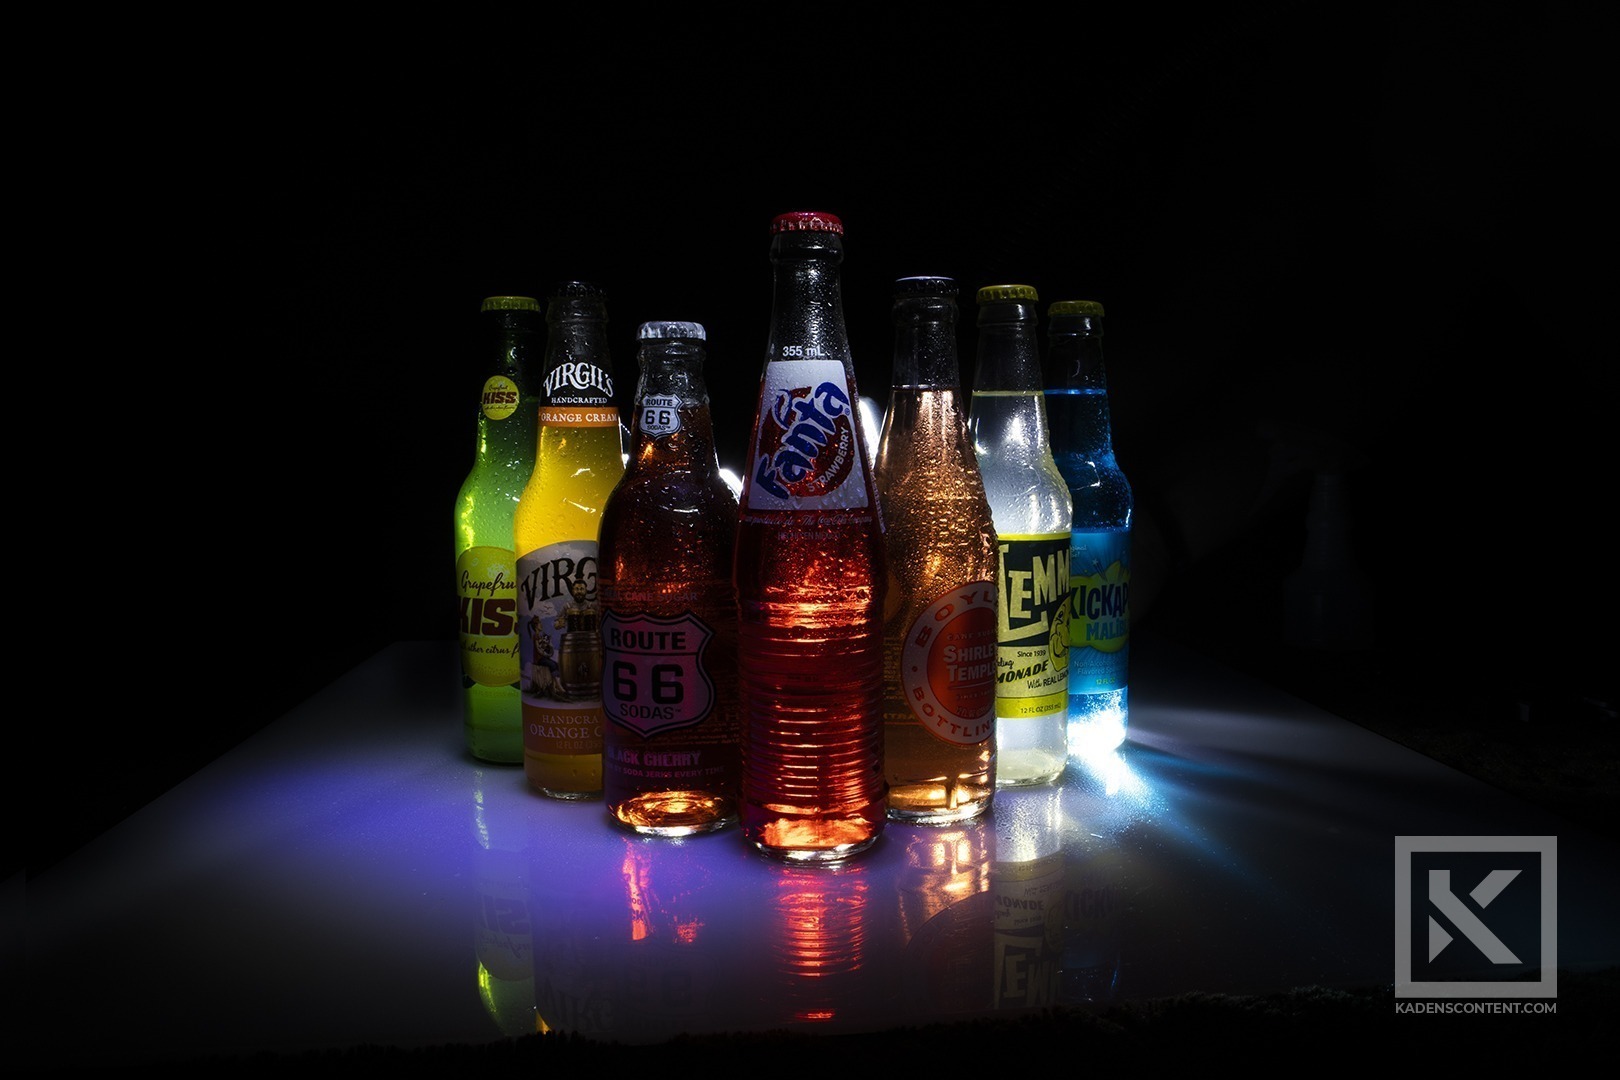
In this first image that I caught, I had seven soda bottles set up to create a composition that I liked. When I was ready to shoot, I switched off the light and clicked the trigger on my camera. While the shutter of my camera was open, I worked quickly with a flashlight to illuminate each bottle.
With light painting, the only thing that is going to show up in your shot is whatever your flashlight touches. In the above shot, I was only interested in capturing the bottles and their reflections. A cool way that I was able to do this was by shining the flashlight through the bottles toward the camera. Doing this illuminated the colors of each soda bottle and created a more vibrant shot.
I am super happy with all of the remaining indoor light painting shots that I was able to capture. The key to it all is just being a little creative. I tried several different styles and was super happy with the results that I manages to get. They weren’t always perfect, but it was such a blast. Go ahead and test light painting out for yourself.


Interested in learning more about long-exposure indoor light painting? Check out some work by Page Sias Photo & Design.
Find more of my Fine Art content here.
Personal Photography Branding Identity
HOW TO SET UP YOUR OWN PERSONAL BRANDING IDENTITY
Creating a personal branding identity for yourself can be a bit of a challenge. You have to find the best way to visually and aesthetically represent your work. You have to take into consideration how others will perceive your brand and what it might say about the work that you do. Here is how you can start setting up your very own personal branding identity for your photography:
DESIGNING A PERSONAL LOGO
A fun part of creating your own personal photography brand is designing your own logo. The key to this is keeping it simple. You want your logo to represent your brand and the type of work that you do. I enjoy capturing more minimalistic photography, so I did my best to reflect that minimalism in my logo.
I started my logo design process by drawing up some sketches. The name of my brand is Kaden’s Content, so I wanted to include a K in the design. I put together a few different variations until I came up with the one that I liked. Once I had my sketch done, I created a vector illustration of my final logo.
BRANDING MOCKUPS
ALTERNATE LOGOS AND BRANDING
Once I had decided on a logo for my personal brand, I put together a few variations that could be used across different mediums. I also created logo variations that could be used as watermarks for any pictures I upload.
An additional step to creating a personal branding identity is setting up a color palette. In order for all of my work to look cohesive, I had to create a similar look between everything. I did this by selecting a color palette and typography. I didn’t want any of the brand design to distract from the work that I do, so I stuck with plain colors and sans-serif typefaces.
BUSINESS CARD BRANDING
Once I had the look of my brand all figured out, I put together a quick business card design that could help with finding future clients. I assembled the logo, color palette, typography, and business information in a simple way that could further help potential clients understand my personal photography branding identity.
PERSONAL PHOTOGRAPHY BRANDING IDENTITY SHEET
After I had my personal photography branding identity put together, I assembled all of the designs onto a branding sheet. The branding sheet is a simple resource that I can continue to look back on as I am designing future content.
For more information on creating a personal photography branding identity, check out this post by Jacob Cass.
At Home Extraordinary Shot
HOW TO CAPTURE AN EXTRAORDINARY SHOT IN AN ORDINARY SPOT
OSES, or Ordinary Spot, Extraordinary Shot is a great photography technique to use when finding at-home creative photography inspiration. Sometimes it can be a little difficult trying to find inspiration for creative photography when you don’t have anywhere to go. OSES is a great way to find creative photography inspiration even in the most ordinary of places. Use some of these creative photography techniques the next time you have another photoshoot at home.
FINDING INSPIRATION FOR AN CREATIVE PHOTOGRAPHY AT HOME
When first going around trying to find an at home extraordinary shot, look at things from all sorts of different angles. The goal is to make something completely ordinary look more interesting and creative. One shot that I was able to capture was of my bedroom door. It’s something that I look at every day, but I wanted to capture a photo of it that would make it look awesome.
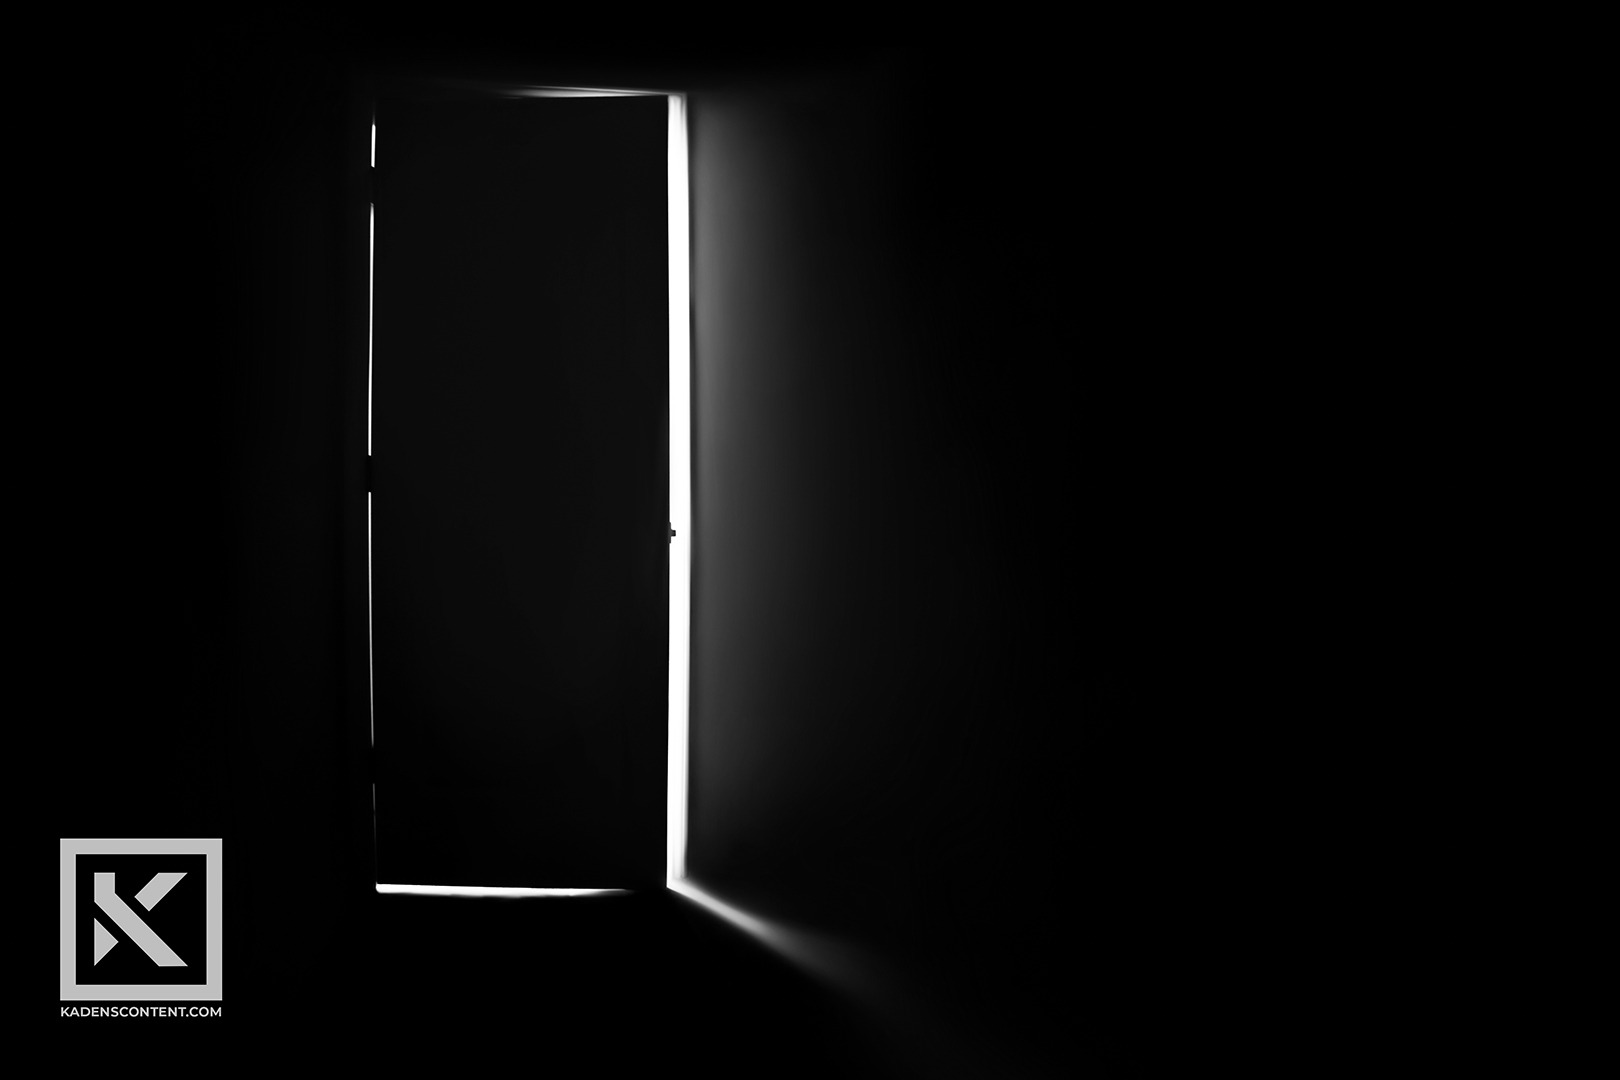
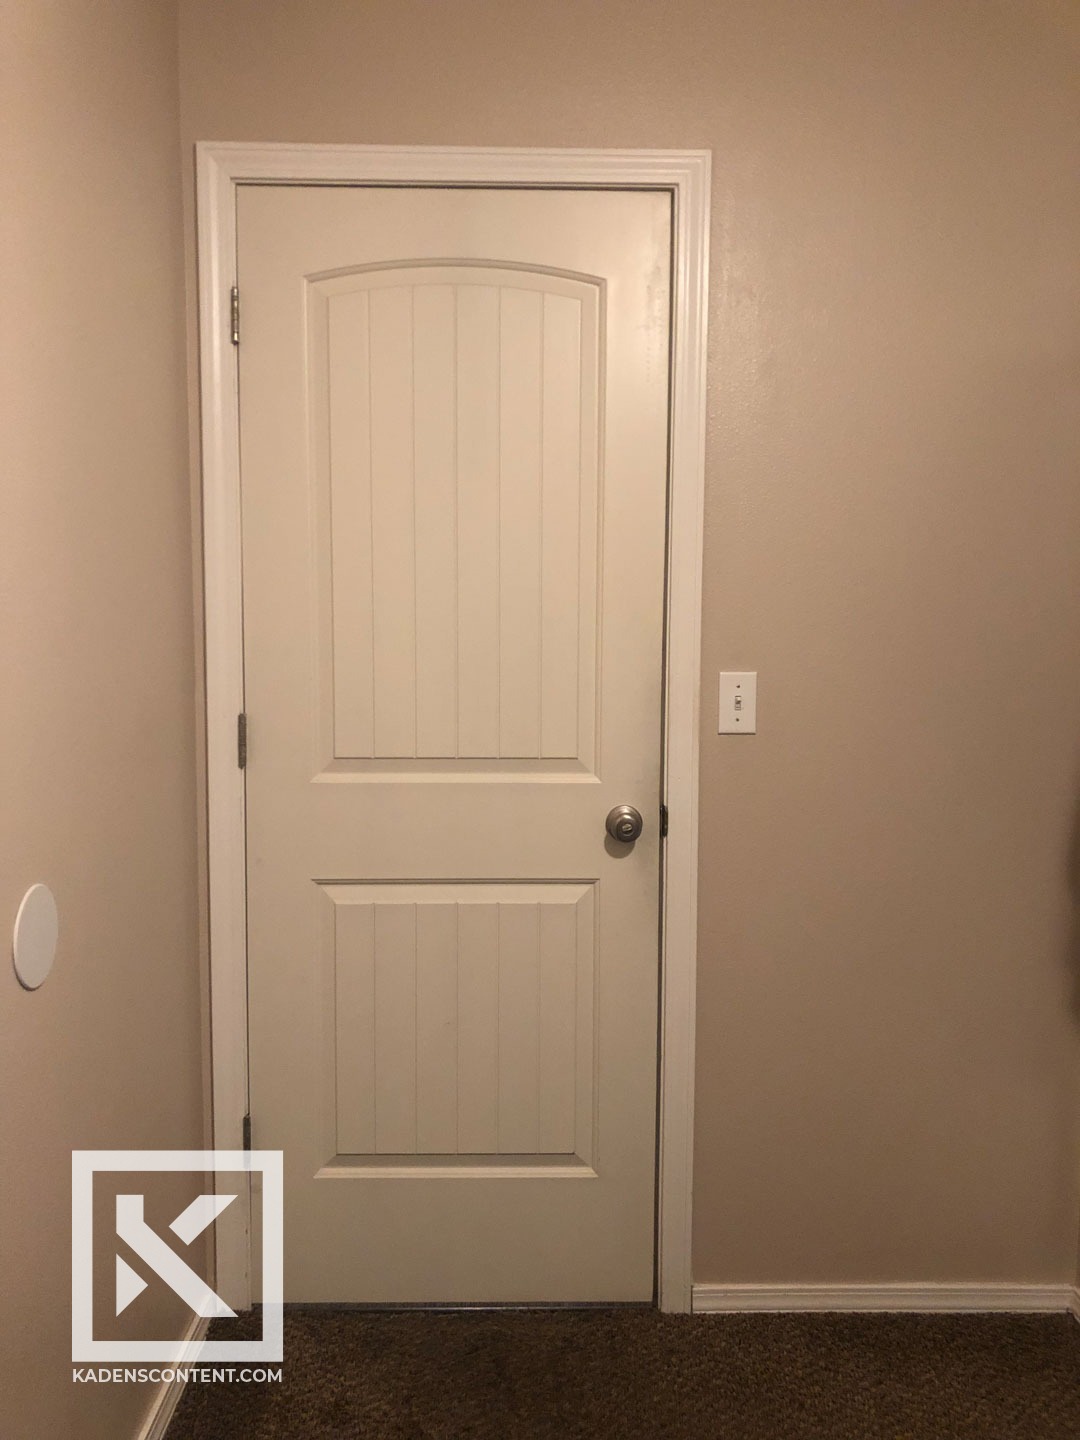
The first thing that I wanted out of this shot was dramatic lighting. I thought it would be really cool to capture the shot from a dark room with light spilling through the cracks of the door. This would help change my ordinary door into a creative shot that could tell more of a story.
I managed to capture this shot by setting up my camera inside a dark room. I then added more light to the hallway outside and adjusted my camera setting to only pick up the light coming through the door.

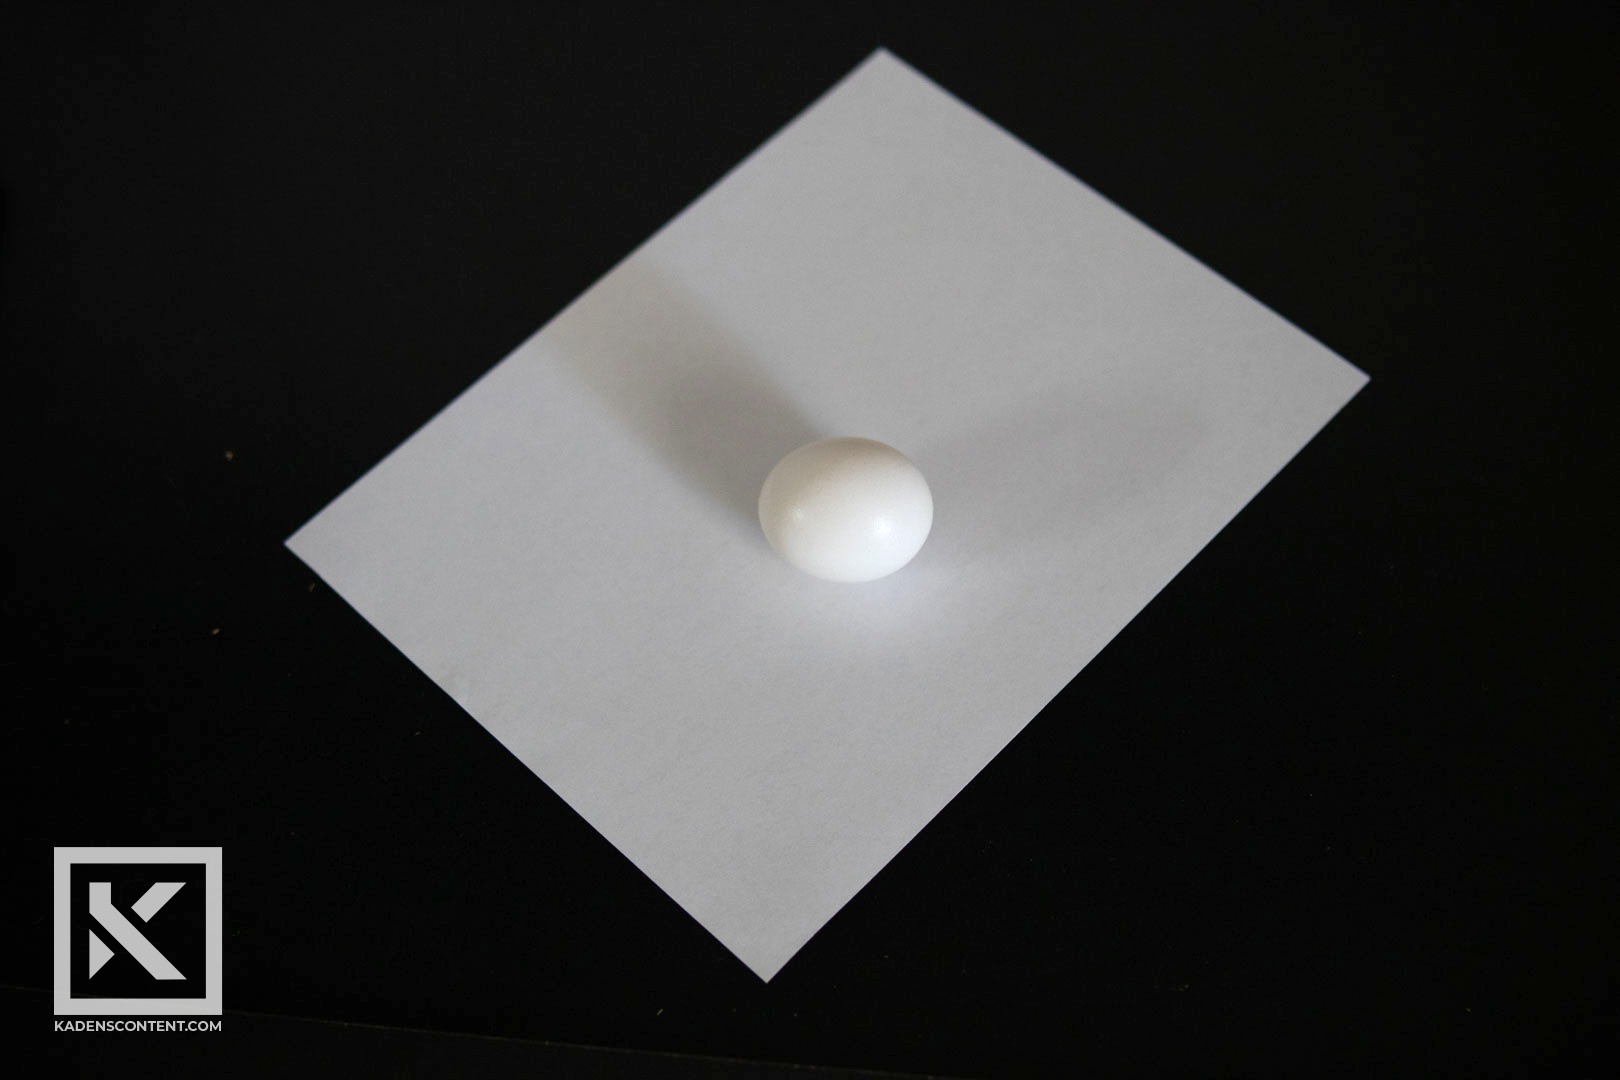
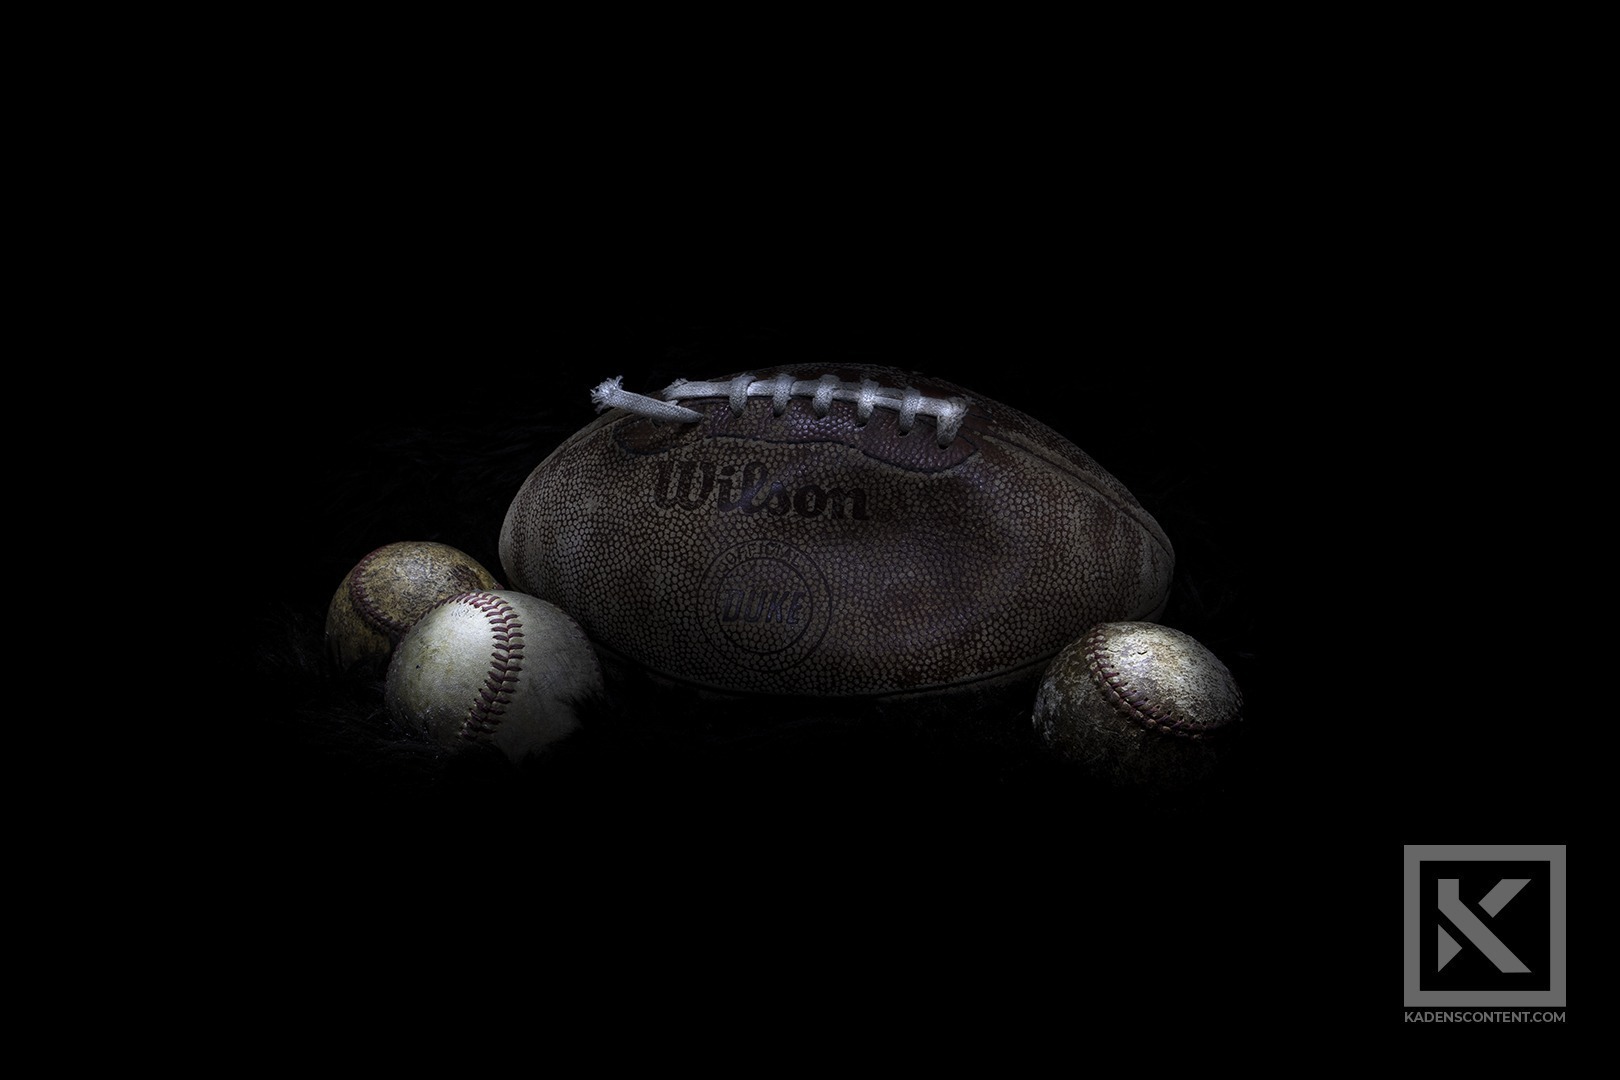
Another creative shot that I thought would be cool was a little more abstract. I had an egg and a sheet of paper, and I thought that with good composition, I could make this shot really stand out. I took both of these items and put them on a black table to get high contrast. After positioning the items in a few different ways, I managed to capture the image above.
Be creative. Test out a few different angles, lighting, and compositions, and soon you will find that it is pretty simple to capture creative photography the next time you are stuck at home.
Find more of my creative content here.
For more at-home creative photography inspiration, check out this post by Caz Nowaczyk.
SQIBB – Studio Quality Invisible Black Background
HOW TO CAPTURE SQIBB PHOTOGRAPHY
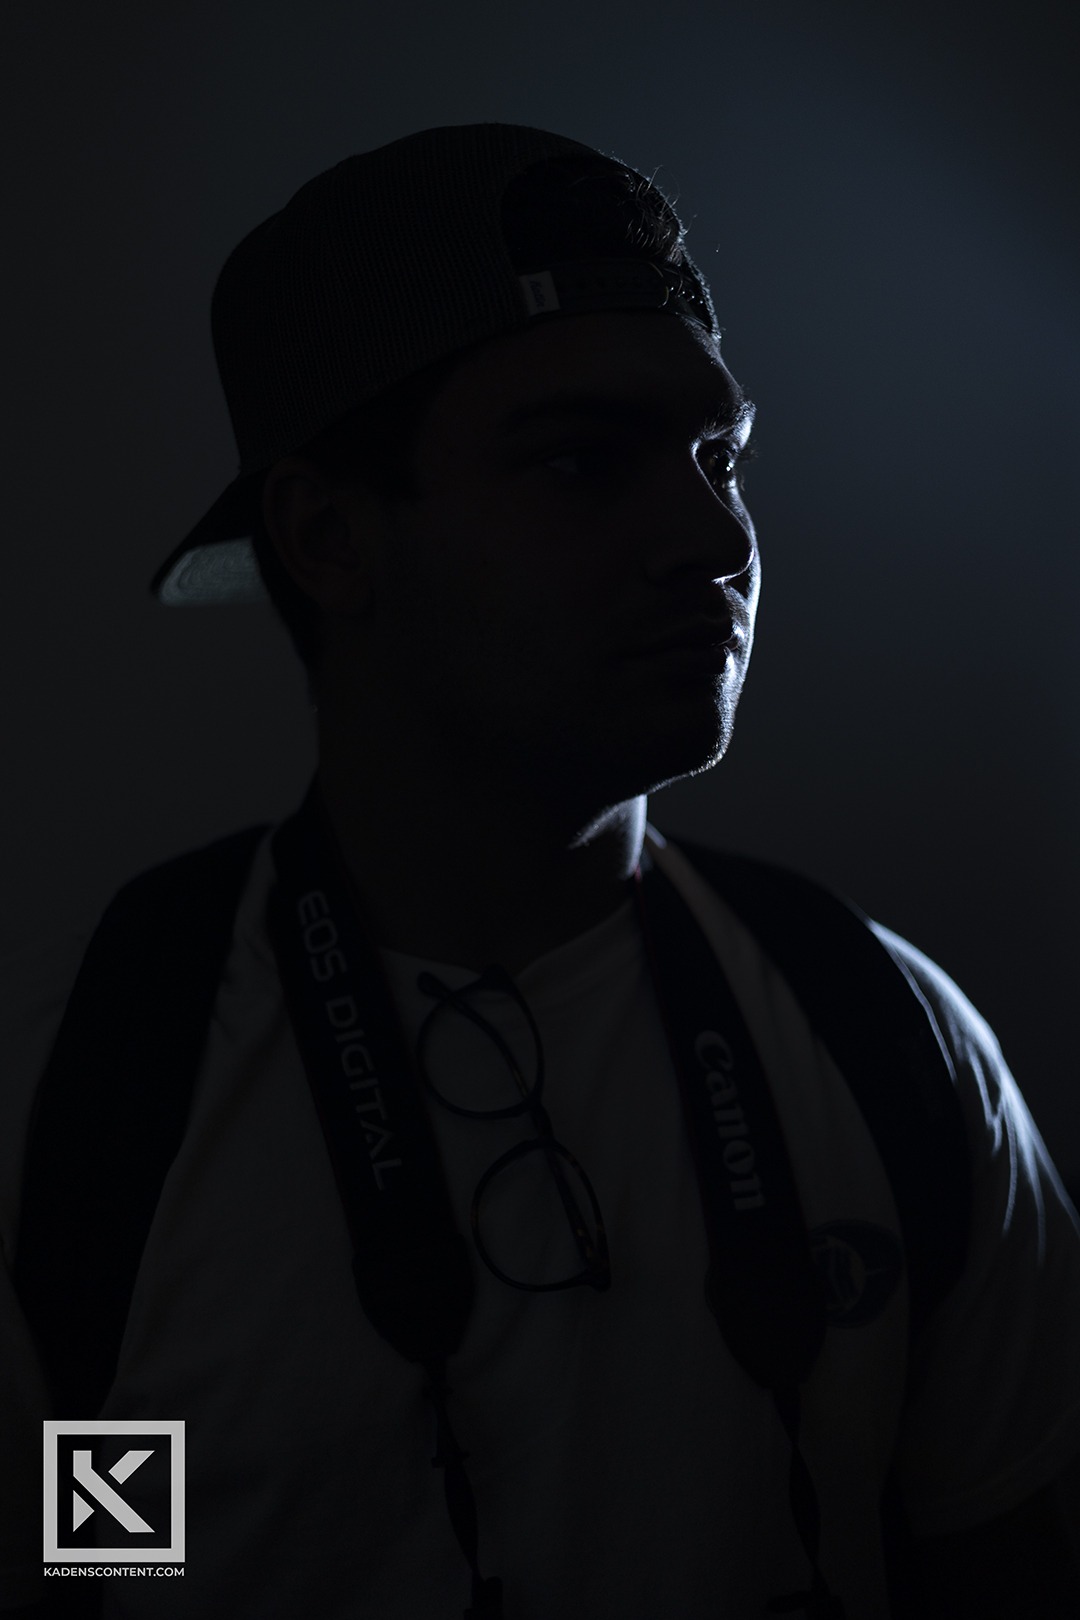
Over the past few weeks, I have been putting a lot of effort into creating studio-quality lighting in my photography. After practicing a few different techniques, I was introduced to the photography style “SQIBB” or Studio Quality Invisible Black Background. SQIBB refers to a photography style where you imitate a studio-quality black background with the way you are controlling the light. SQIBB photography can create an invisible black background behind your subject even if it were captured in a bright environment.
One of my favorite SQIBB photos that I was able to capture I titled Quarantine. In order to capture this SQIBB shot, I had my subject stand in front of a Speedlight to create only a faint white outline while maintaining a black background. The subject’s facemask reflected some of the light in the room and made it more visible in the photo. With a low ISO and a narrow aperture, I was able to get a studio-quality invisible black background behind my subject. The process was very simple and I am super happy with how my SQIBB shots turned out.

STUDIO QUALITY INVISIBLE BLACK BACKGROUND
SQIBB photography is very simple, but it depends a lot on your camera settings and equipment. Something that you are going to need in order to capture your own SQIBB shot is a speed light. This, balanced with your camera settings, is what it takes to capture the studio-quality invisible black background.
When it comes to your camera’s ISO settings, you will want to set them as low as you can (ie ISO 50, ISO 100). In order to capture a studio quality invisible black background, you want to limit the amount of light that your camera is picking up. To better control this, you will need to use a speedlight. This will give you better control of what will be illuminated in your shot.
The shutter speed you use will depend of the sync speed of your speedlight. Too slow will result in too much light. Too fast will keep any light from being able to reach your camera’s sensor. Once you have your shutter speed and ISO set, you will need to dial in your aperture. Finding that balance is going to determine how much of an invisible black background will show up in the photo. By balancing your settings correctly, you will be able to capture a SQIBB: studio quality invisible black background shot no matter the setting.
If you are interested in learning more about SQIBB, find some more work done by Meghan here.
Creative Movie Poster Design
HOW TO CREATE YOUR OWN CREATIVE MOVIE POSTER DESIGN
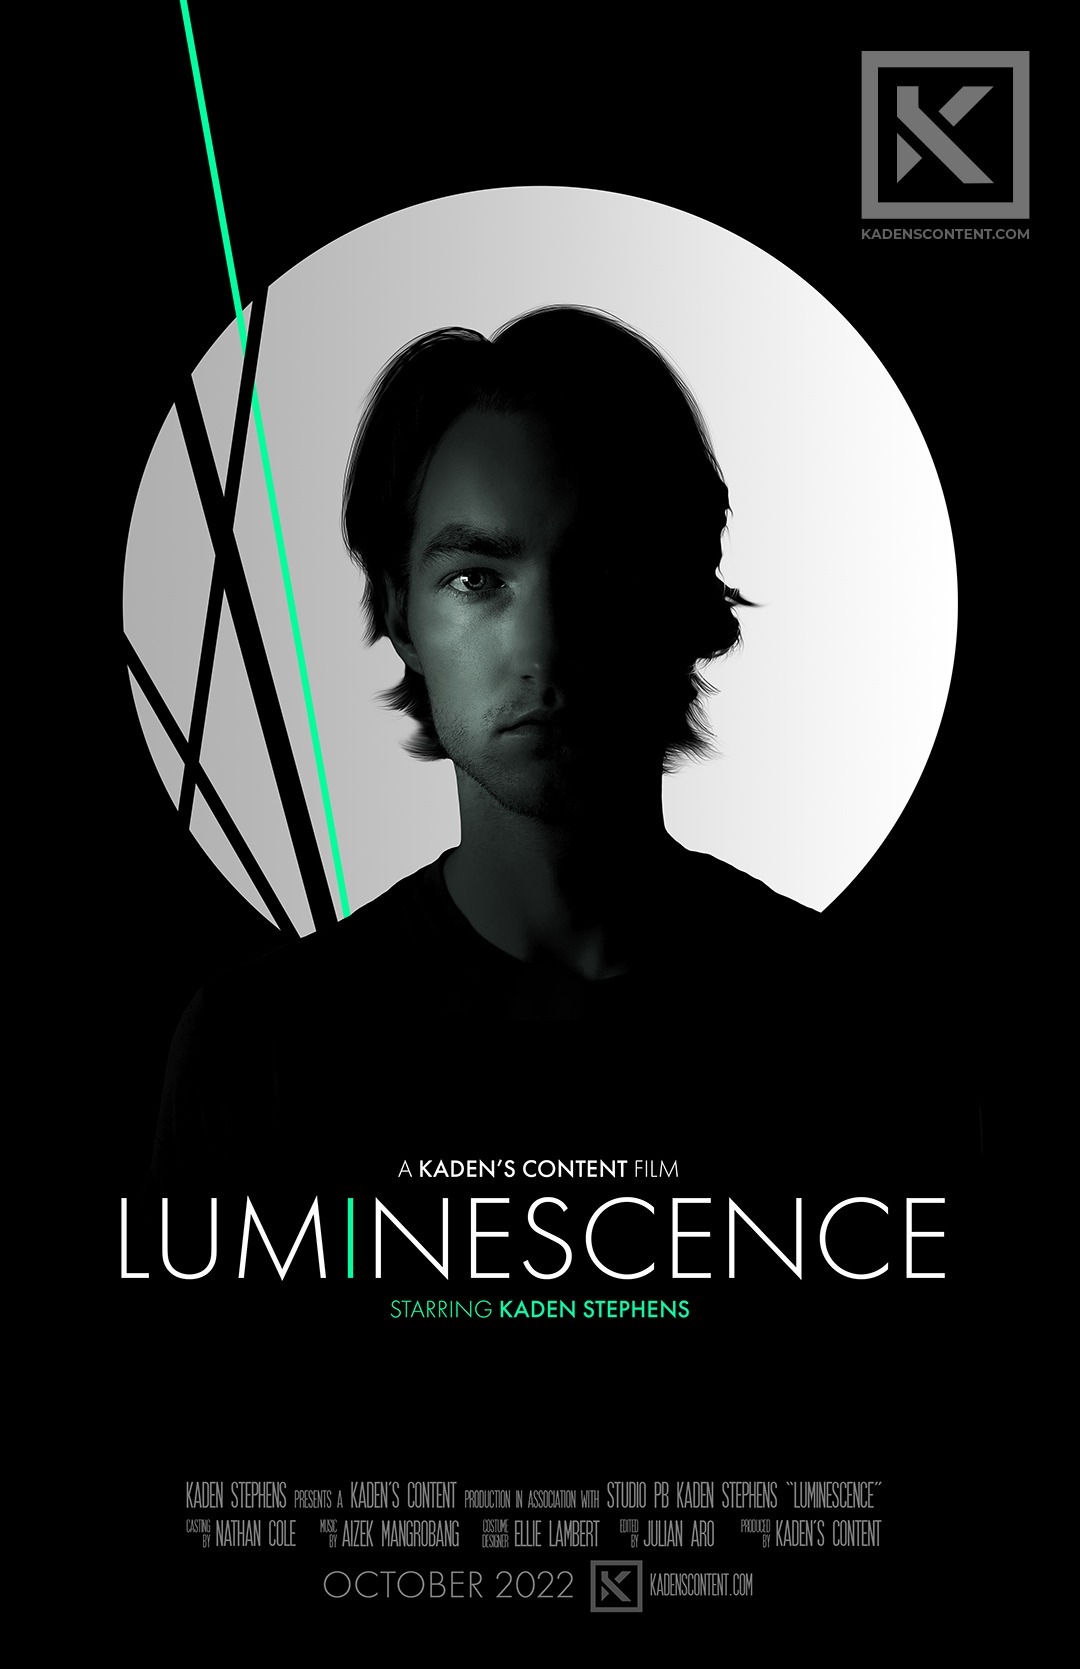
I just love when I get the chance to be creative and design something new. It’s a ton of fun and can really get the creative half of the brain working. This week, I decided to take this creativity along with my love for movies and design an awesome and creative movie poster. I really liked some of the examples that I saw at designer-daily.com and tried out some designs myself. In the end, I came up with a minimal yet creative movie poster for a movie that I titled Luminescence.

MOVIE POSTER PROCESS
The process of putting together a creative movie poster went pretty quickly. I first wanted to find a movie poster that I thought would be fun to recreate, but I ended up not finding one that I liked. Instead, I decided to be a little more creative and make my own. I started by taking a quick self-portrait. I didn’t have any professional lighting equipment with me, so I had to be a little more creative with it. I ended up just standing next to a window where my face would be more visible to the camera. Once I had the setup that I wanted, I took a few shots until I got an image that I liked.
Once I got a good self-portrait, I took it into Adobe Photoshop and Procreate to add in more creative content to make it look more like a movie poster. I enhanced the lighting slightly and added a few graphics to make it more interesting.
I didn’t want the movie poster to look too busy, so I did my best to keep it minimalistic. One way that I did this was by using a sans-serif typeface. This matched the graphics and tied into the design that I was going for. After all my efforts, I ended up with this Luminescence creative movie poster. I am super happy with how it turned out. This was a really fun way to be a little more creative, and I’d recommend trying it out for yourself and seeing what you can come up with.
New Media Project
Illustrative and Conceptual Photography
By Kaden Stephens
For this new media project, I wanted to explore different types of photography that I have never tried before. One of the techniques I tried was highly-edited conceptual photography. In these, I practiced different editing techniques to create images that hold a strong message and visuals. The other technique I tried was illustrative photography. Through this, I merged my love for photography with art. I captured images and enhanced them by adding illustrative elements. I really wanted to create pieces that looked awesome and showed creativity.
This project taught me so much. I tried so many different things that I had never used before. For the illustrative photos, I captured the images and did all the editing through photoshop, then I took them into ProCreate where I added the illustrations. I had never attempted this before, but the images turned out great. Even with the conceptual images, I learned so much. I attempted some advanced edits that I thought turned out well. I was able to use different tools in photoshop that helped me create more interesting designs with the images. Overall, I am happy with how everything turned out.
CONCEPTUAL PHOTOGRAPHY

IN BETWEEN


To capture this picture, I went out to the sand dunes with some friends. In the first shot, I had one of my friends stand on a distant sand dune while I captured him with a zoom lens. I was able to angle the image just right to make him look like he was standing alone in the desert. The second image was of some mountains right beside the sand dunes. In editing, I combined both images to make them look like a combination of two different worlds. I liked the contrast between the empty desert and the vegetated mountains.

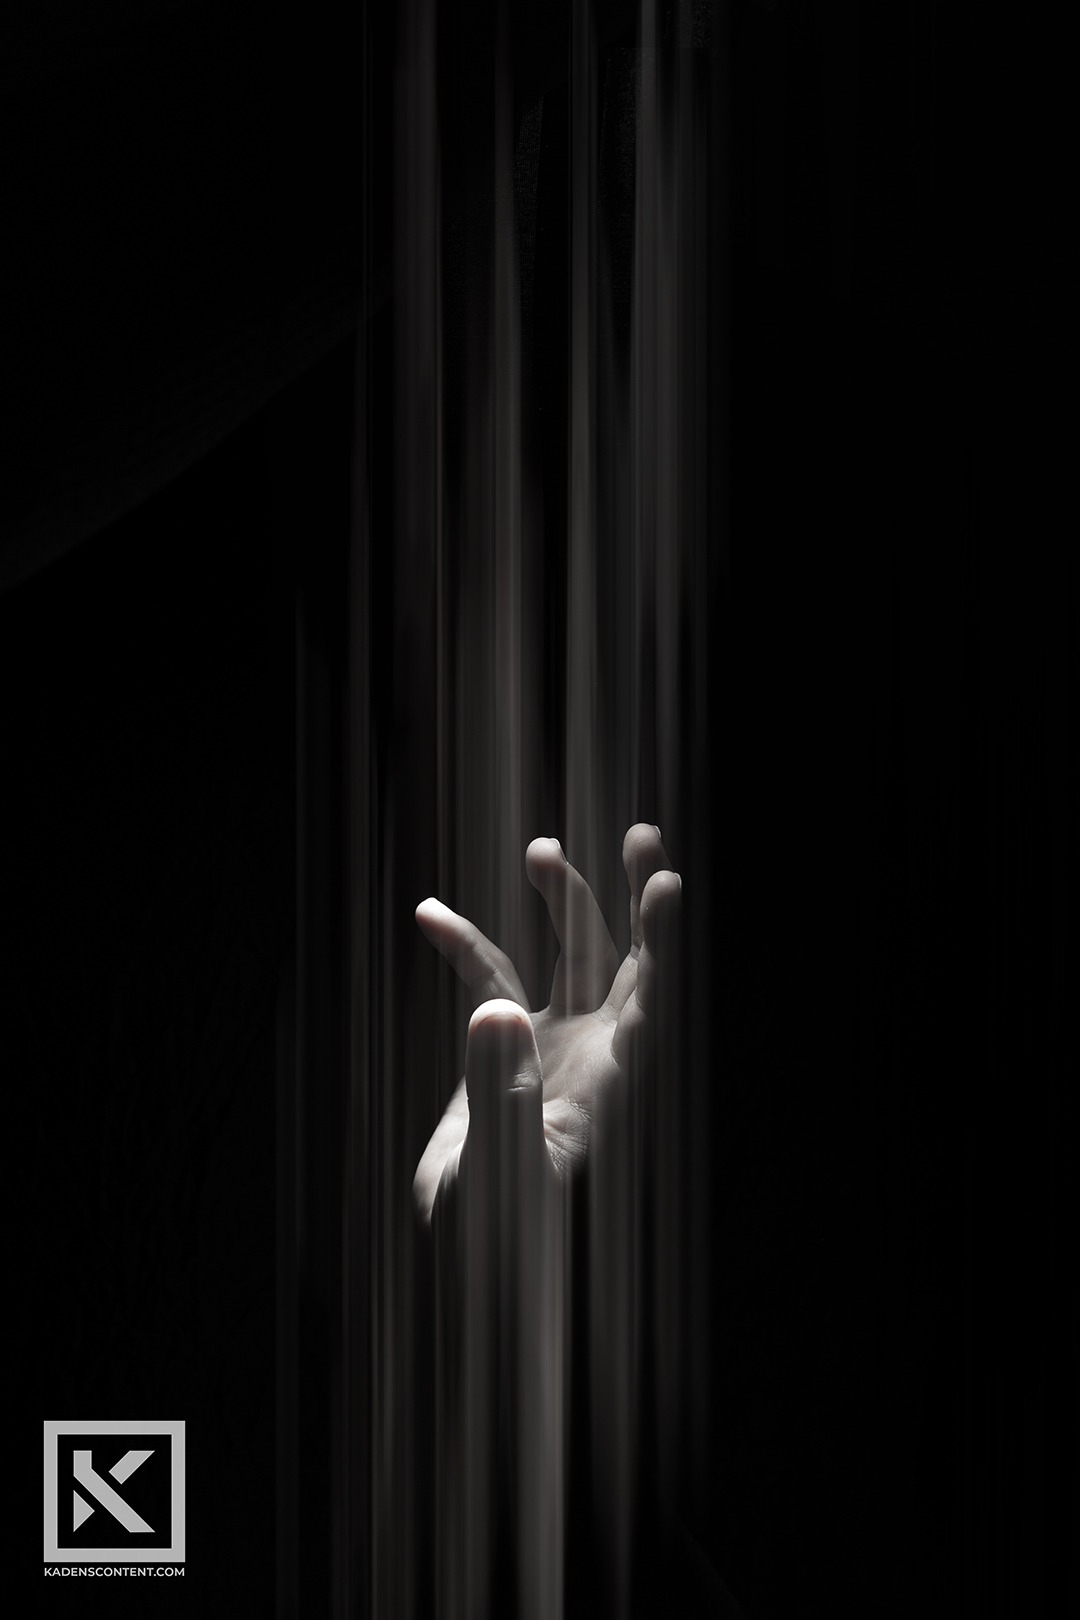
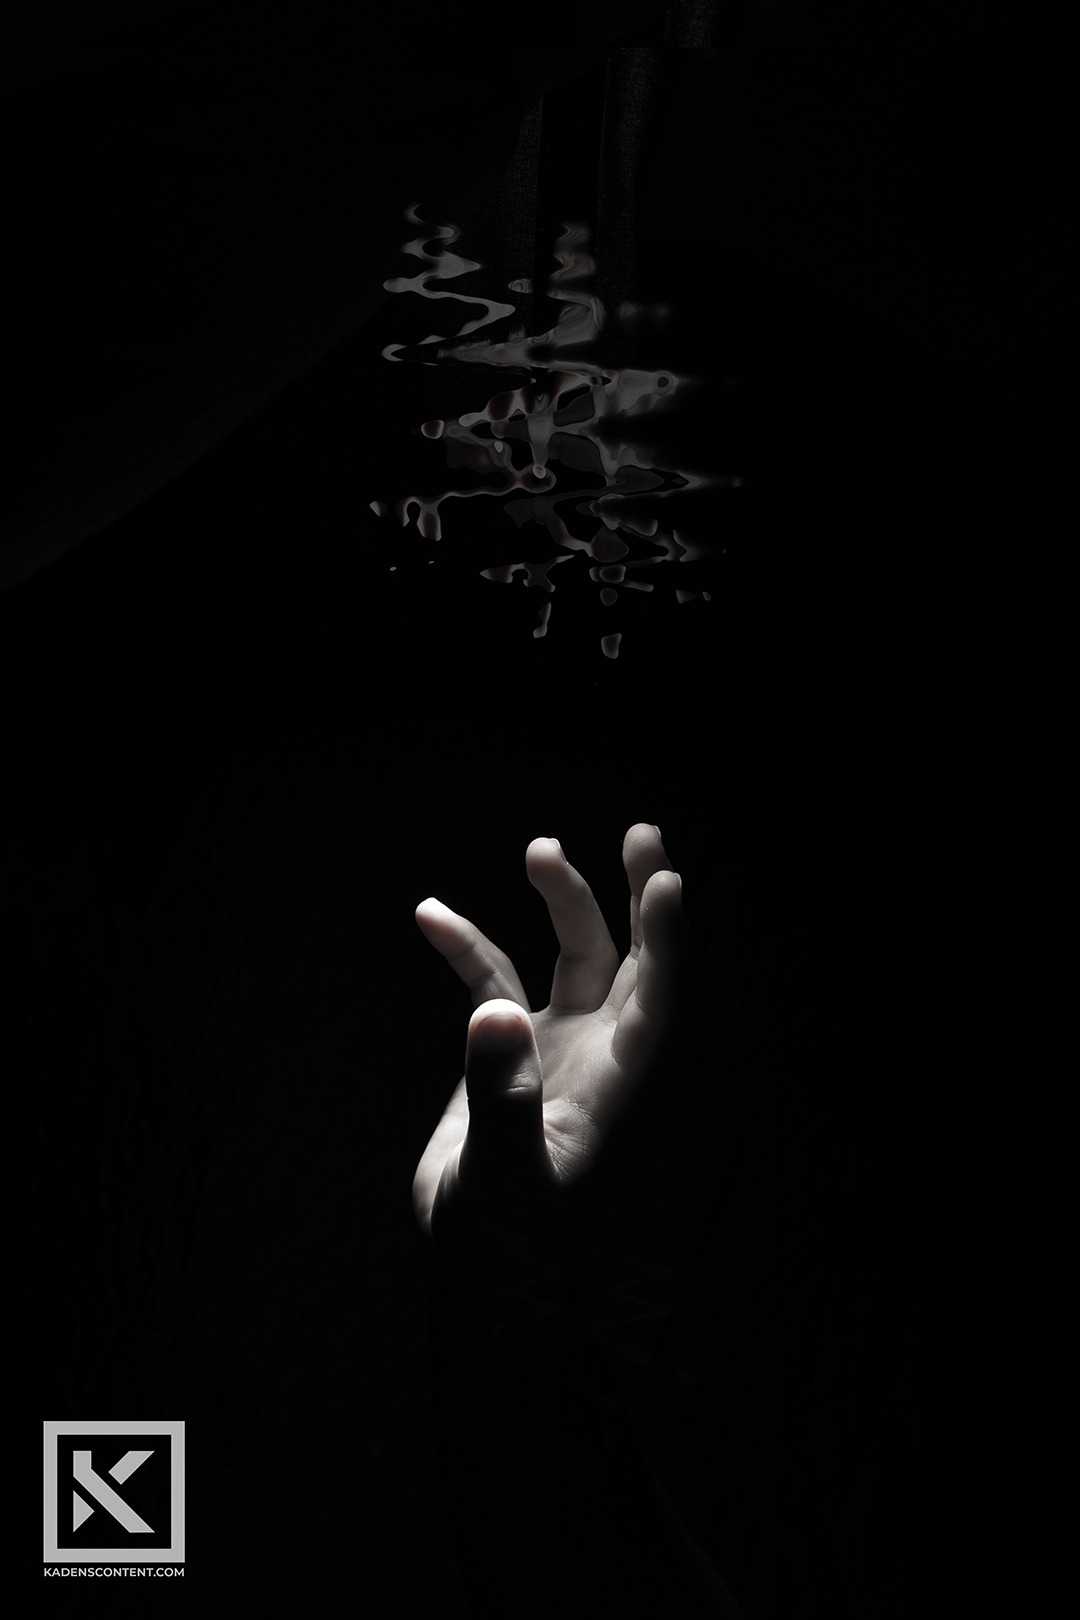
FLOW

To capture this next image, I again had one of my friends model for me at the sand dunes. I liked the clothes he was wearing and thought they would work well with the edits I was going to attempt. After I did some minor edits through Camera Raw, I took the image into Photoshop where I would add the flow effects. I had some fun with the different curved lines I created and thought the final image turned out great.
ILLUSTRATIVE PHOTOGRAPHY

EYES FROM ABOVE
While we were at the sand dunes, we came upon a small bird’s nest where there was a bird flying around. I quickly pulled out my camera and captured a picture of it perched on the edge of a branch. I took this image and decided to do some draw-overs to make it a little more unique. I first removed the colors and created a subtle outline along the outside edge of the main image. I then took the outlines and created a mirroring silhouette of the bird and sat it just below the main subject. I drew in a few ink drips and dust clouds to create a more spooky mood. Overall, I thought it turned out pretty cool.

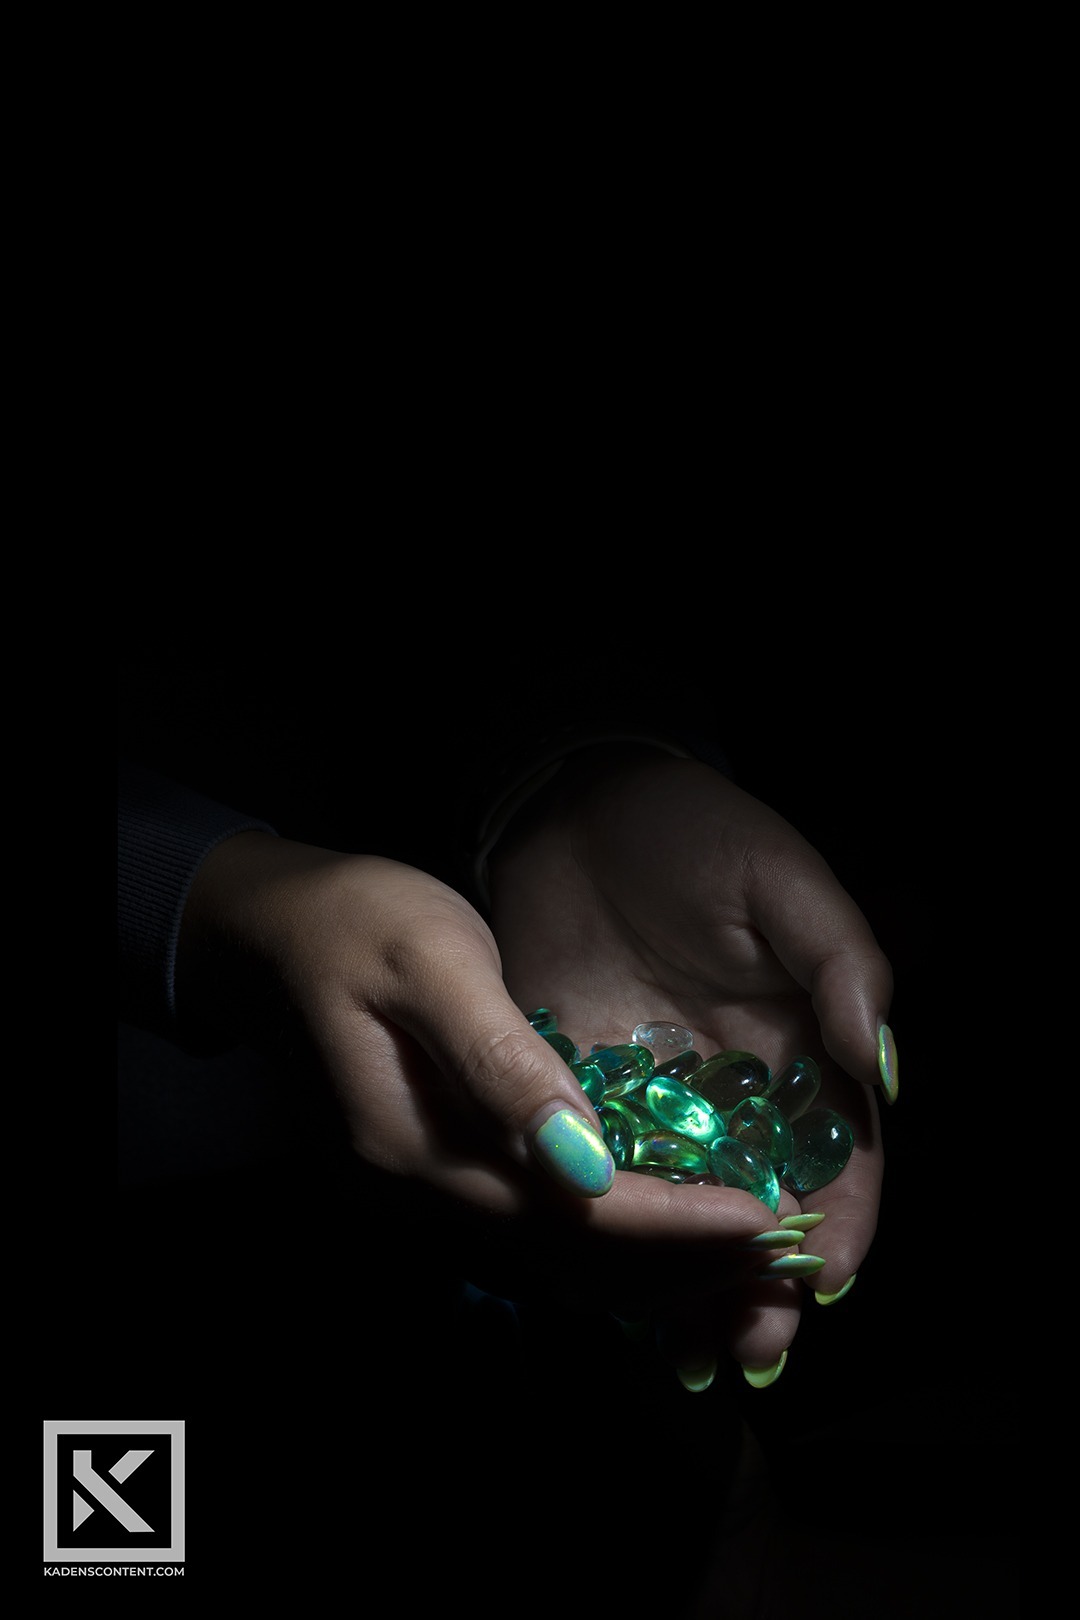
QUEEN OF HEARTS


In this next piece, I combined four separate images to create a more artistic compilation. I was able to capture some of the more subtle images of the birds and the leaves while I was at the sand dunes. I was able to capture the portrait of my friend later in a separate location. I started off by doing all of my photo edits via digital illustration. The app I used was ProCreate. I used a smudge tool to smooth out the skin and several other brushes to add some shading. Once I had the look I was going for, I added the shapes and gradients in Photoshop. I love how it all turned out.
FIND ME ON SOCIAL MEDIA
kaden’s content