BLOG
Manly Bands
Manly Bands
Graphic Design | Product Branding | Amazon Marketing
Manly Bands
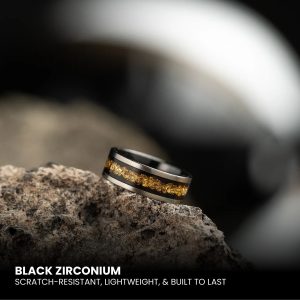
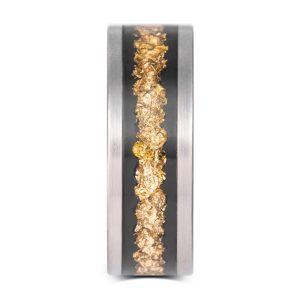
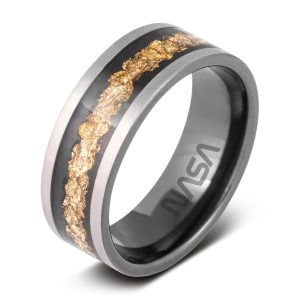
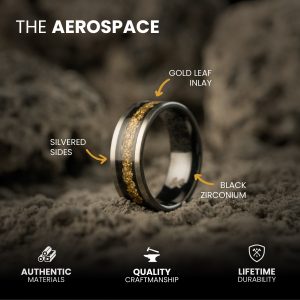
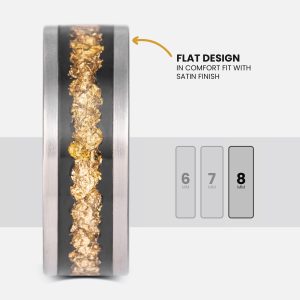
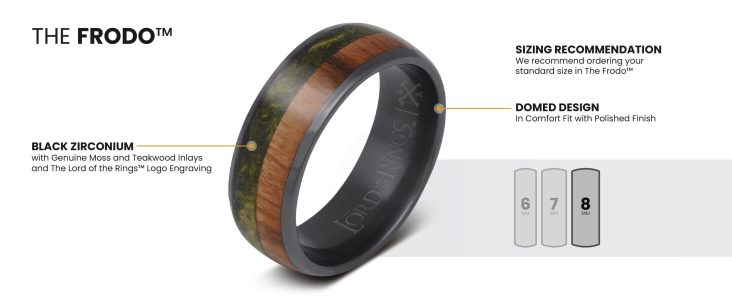
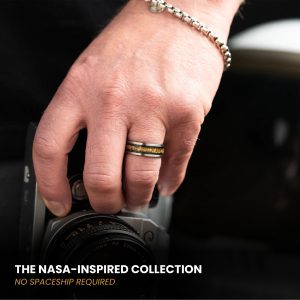
The Manly Bands project was focused on creating visual content to help the brand sell more effectively on Amazon. I designed product images, infographics, and Brand Store layouts that showcased the quality, style, and personality of the rings. My work helped create a consistent and appealing look across the brand and its various licensed collections, making it easier for customers to understand and choose products.
CLIENT:
Top Notch
DATE:
August 2025
BRAND STORE:
View on Amazon
Top Notch Jerky
Top Notch Jerky
Graphic Design | Product Branding | Amazon Marketing
TOP Notch jerky
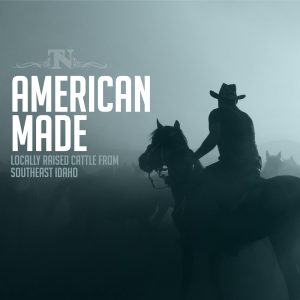
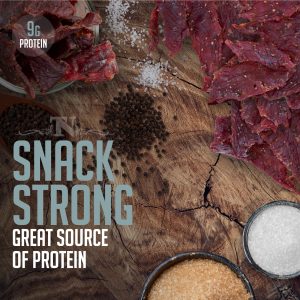
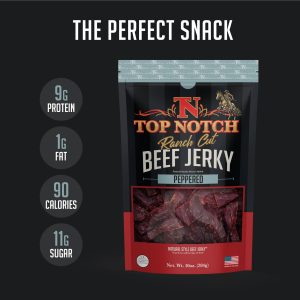
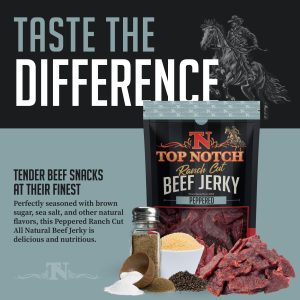
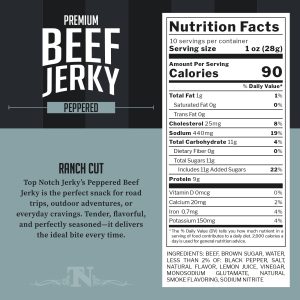
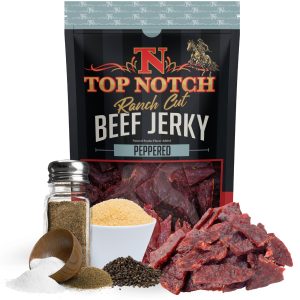
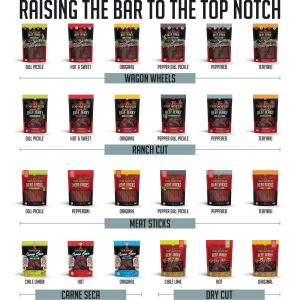
For the Top Notch Jerky project, I enhanced product images, the Brand Store, and A+ Content to make them more visually appealing and drive higher sales. I used color and design to clearly differentiate product flavors while creating a cohesive, fun look across the brand’s presence on Amazon. The updates not only improved visual storytelling but also strengthened brand recognition and helped customers connect with the products more easily.
CLIENT:
Top Notch
DATE:
August 2025
BRAND STORE:
View on Amazon
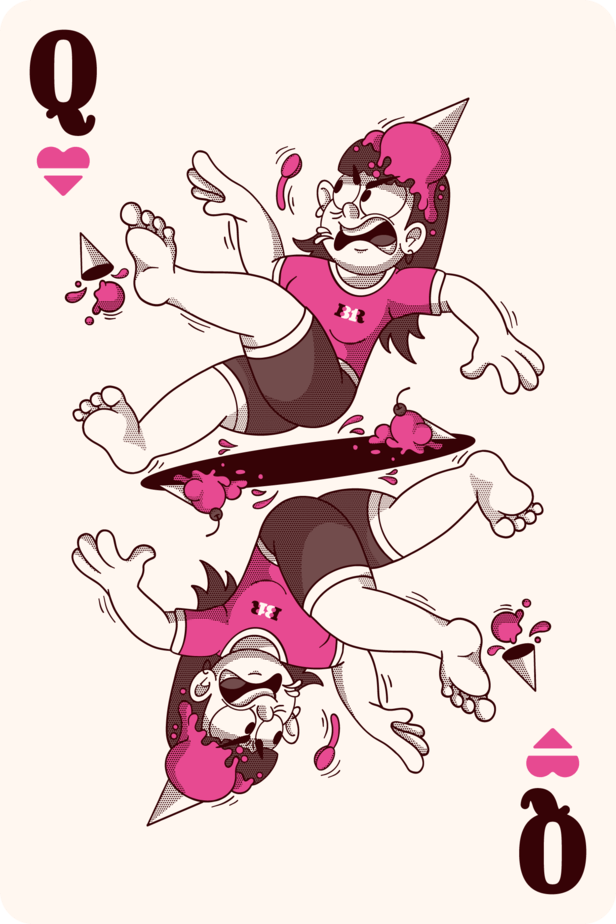
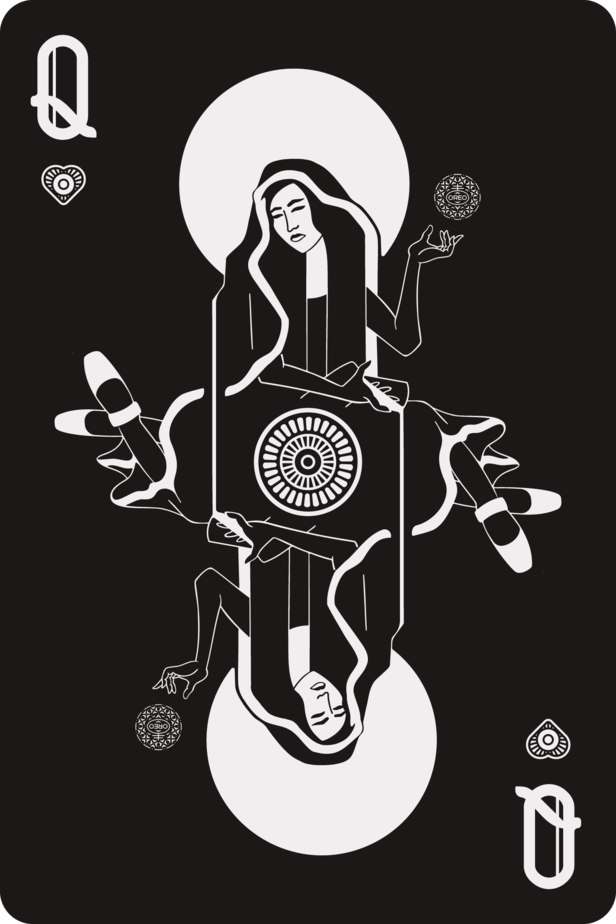
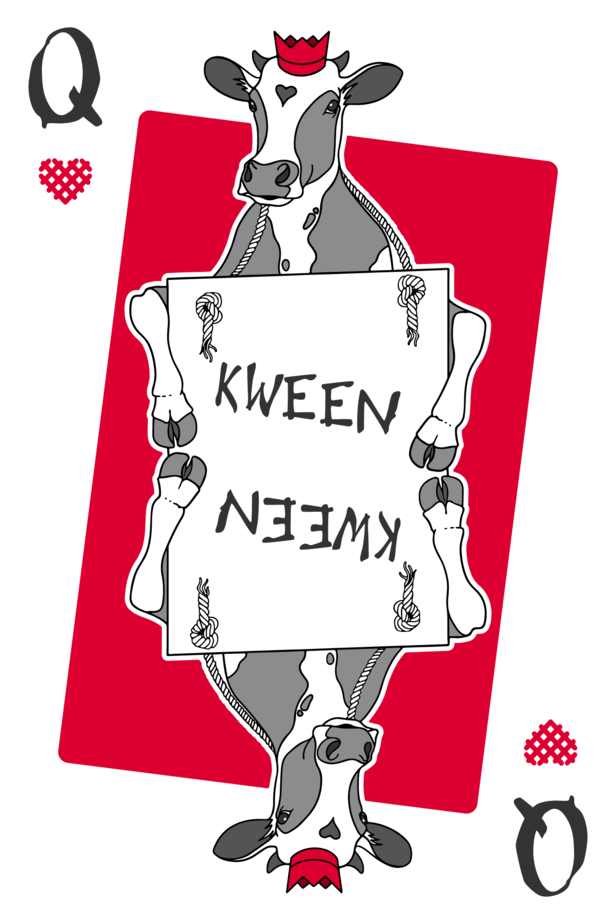
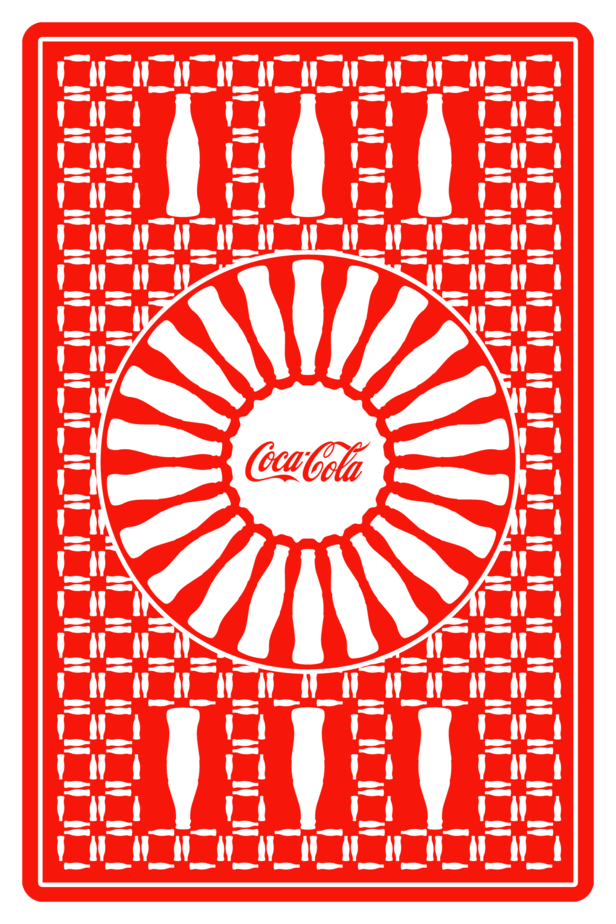
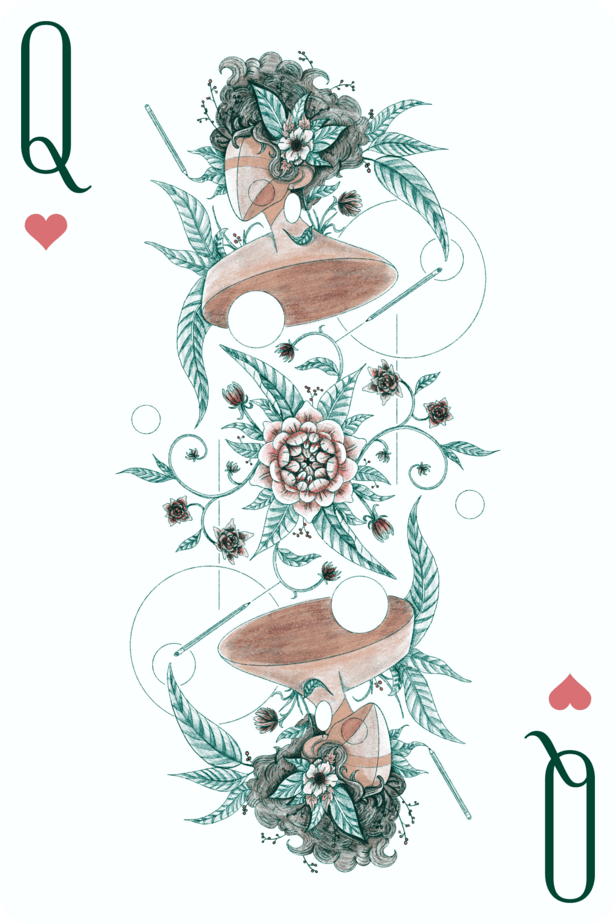
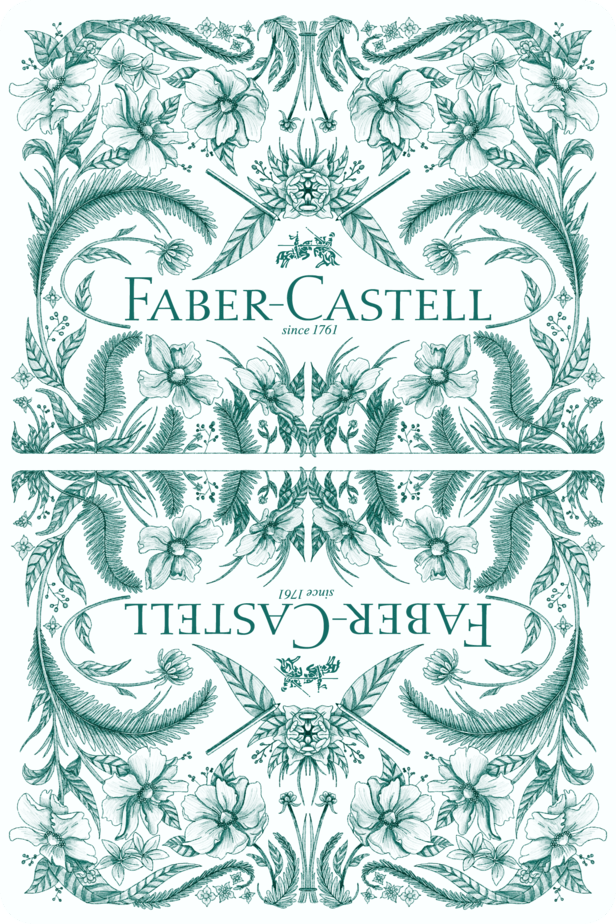
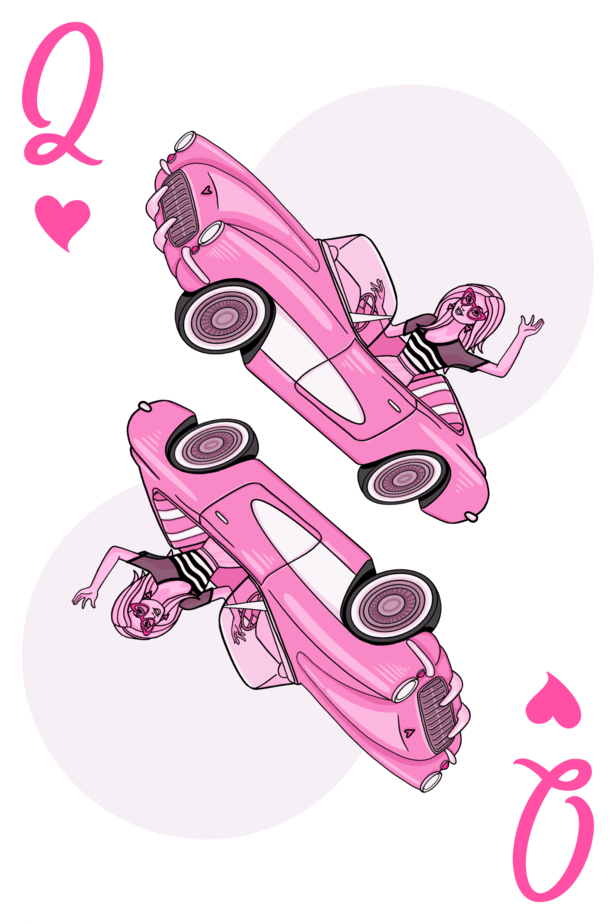
Queens of Hearts
Queens of Hearts
Illustration | Graphic Design
Queens of hearts
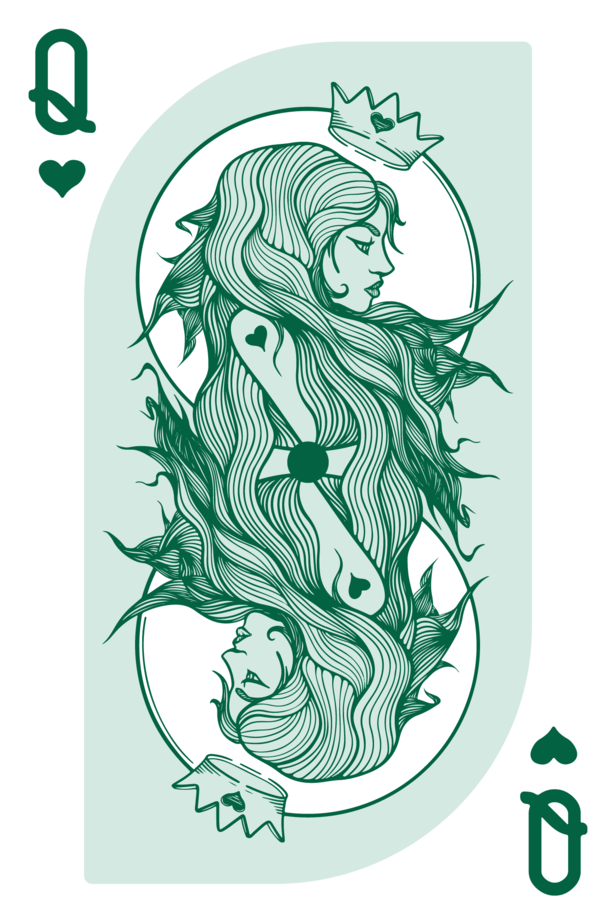
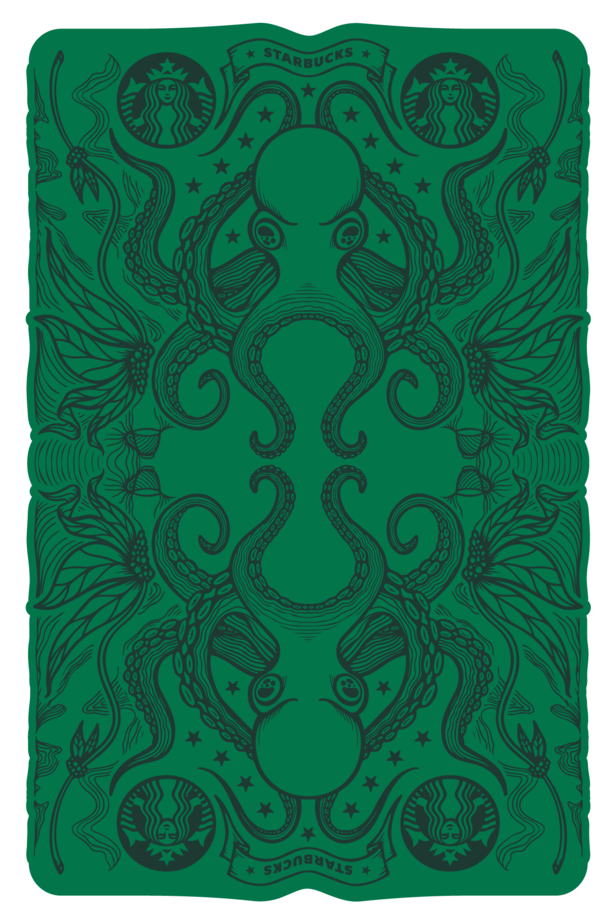
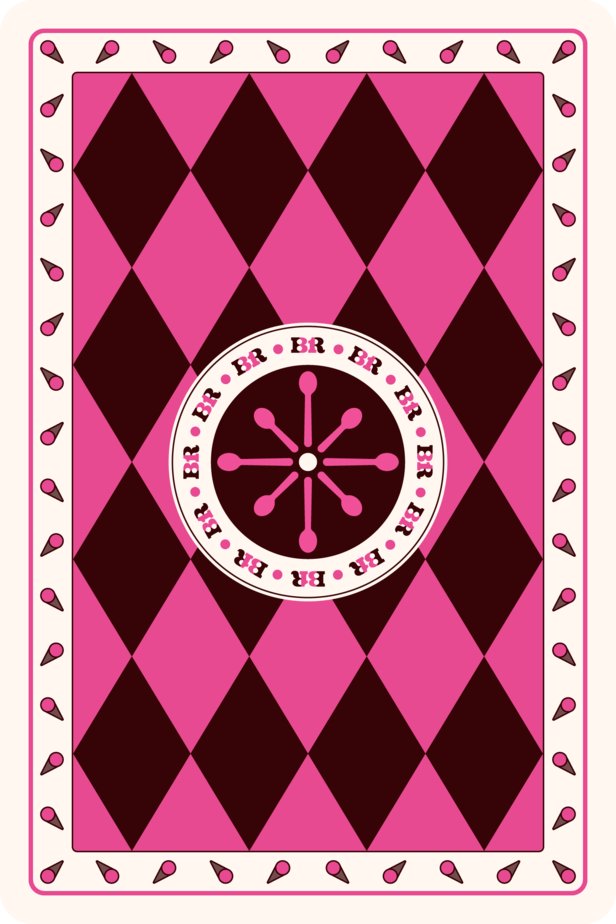
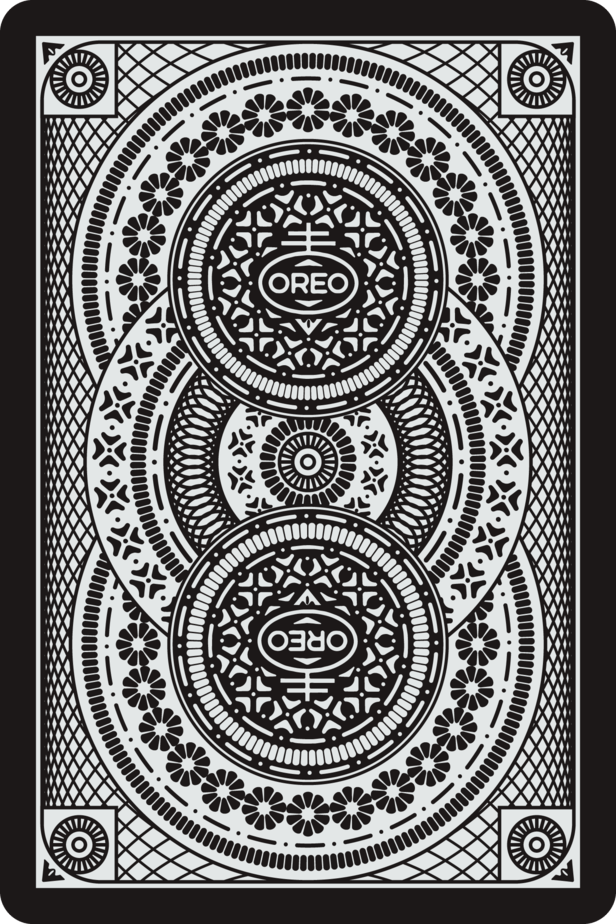
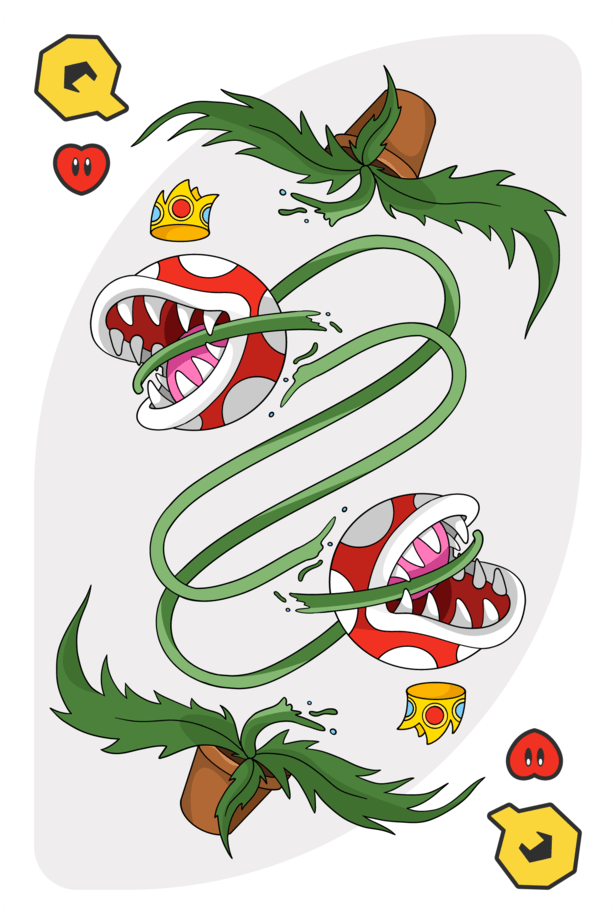
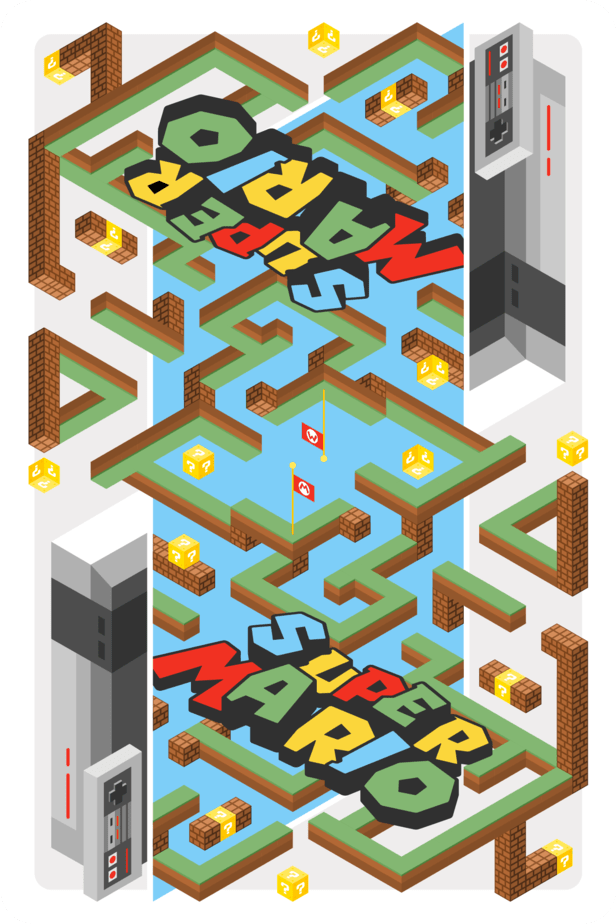
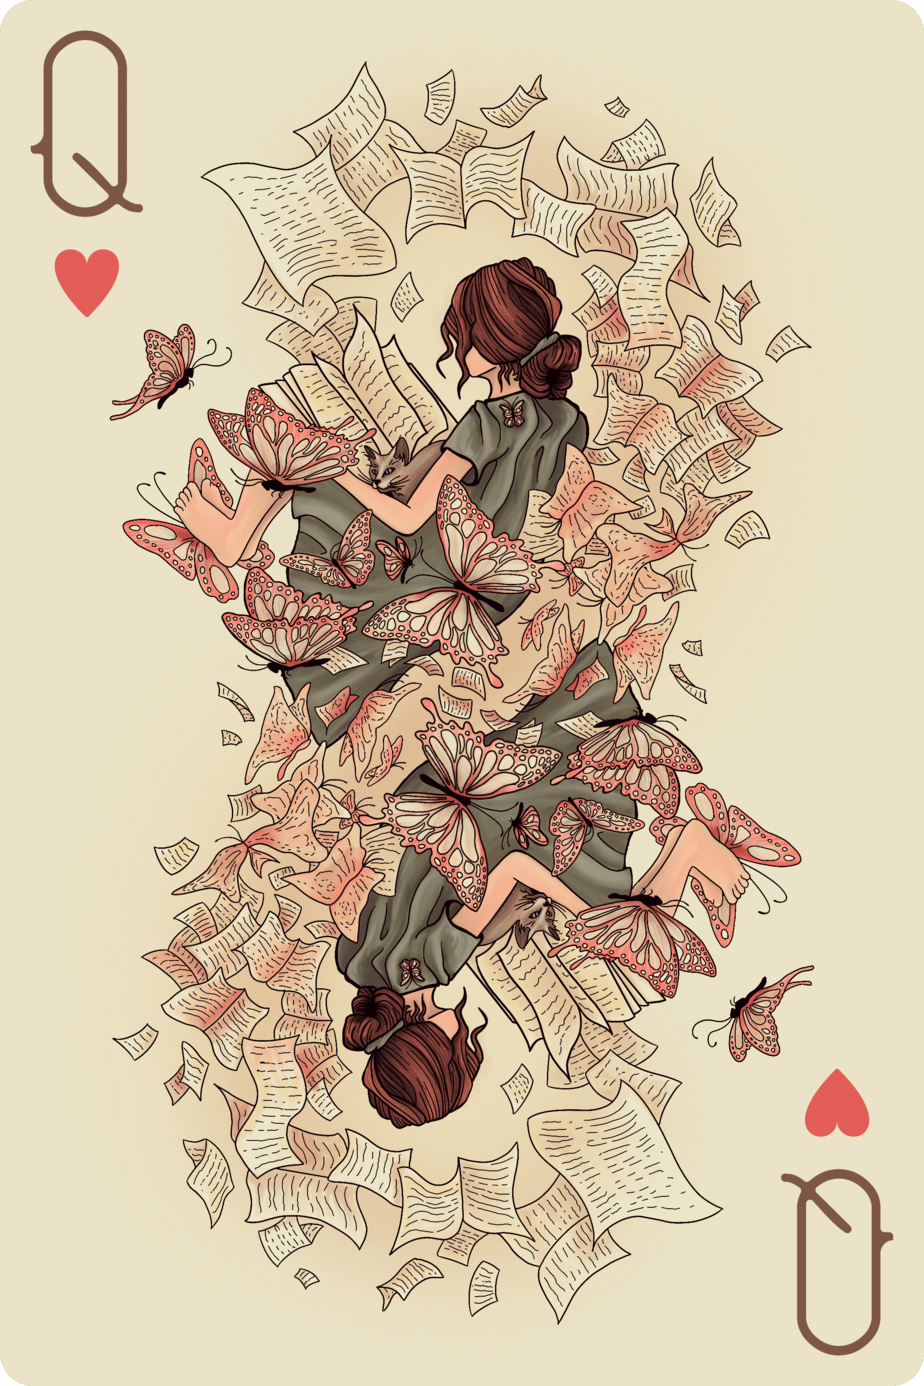
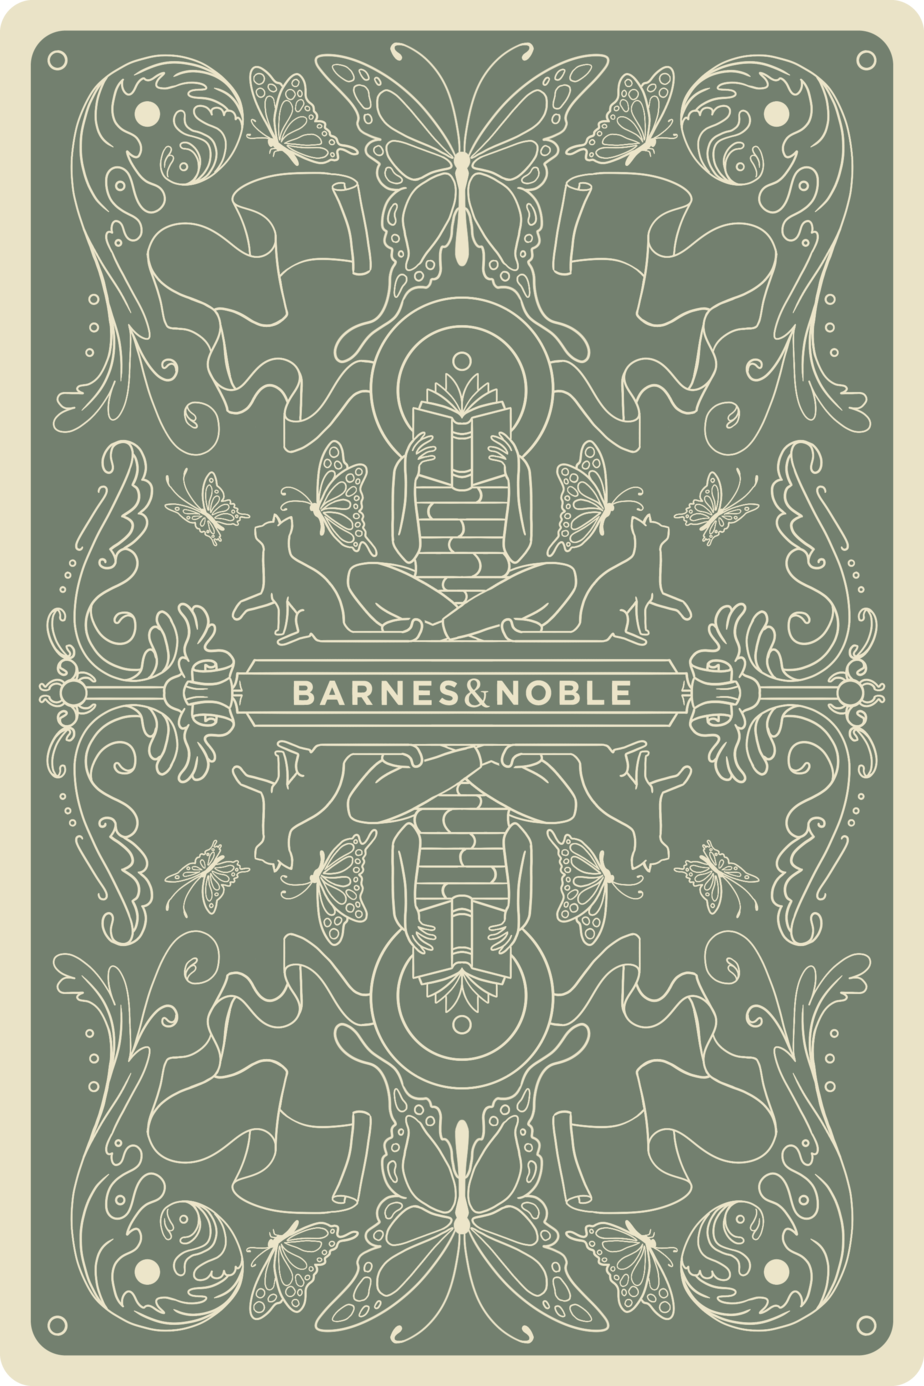
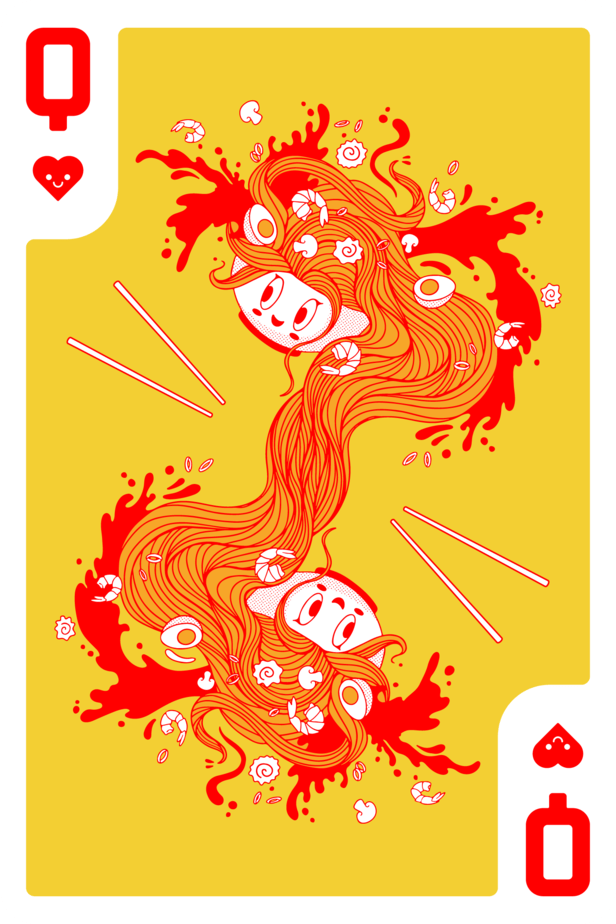
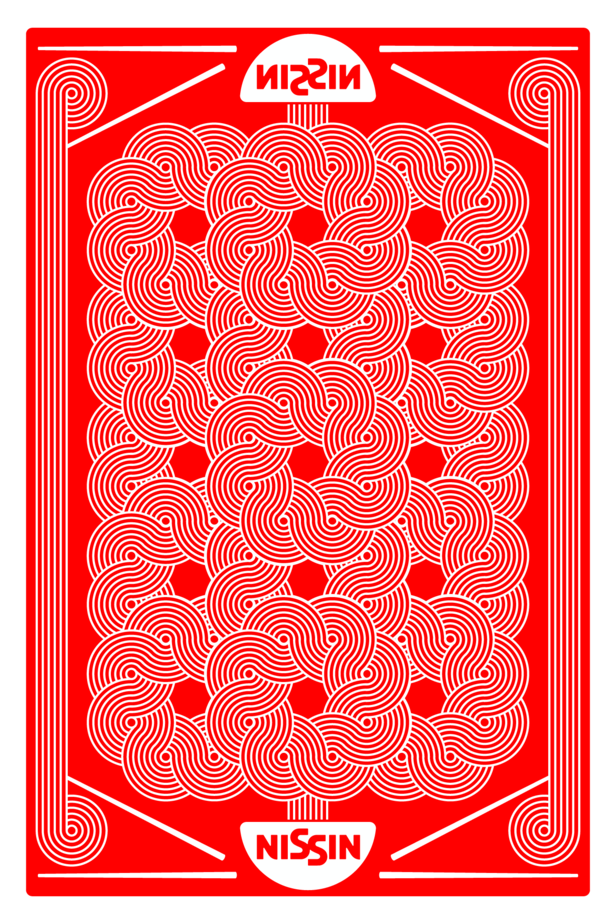
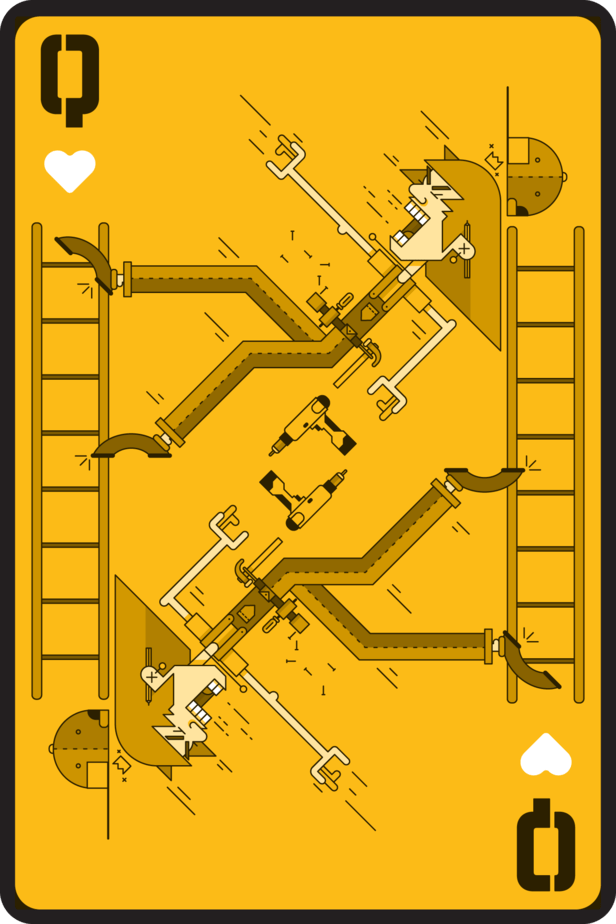
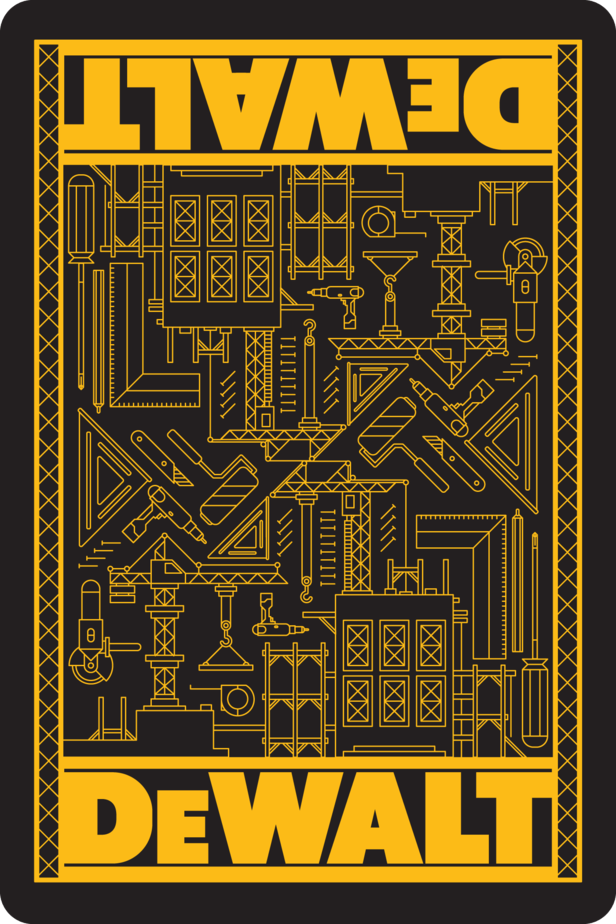
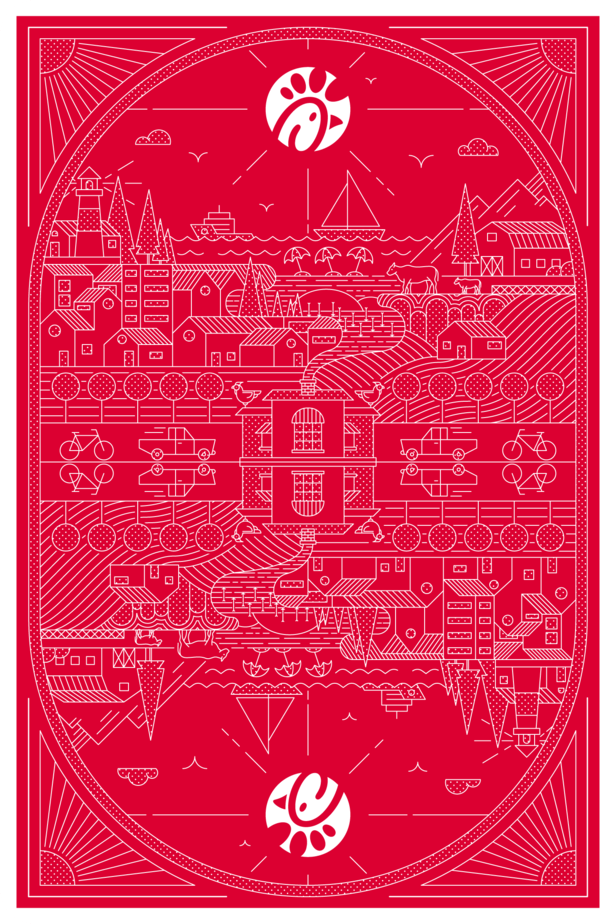
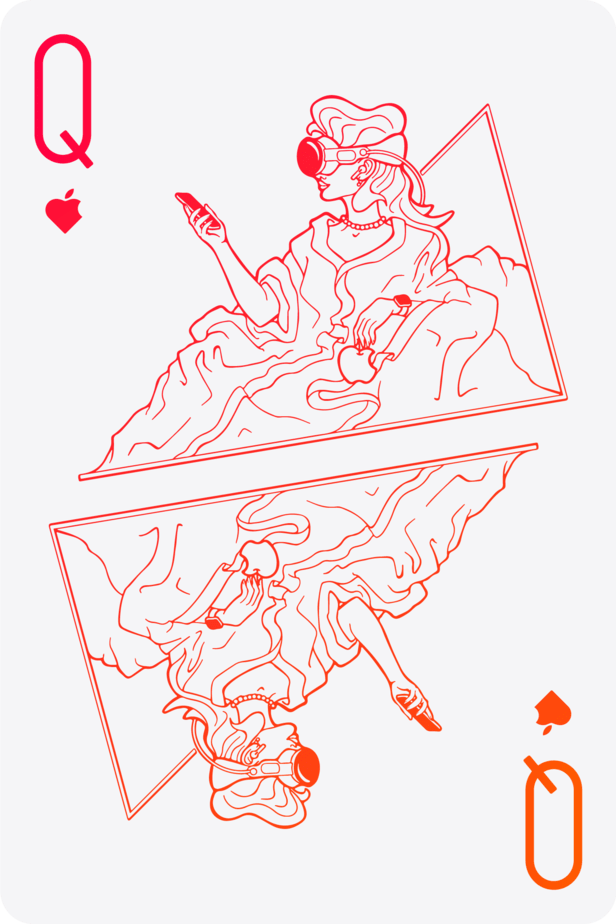
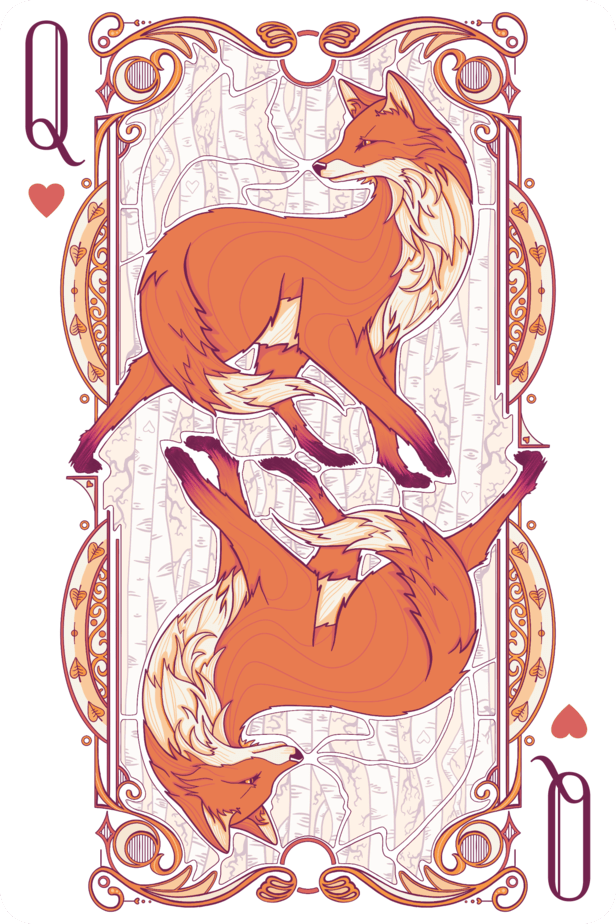
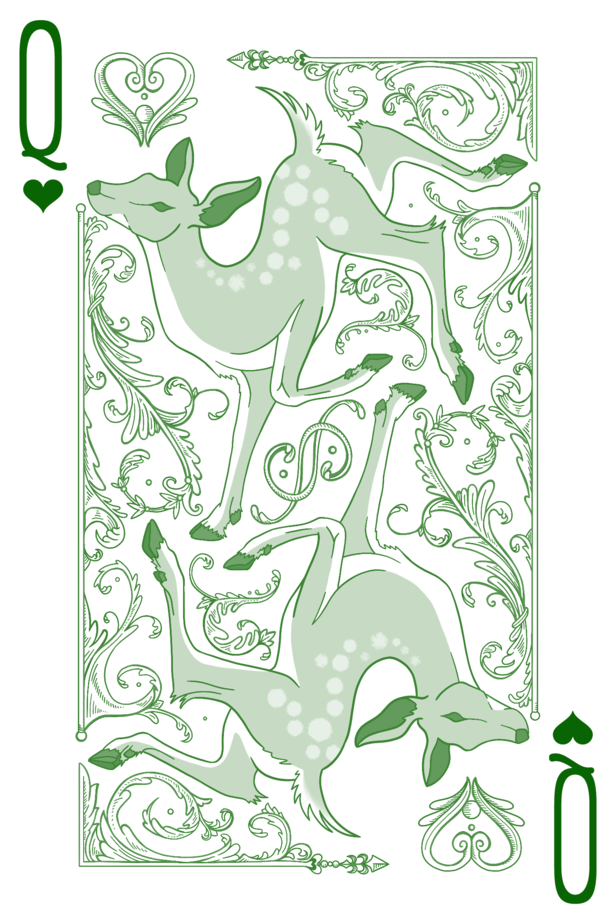
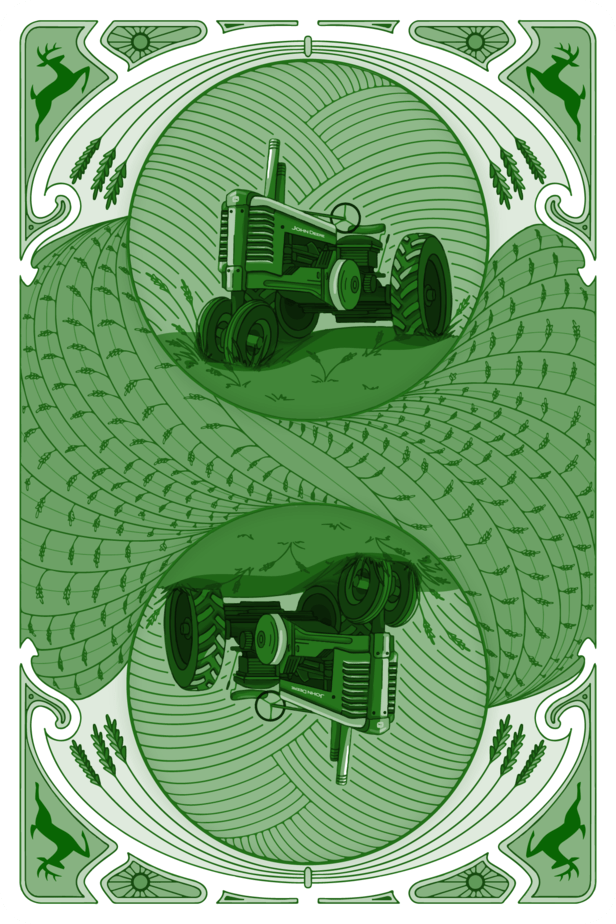
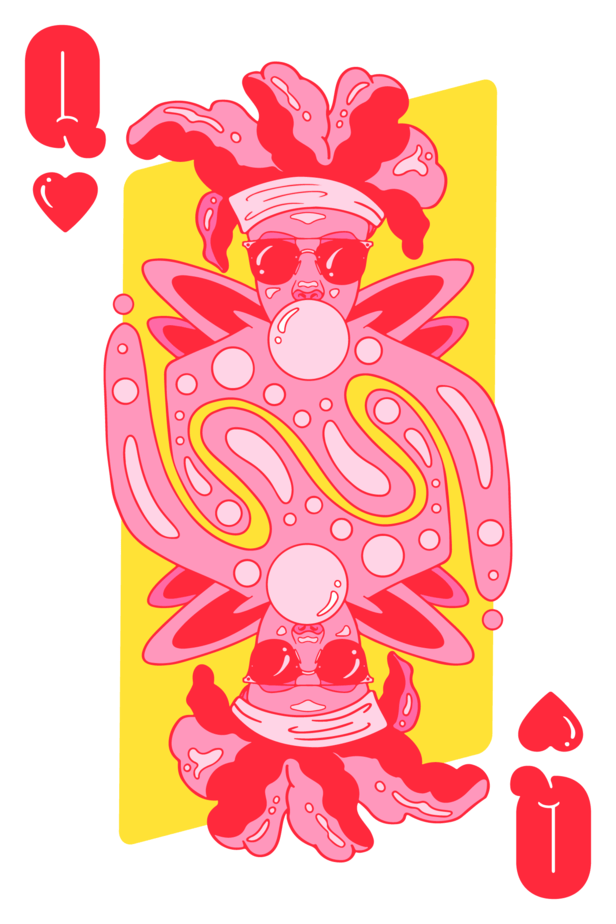
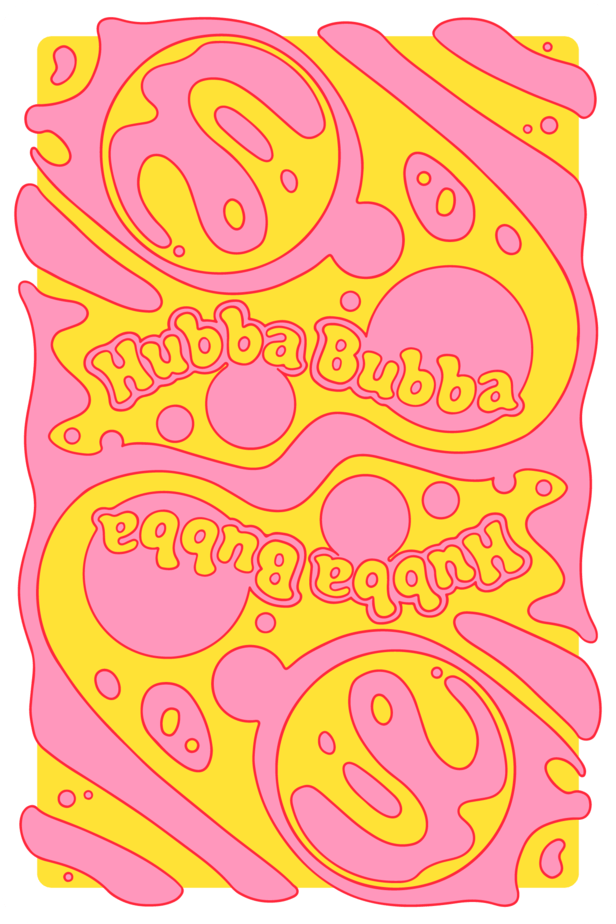
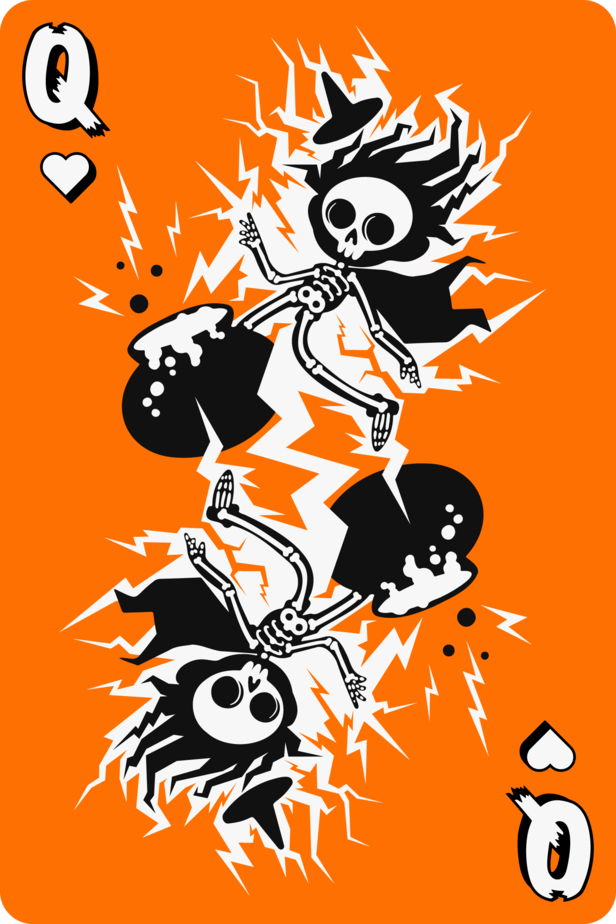
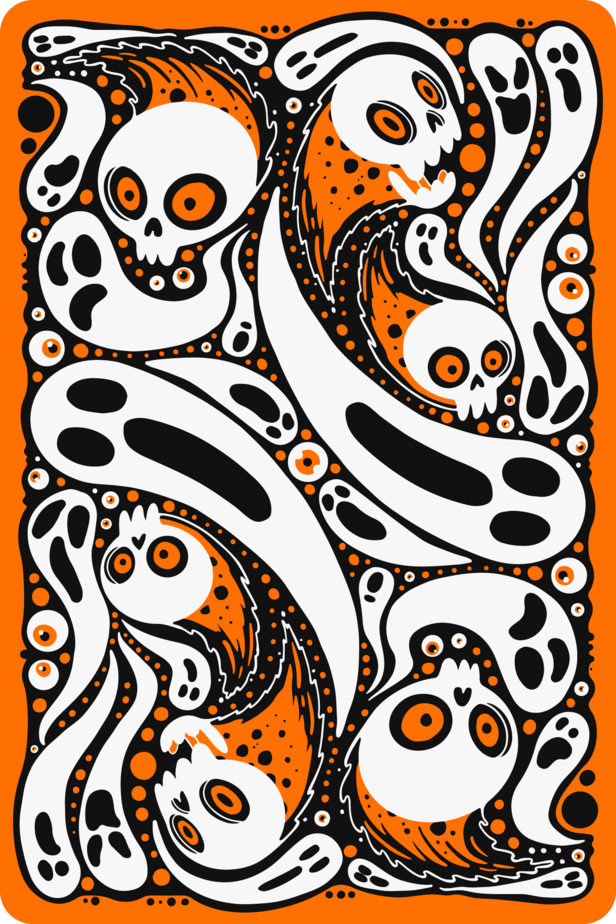
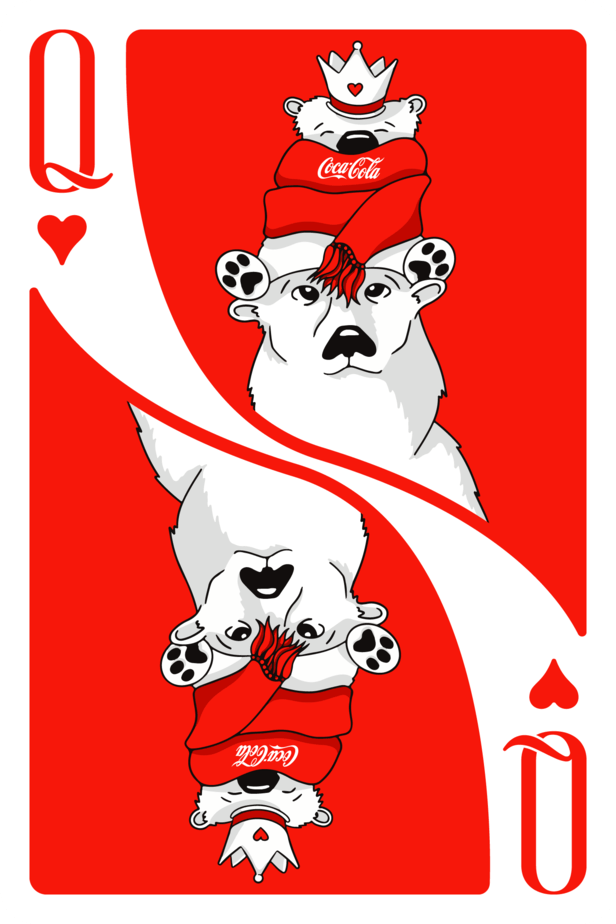
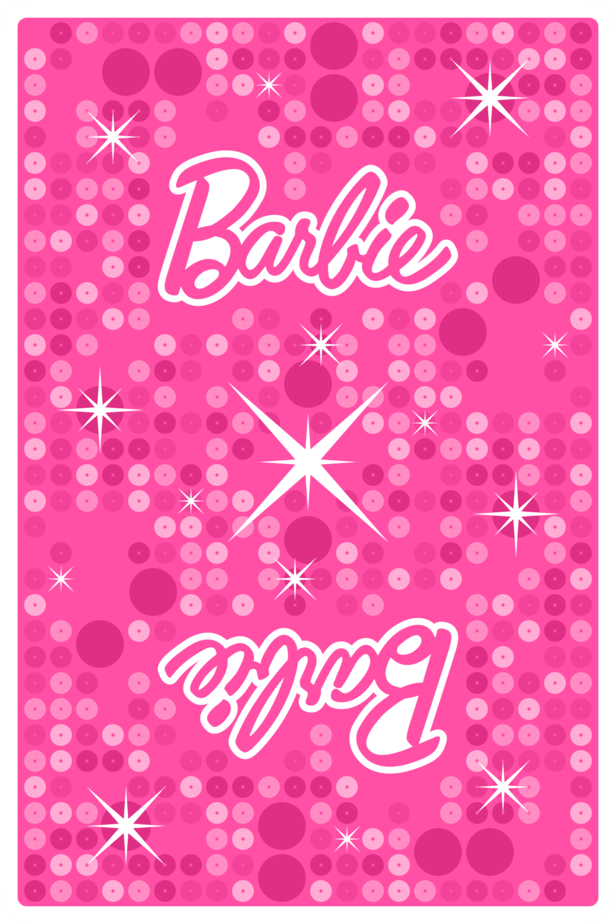
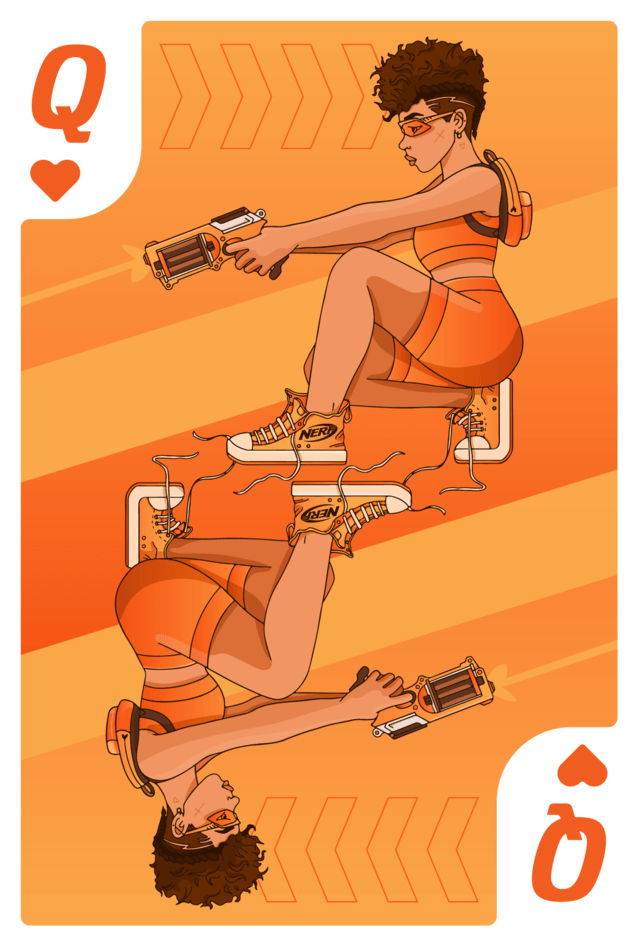
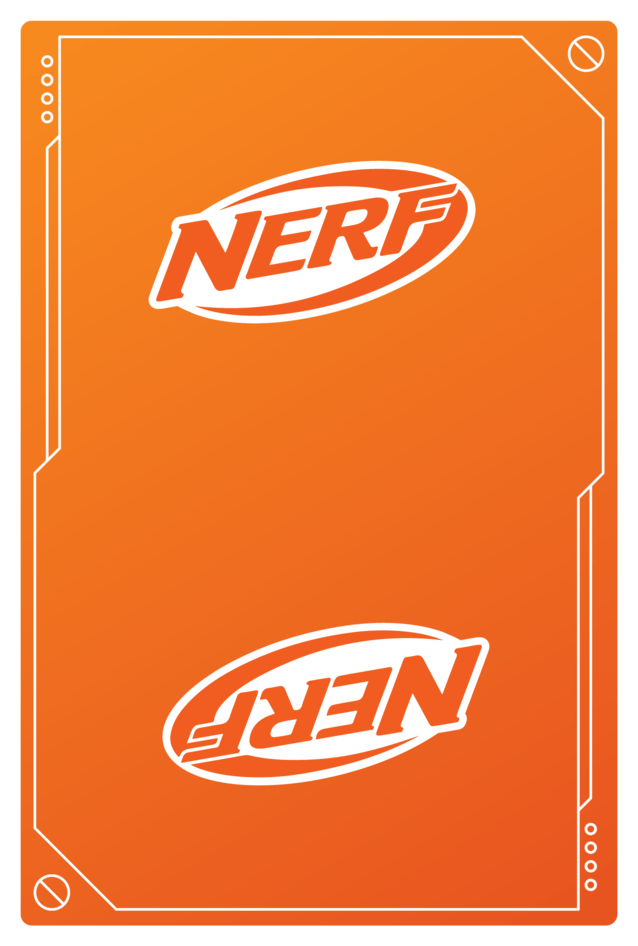
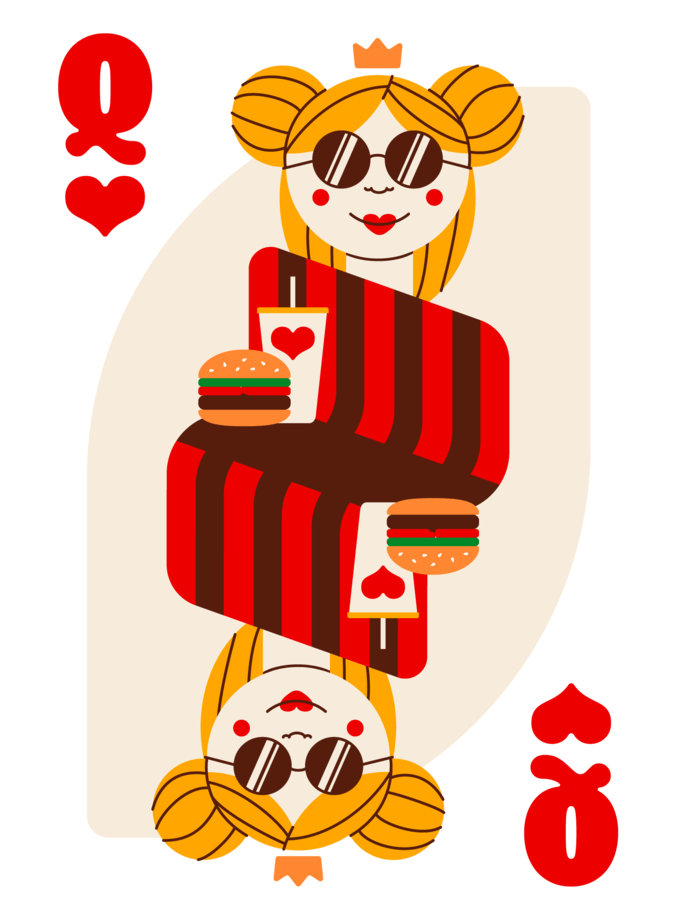
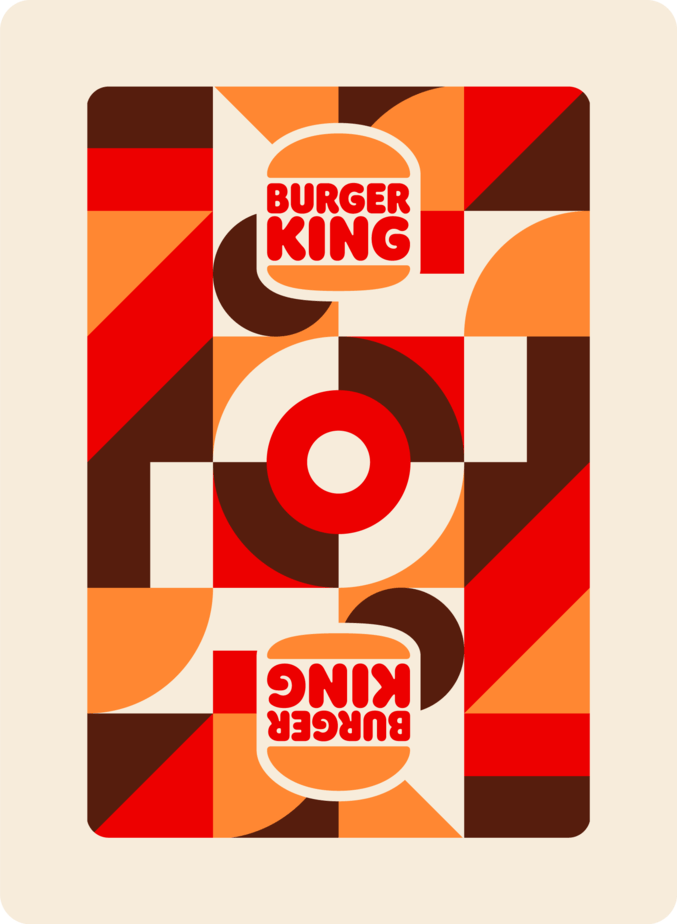
In 18 days, I created 36 brand-inspired playing card faces. Drawing from my love of games, I challenged myself to create 18 unique Queen of Hearts cards each with its own unique style and brand representation.
CLIENT:
Personal
DATE:
March 2024
CASE STUDY: Download
KADEN'S CONTENT © 2025
Altera: Space Agency
Altera: Space Agency
Illustration | Animation | Group Project
Altera
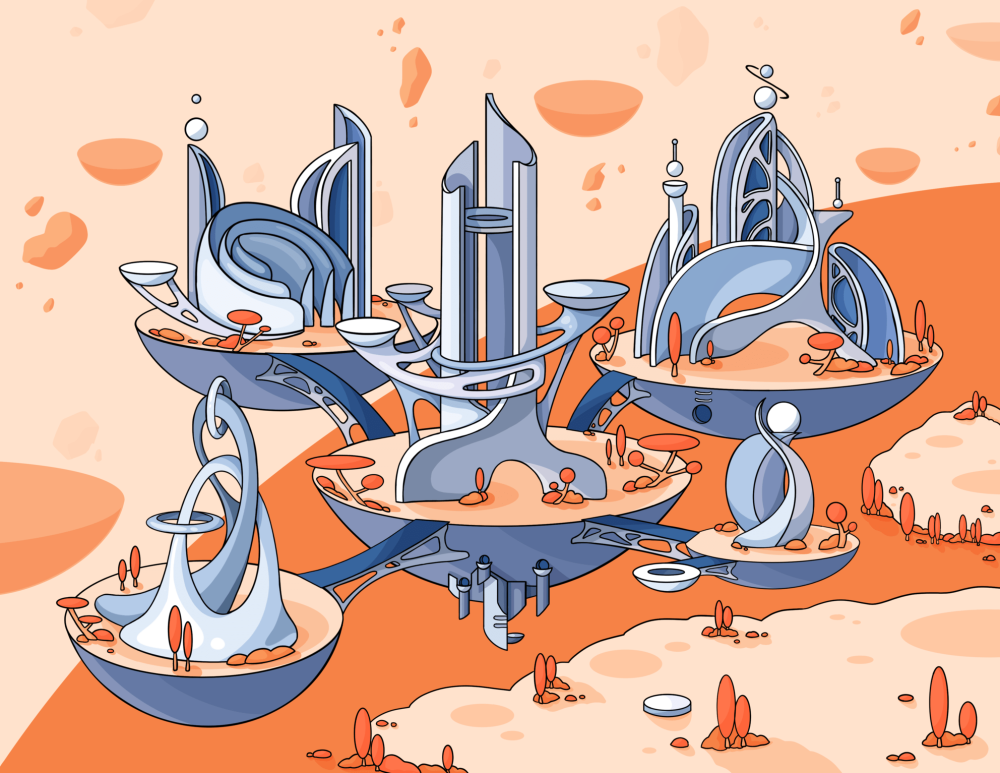
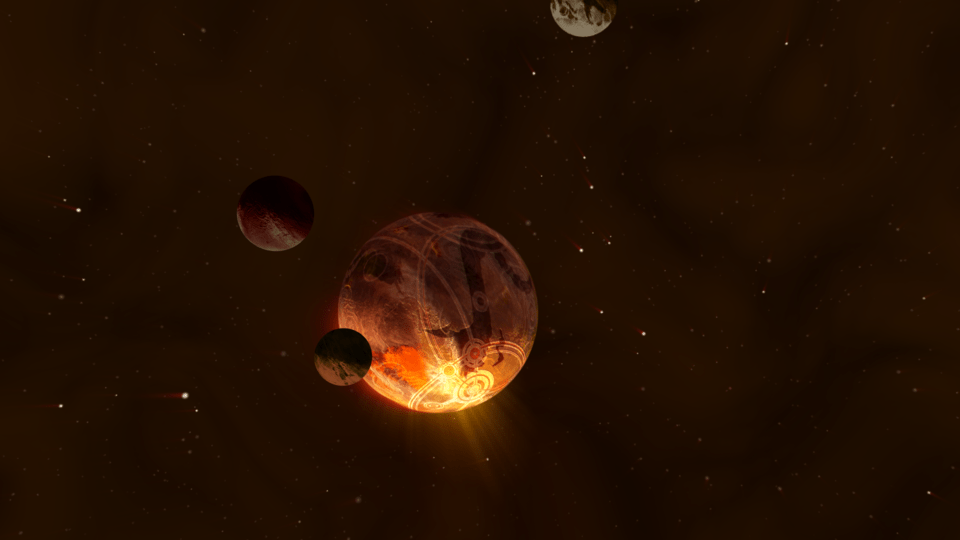
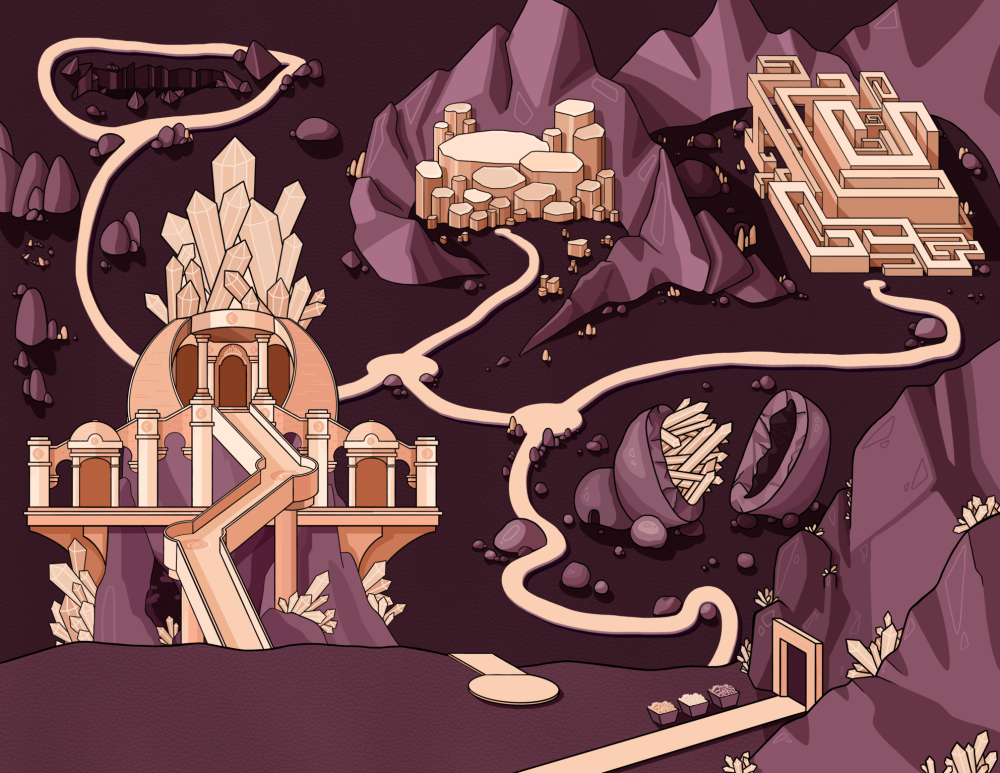
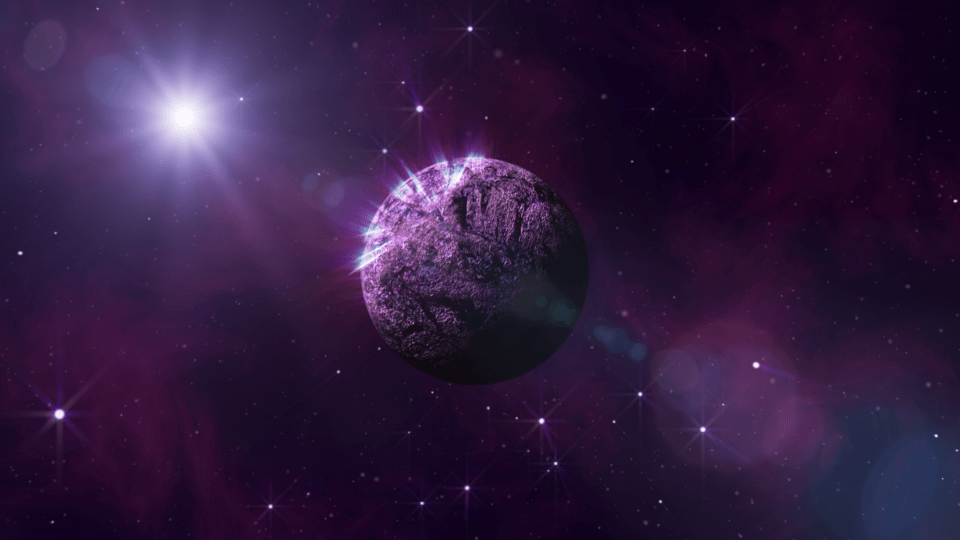
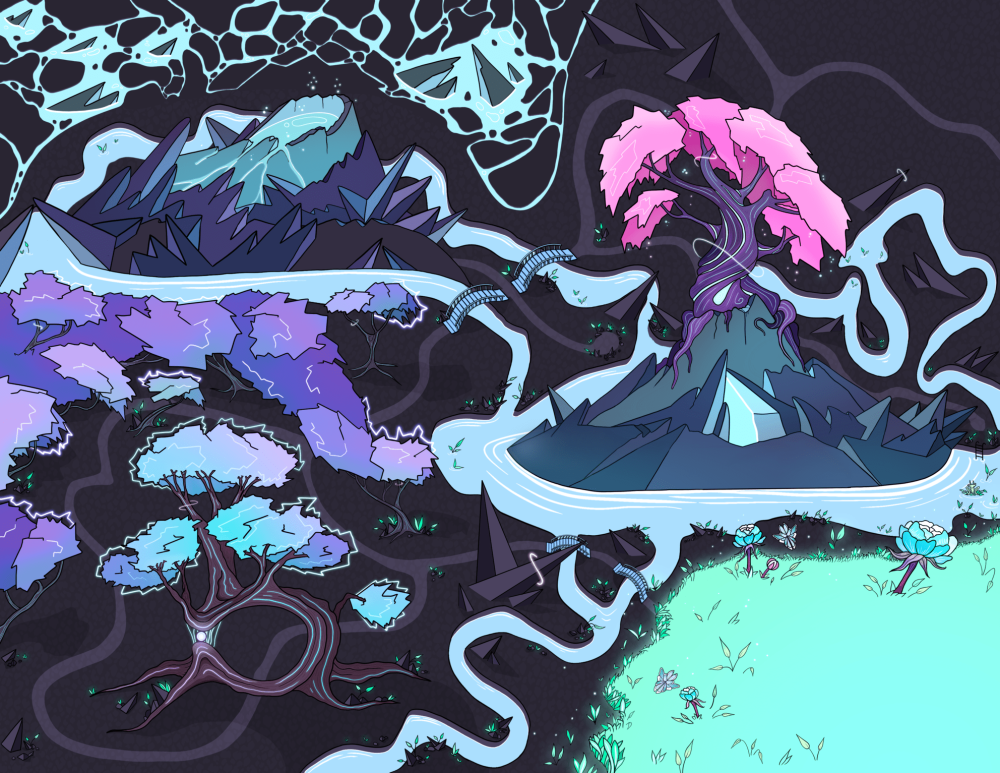
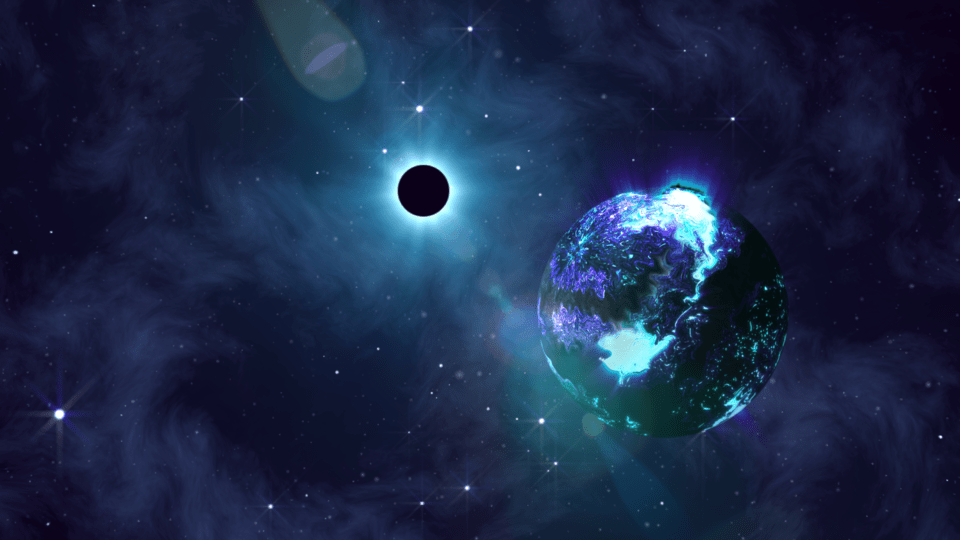
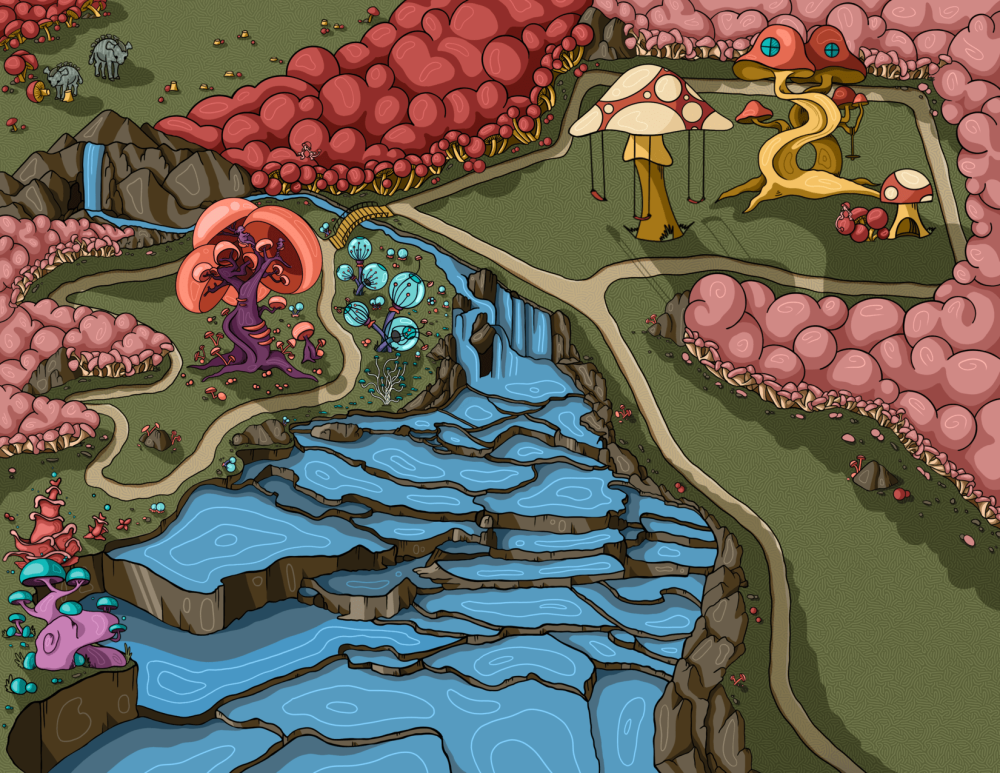
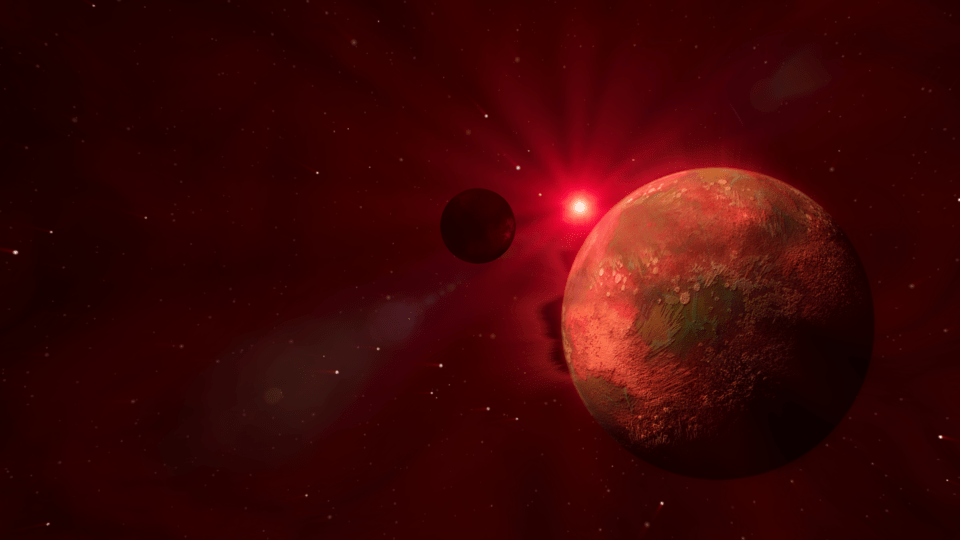
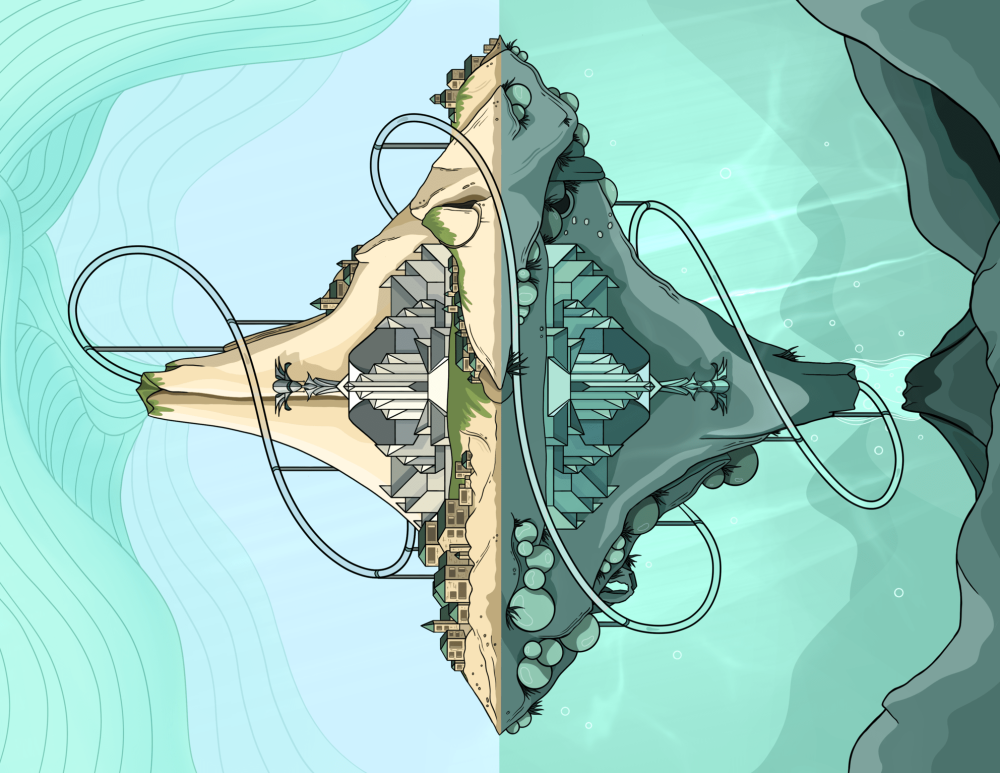
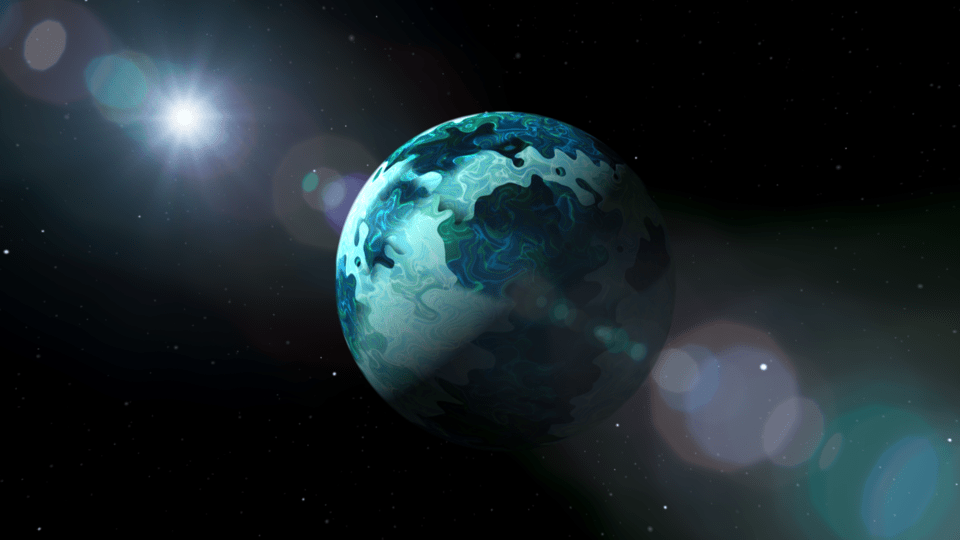
I collaborated with a team of designers to establish a brand identity for Altera, a fictional space-traveling agency. My responsibilities included designing and animating photorealistic planets, as well as illustrating maps similar to those you would find at a theme park.
CLIENT:
BYU-Idaho
DATE:
March 2023
CASE STUDY: Download
Animation

KADEN'S CONTENT © 2025
Photo Illustrations Photography
PHOTO ILLUSTRATIONS PHOTOGRAPHY EXPLAINED
I am a huge fan of creativity. Doing things differently, and following my own random ideas is something that I have always loved doing. My name is Kaden, and this is some of my content as a visual designer. I started my design path as an illustrator. It’s so much fun for me when I learn new ways to put together unique and creative pieces that look amazing. I just love creating powerful pieces that tell a story and inspire other creatives. After I was recently brought into a whole new world of photography, I have been searching for ways to combine the two creative worlds of illustrations and photo taking. For my latest project, I have put together several photo illustrations where I have combined my love for drawing with photography.
Photo illustrations allow you to work with photography the same as you would a painting. You can use whatever medium necessary to capture the exact photo you are looking for. When it comes to photo illustrations photography, editing means everything. The quality of work you are going for all depends on the time you are willing to put in. Below, I have included some of my best work from the latest photo illustrations photography project.
BEST OF MIXED MEDIA PHOTO ILLUSTRATIONS
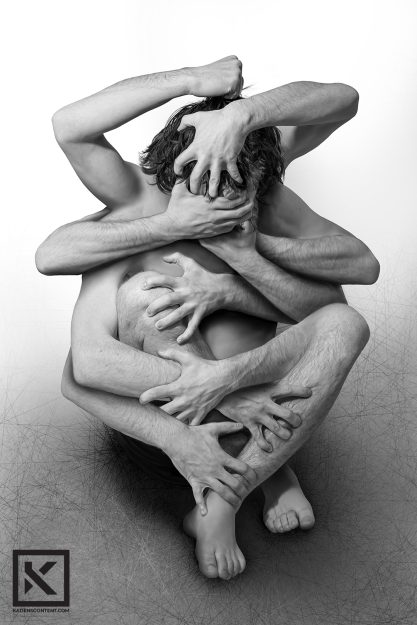
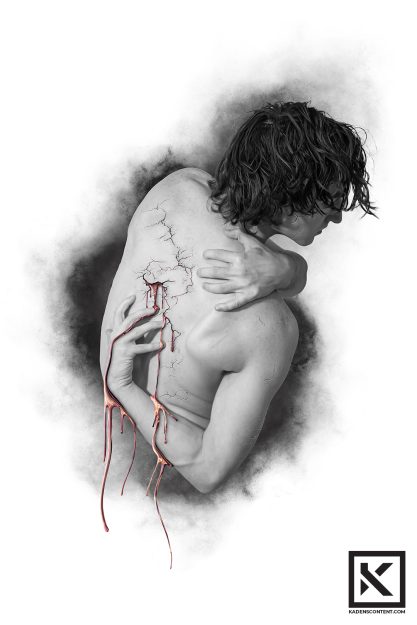
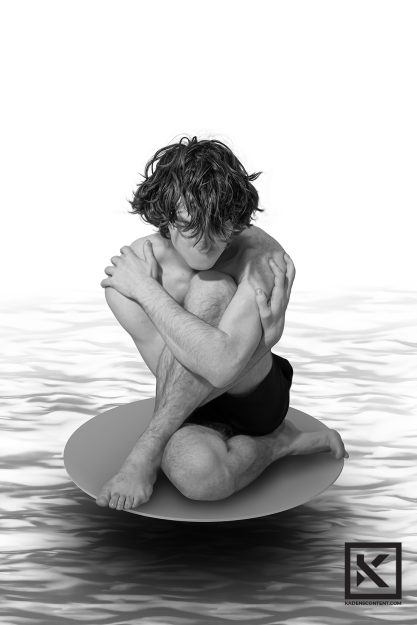
For my “mixed media” styled photo illustrations, I used a third-party software other than Adobe Photoshop to edit my photography. I used the illustration app known as Procreate to assemble all of the photos and illustrate edits in ways that I thought were creative. I really wanted the photos and illustrations to blend well together so as to not make it look too messy.
The theme that I was aiming for was pain. The goal was not to make my pieces feel depressing but to convey actual emotions that are easy to understand and relate to. I was inspired most by the natural forms of the body and how vulnerable it makes the image feel. I wanted the messages to be easily interpreted and relatable while still conveying a powerful message.
You can find more about mixed illustrations photography here.
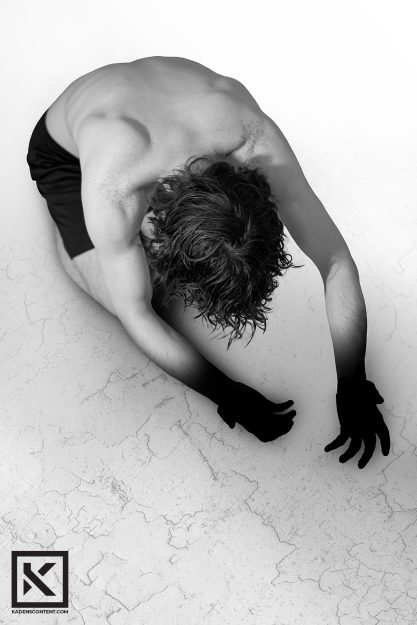
BEST OF ADVANCED EDITS PHOTO ILLUSTRATIONS
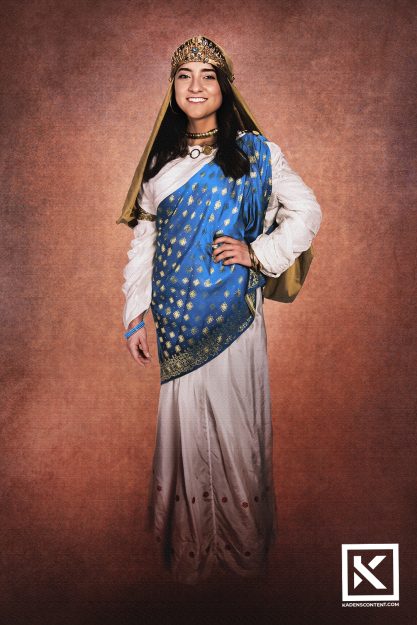
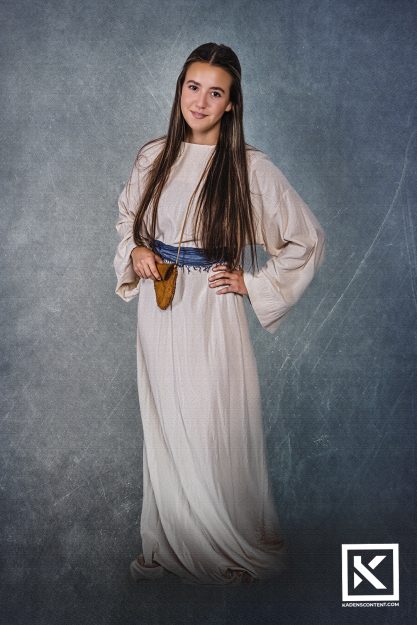
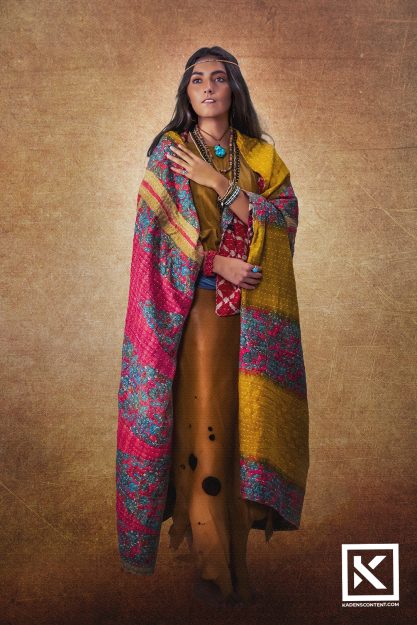
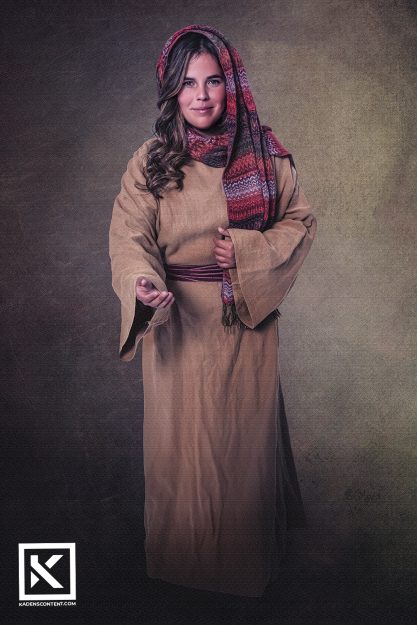
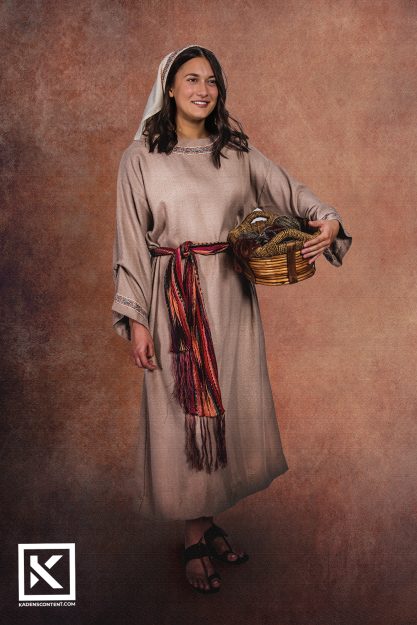
For my “advanced edits photo illustrations, I got to work with an amazing team to align models, wardrobes, photoshoots, and editing techniques in order to capture the best looks. I am grateful to credit Aubrey Christiansen, Caryn Esplin, and Tiffany Savage for all of their incredible help. As the photo editor of the team, I took the previously captured photographs and applied edits to them to make them look more like paintings.
Once we have completed this project, these images will all be used in a new BYU – Idaho course titled, Women in the Scriptures. Each of these photos will be used to represent women of the scriptures who have set amazing examples and played important roles in the founding of the church. Here are some of my top edits:
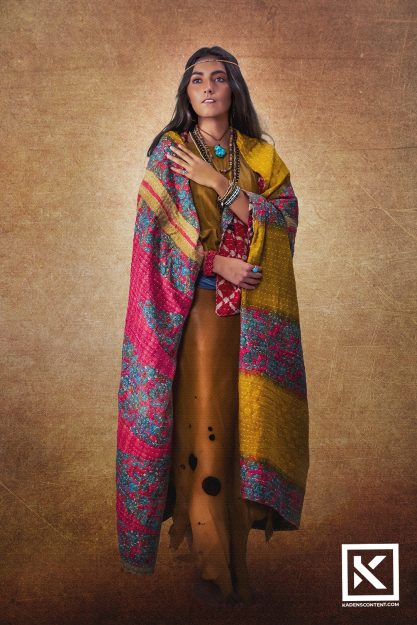
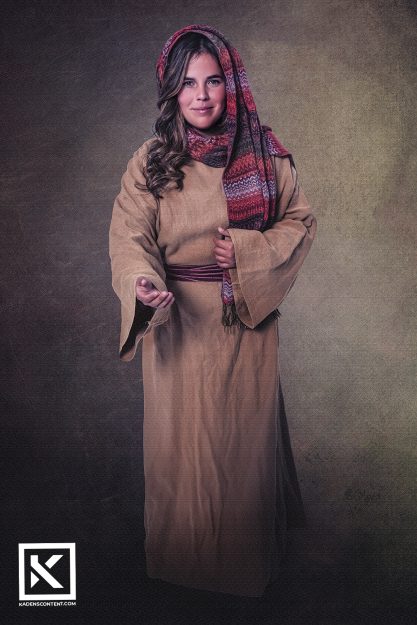
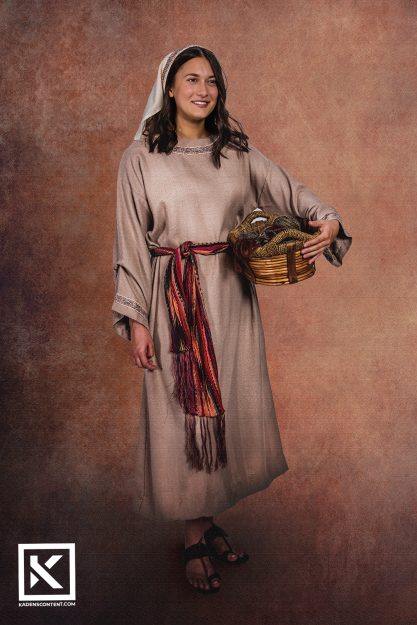
You can find more of my portrait illustration photography here.
PHOTO ILLUSTRATIONS PHOTOGRAPHY PRINT MOCKUP
A goal of mine for this photo illustrations photography project was to print three of my mixed media pieces that I could put on display.
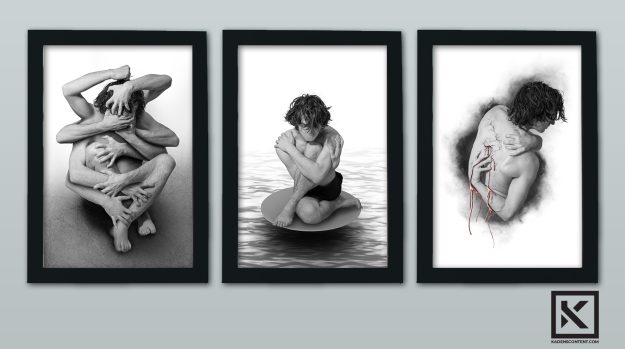
PHOTO ILLUSTRATIONS PHOTOGRAPHY PROPOSAL
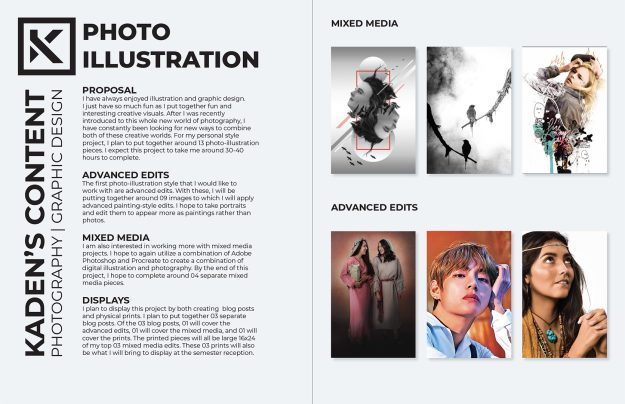
There was a lot of planning that took place in the making of these photo illustrations. I ended up spending over 40 hours capturing and editing all 13 pieces. My original plan was to create 20 advanced edits and 04 mixed-media edits within the time frame of 30-40 hours. The plan was later adjusted to 09 advanced edits due to the scheduling of the Women in the Scriptures course. Overall, I met the goal of creating awesome work and learning more about photo illustration photography.
You can find more on my Photo Illustration Preparation Photography here.
FIND MORE
If you are interested in finding more Photo Illustrations Photography, look here.
You can find more of my Commercial Photography here.
As always, thank you so much for looking into my content. I hope that it could both interest and inspire you as you continue on in your own endeavors.
Mixed Illustrations Photography
MIXED ILLUSTRATIONS PHOTOGRAPHY
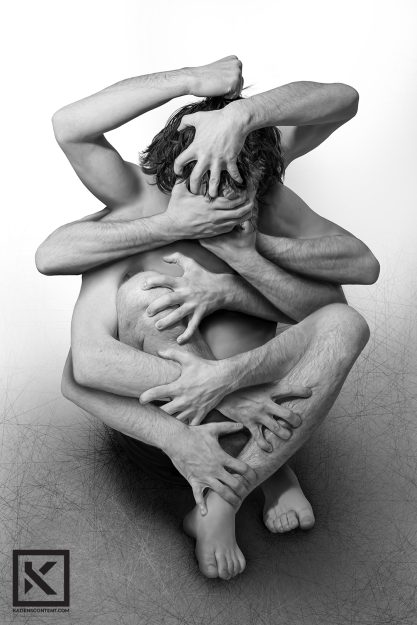
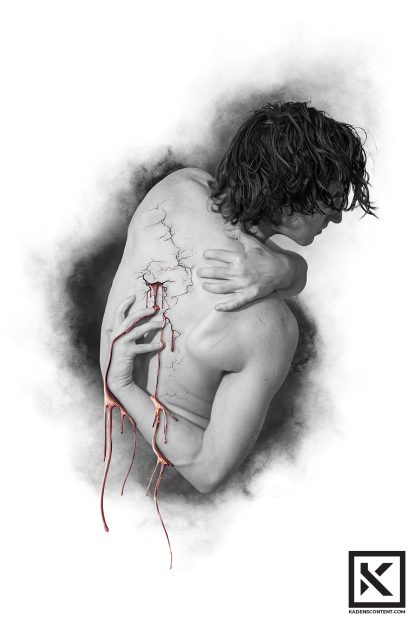
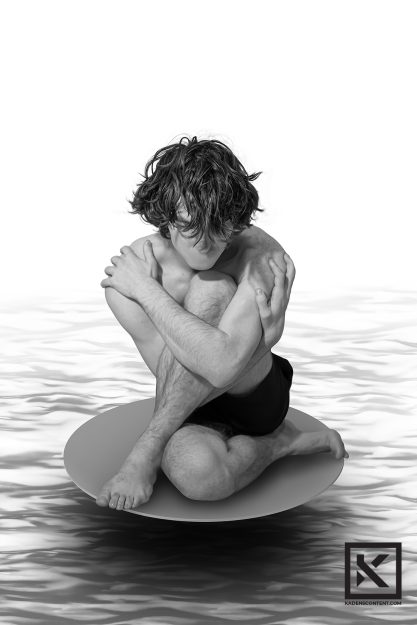
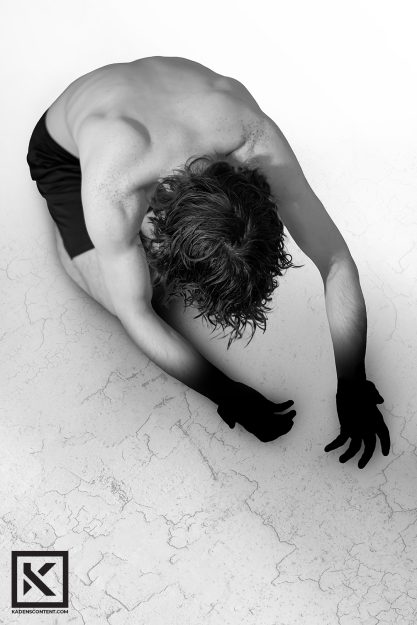
Mixed illustration photography is so much fun. I had little to work with, but I still had the greatest time putting together some of my favorite pieces. I really wanted to create 04 amazing pieces that could all convey one theme. The theme that I thought would be an interesting attempt was pain.
For my “mixed media” styled photo illustrations, I used a third-party software other than Adobe Photoshop to edit my photography. I used the illustration app known as Procreate to assemble all of the photos and illustrate edits in ways that I thought were creative. I really wanted the photos and illustrations to blend well together so as to not make it look too messy.
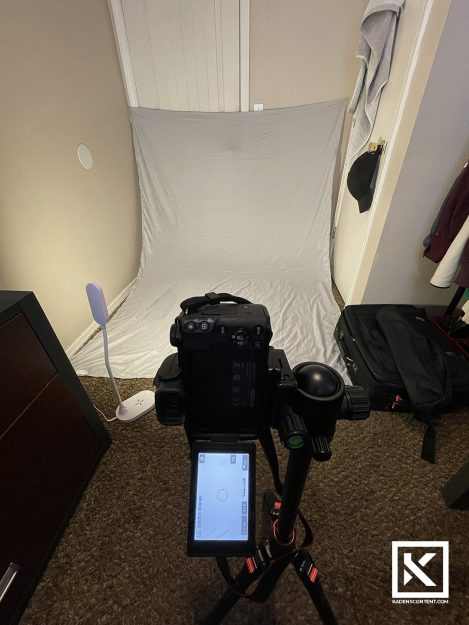
In preparation for my mixed-media photo illustration photography, I had to set up a makeshift studio in my bedroom using a bedsheet and a lamp. I wanted a blank background that would be easier to remove during my final photo illustration edits.
In my mixed illustration photography, I wanted all of my photos to tie together. For this, I wanted only one model. I decided that it would be an interesting challenge to use only self-portraits and model for these photos myself. I had the right physique, and I thought it would be interesting to attempt this for myself.
The goal behind the theme was not to make my pieces feel depressing but to convey actual emotions that are easy to understand and relate to. I was inspired most by the natural forms of the body and how vulnerable it makes the image feel. In my photos, I accomplished this by showing the skin of my torso. I then used different positions that would create the different feelings I was trying to convey. The intention was not to be more revealing but to more clearly demonstrate the theme I was trying to create. I wanted the messages to be easily interpreted and relatable while still conveying a powerful message.
FIND MORE
If you are interested in finding more Mixed Illustrations Photography, look here.
You can find more of my Commercial Photography here.
As always, thank you so much for looking into my content. I hope that it could both interest and inspire you as you continue on in your own endeavors.
Portrait Illustration Photography
PORTRAIT ILLUSTRATION PHOTOGRAPHY EXPLAINED
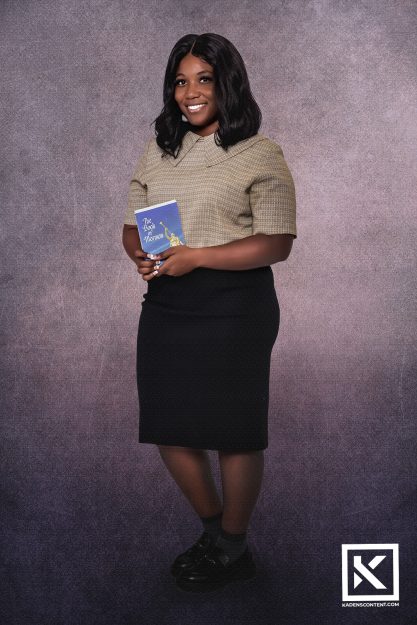
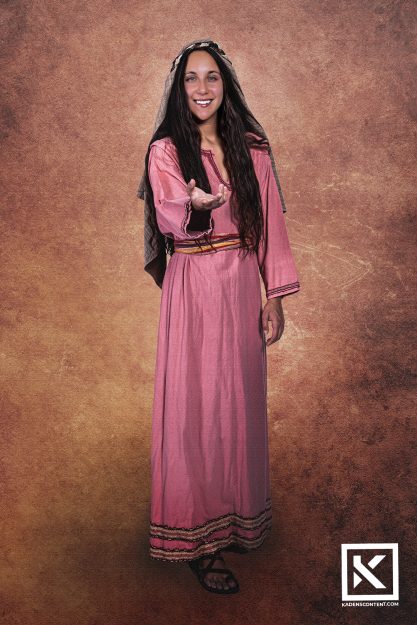
Portrait illustration photography was a great deal of work and fun. I had the opportunity to work with a great team that all pulled together to create an amazing project.
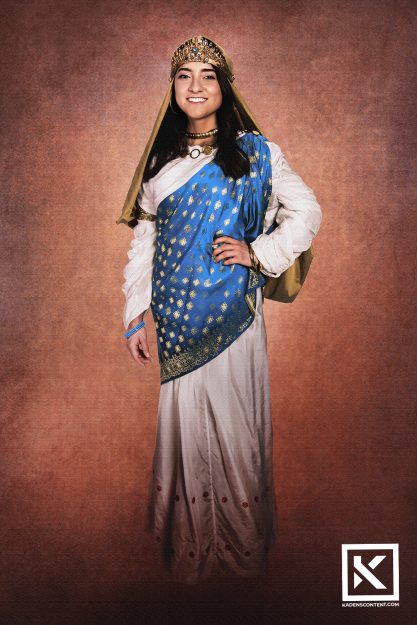
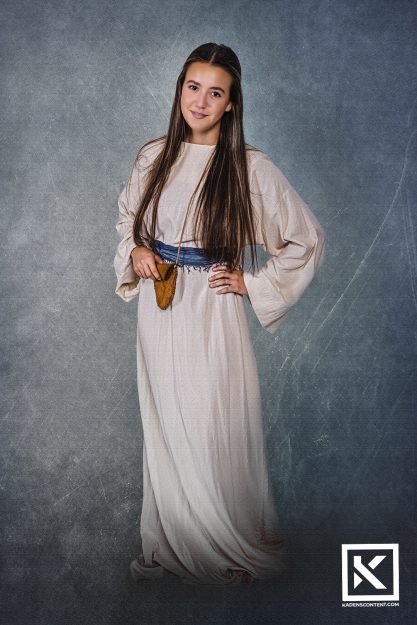
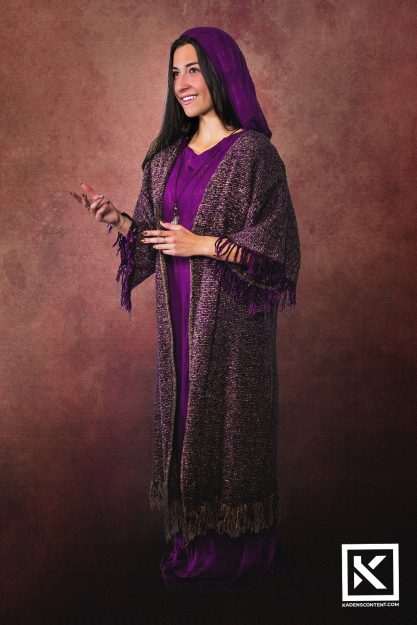
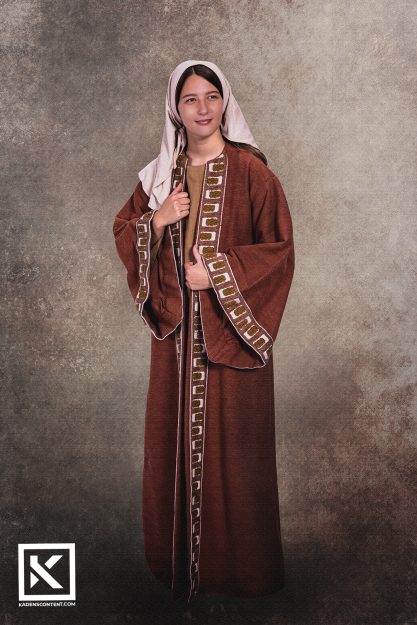
For all the portrait illustration photoshoots, I’d love to credit Aubrey Christiansen, Caryn Esplin, and Tiffany Savage for all of their incredible help. I had the amazing opportunity to work with all three in preparation for this project. As a team, we all played our part in finding models, preparing wardrobes, hosting photoshoots, and editing photographs. As the photo editor of the team, I took the previously captured photographs and applied edits to them to make them look more like paintings.
Once we complete this project, the images will all be used in a new BYU–Idaho course titled, Women in the Scriptures. Each of these photographs will be used to represent women of the scriptures who have set amazing examples and played important roles in the founding of the church.
The process of this entire project lasted 03 months. We all have been working together to line up photoshoots with certain models and have them dressed in the right attire. After that, I would have to take the captured images and edit them as needed. Portrait illustration photography takes a lot of time. Edits for each of these images ranged from 03-04 hours a piece. Working in the background alone lasted weeks as we had to endlessly collaborate over which fit best with the course.
To date, I have finished 09 portrait illustration photographs. It was a great experience, and I look forward to future opportunities like this one.
FIND MORE
If you are interested in finding more Portrait Illustration Photography, look here.
You can find more of my Commercial Photography here.
As always, thank you so much for looking into my content. I hope that it could both interest and inspire you as you continue on in your own endeavors.
Photography Portfolio
TOP PHOTOS FOR MY PHOTOGRAPHY PORTFOLIO
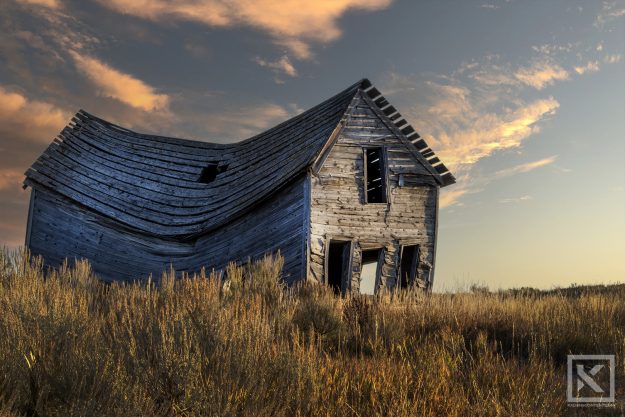
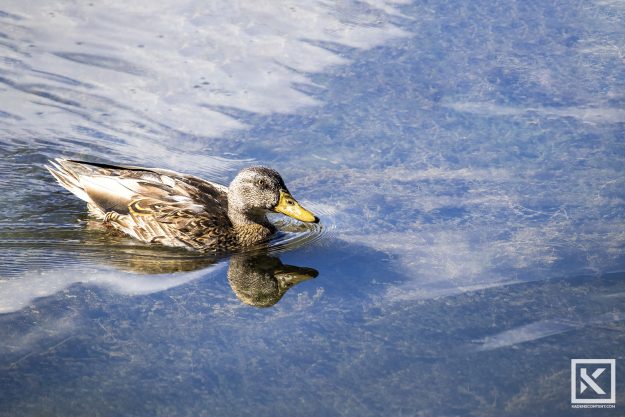
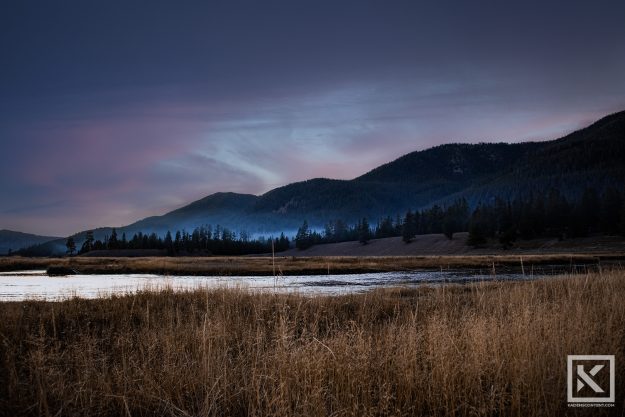
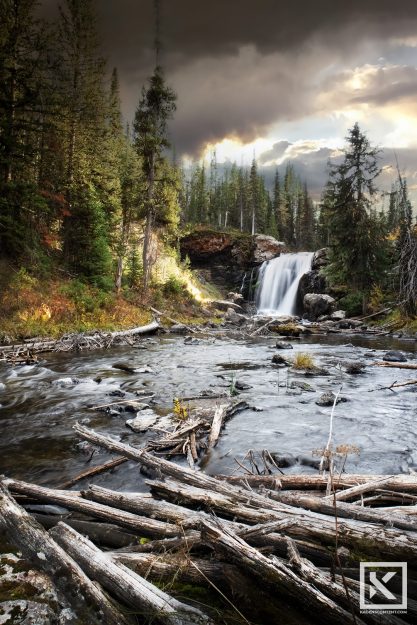
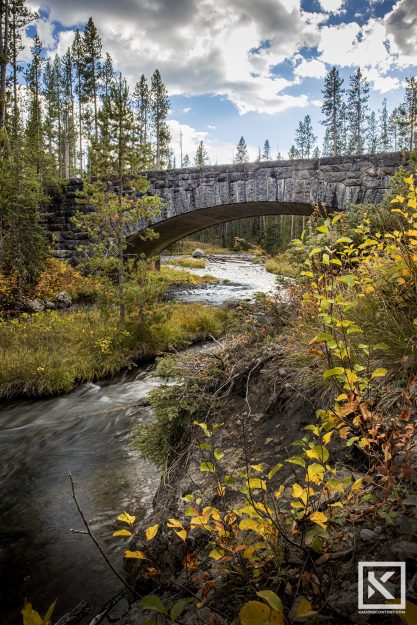
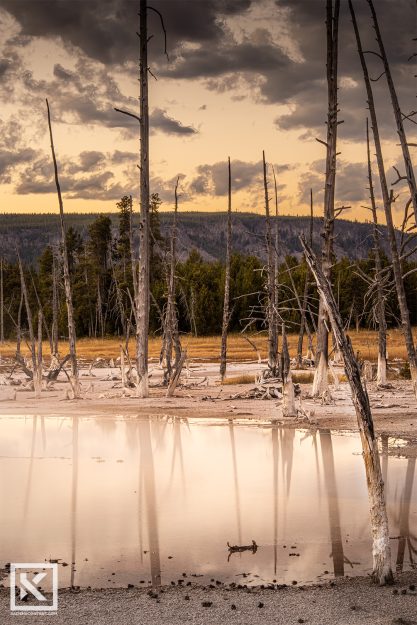
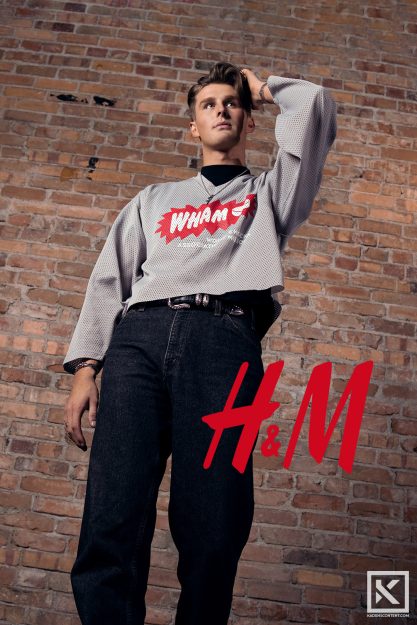
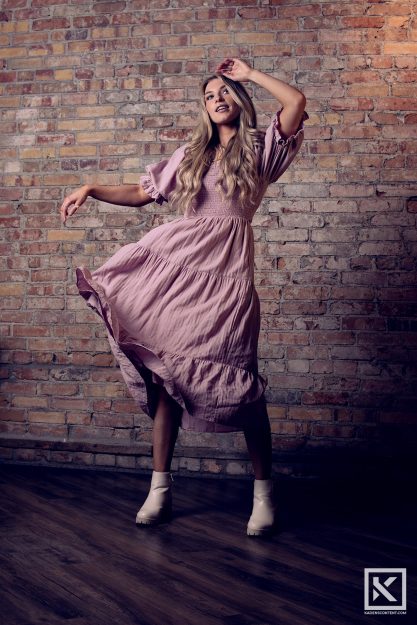
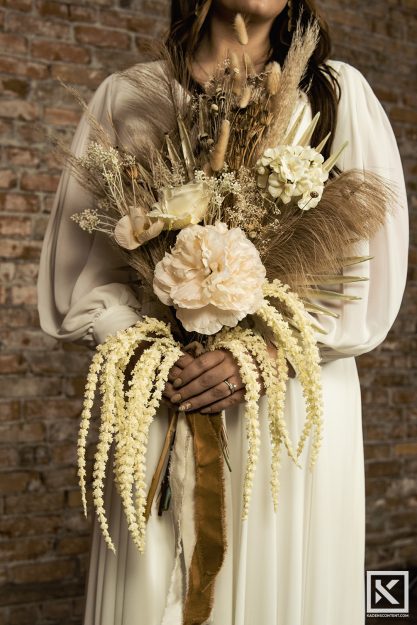
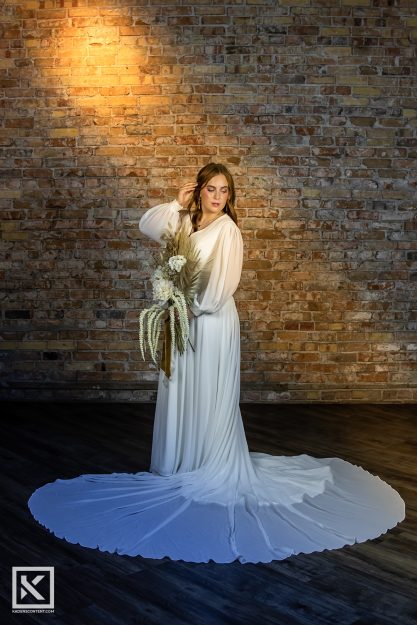
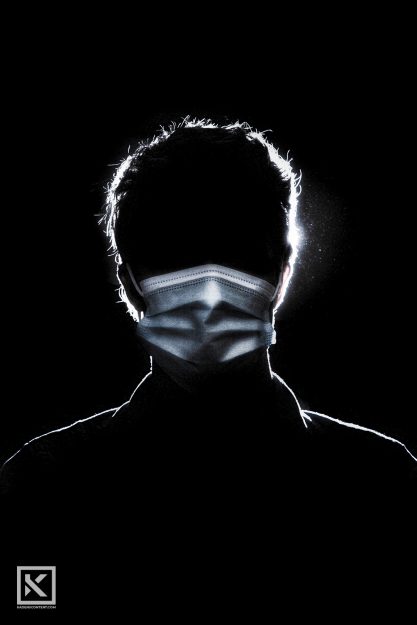
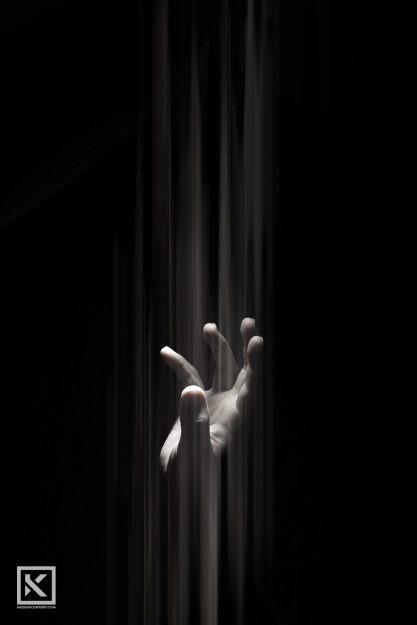
For the past 03 months, I have had so many amazing experiences that have helped boost my photography skills tremendously. I have had the opportunity to work with so many skilled photographers that have been amazing examples of how to capture extraordinary shots. I have learned so much from each of my fellow photographers, and I am so proud of what I was able to accomplish over so short of a time with them. I am so happy to be able to put together a photography portfolio of some of the amazing photos I captured. Below are some of my favorite photos of the past 03 months.
FIND MORE
You can find more photography portfolio examples here.
If you are interested in seeing more of my photography portfolios, look here.
As always, thank you so much for looking into my content. I hope that it could both interest and inspire you as you continue on in your own endeavors.
Photo Illustration Preparation Photography
PHOTO ILLUSTRATION PREPARATION PHOTOGRAPHY
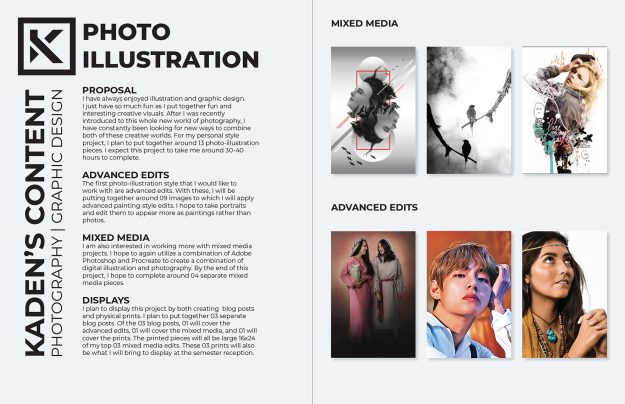
After an adventure of learning more about photography, I have begun focussing more on discovering my own personal style – Photo Illustration. Photo Illustration is an enjoyable way to combine interests in photography and graphic design, yet it requires much preparation. The path toward getting the amazing results that photo illustration can produce requires a lot of dedication.
In preparation for this final photography project, I have decided to create around 13 separate Photo Illustration pieces. Of the 13 pieces I create, 09 will cover the advanced edits necessary to make a photograph look like a painted portrait. The remaining 04 pieces will cover more of a mixed media style of editing where you combine both digital illustration and photography. I expect this entire project to take me 30-40 hours to complete.
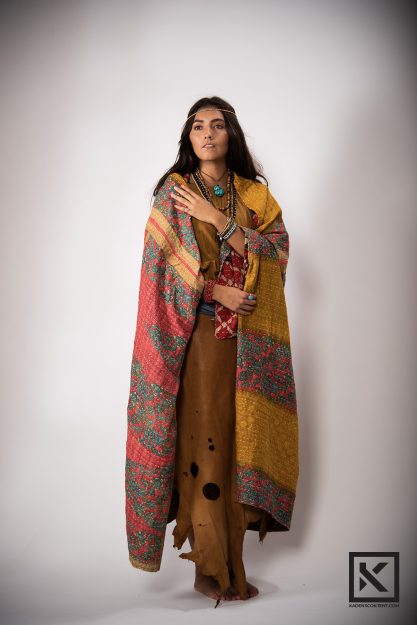
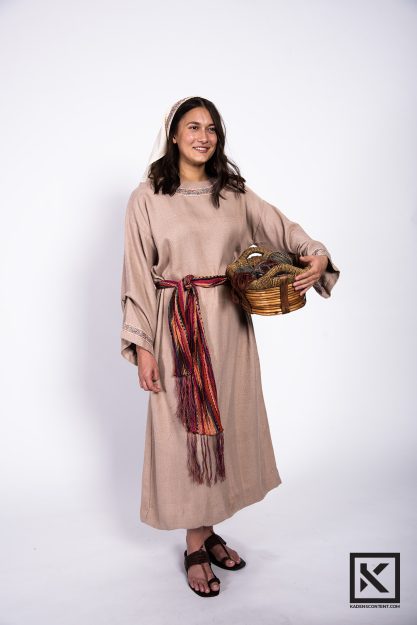
As a preparation for my Photo Illustration photography, I began taking photographs that I could use in my advanced edits. In the end, I attended several different photoshoots to capture all the necessary photographs I would need for this project. Below are some of the photographs I managed to capture during these preparational photoshoots.
PREPARING PHOTO ILLUSTRATION ADVANCED EDITS PHOTOGRAPHY
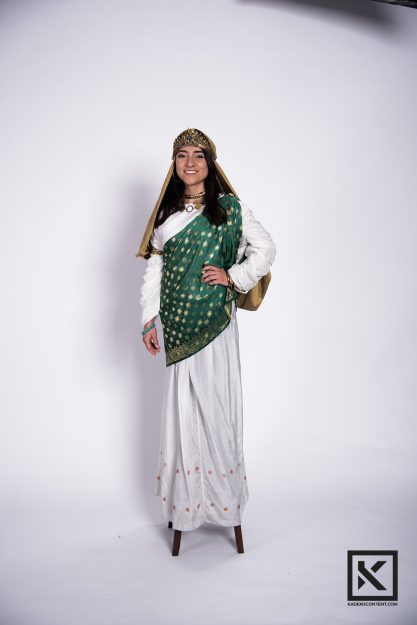
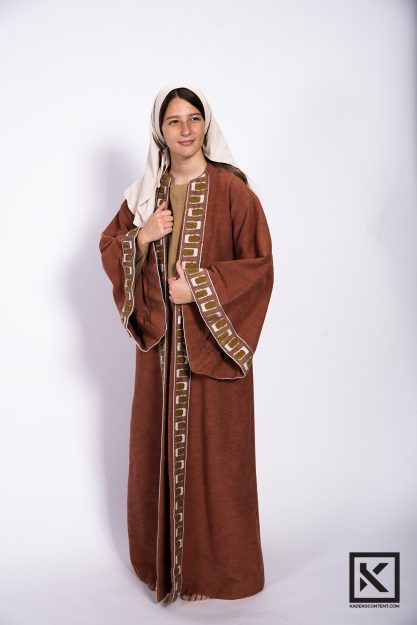
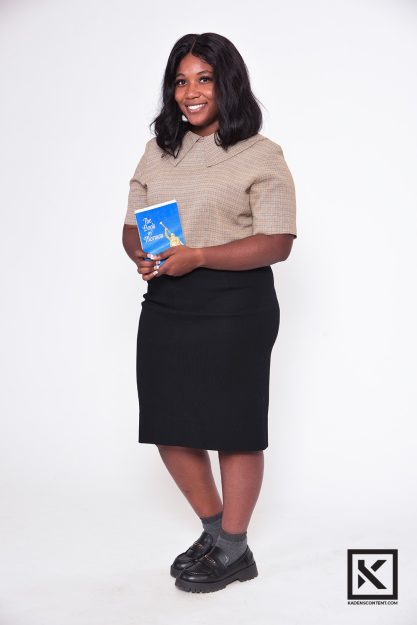
For my “advanced edits” styled photoshoot, I’d love to credit Aubrey Christiansen, Caryn Esplin, and Tiffany Savage for all of their incredible help. I had the amazing opportunity to work with all three in preparation for this project. As a team, we all played our part in finding models, preparing wardrobes, hosting photoshoots, and editing photographs. I acted as the photo editor for this project where I would convert the portraits to look more like paintings.
Once we have completed this project, these images will all be used in a new BYU – Idaho course titled, Women in the Scriptures. Each of these photographs will be used to represent women of the scriptures who have set amazing examples and played important roles in the founding of the church. After all the work and preparation I have put into this project, I decided to include it with my photo illustration photography.
PREPARING PHOTO ILLUSTRATION MIXED-MEDIA PHOTOGRAPHY
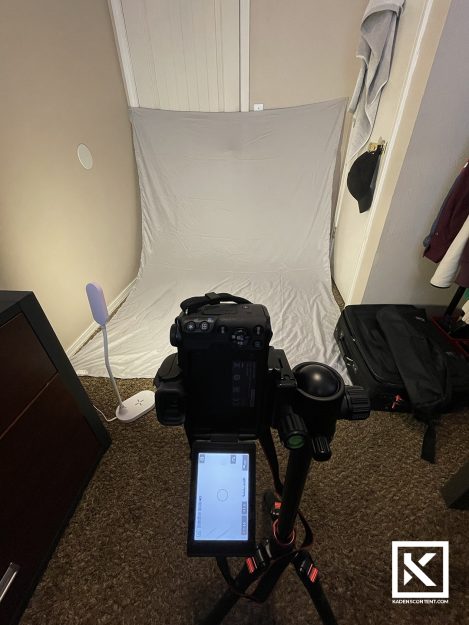
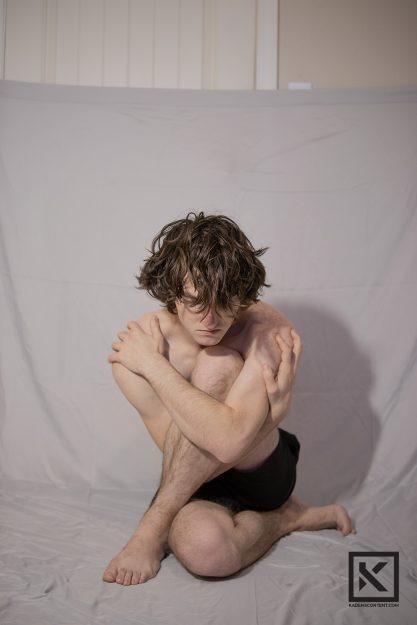
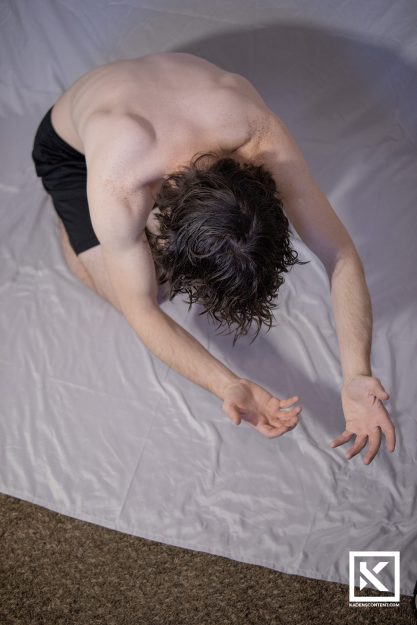
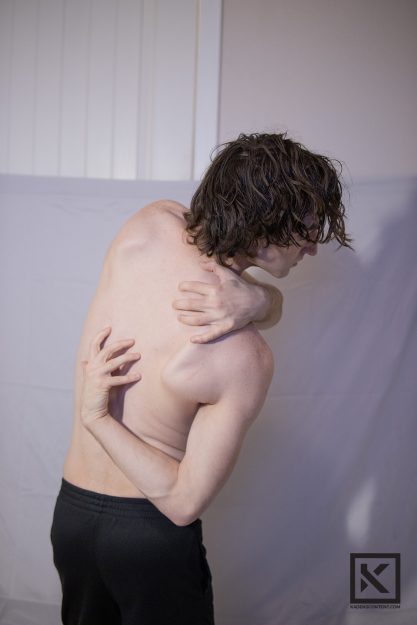
In preparation for my mixed-media photo illustration photography, I had to set up a makeshift studio in my bedroom using a bedsheet and a lamp. I wanted a blank background that would be easier to remove during my final photo illustration edits.
In my photo illustration photography preparation, I wanted all of my photos to tie together. For this, I wanted only one model. I decided that it would be an interesting challenge to use only self-portraits and model for these photos myself. I thought it would be interesting to demonstrate a different feeling in each photograph. However, overall one mood would tie across them as a whole.
My inspiration came mostly from the natural forms of the body and how they can interpret different feelings that are easiest for us to understand. I used this in my photography by showing the skin of my torso. I then used different positions that would create the feeling that I was trying to convey. The intention was not to be more revealing but to more clearly convey the message I was trying to create.
PERSONAL STYLE PROPOSAL
FIND MORE PHOTO ILLUSTRATION PHOTOGRAPHY
If you are interested in finding more Photo Illustration Preparation Photography, look here.
You can find more of my Commercial Photography here.
As always, thank you so much for looking into my content. I hope that it could both interest and inspire you as you continue on in your own endeavors.
Fine Art Photograph Print
PREPARING A FINE ART PHOTOGRAPH PRINT
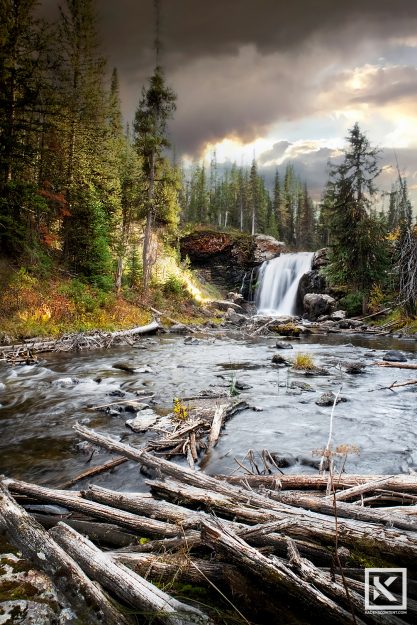
I recently had the opportunity to prepare a fine art print for a photograph I captured of a waterfall called Moose Falls. The waterfall was set beautifully hidden in the trees, and I managed to find it during a photo excursion of the Grand Tetons and Yellowstone. Once I had the beautiful fine art photograph, I began preparing for it to be printed.
In order to have a print, I first had to capture a fine art photograph. I had to go to the location of the waterfall. I loved the motion of the water, and I really wanted to capture that in the fine art photograph. While many of the other photographers who were with me stayed close to the waterfall, I decided it would be better if I walked a little further back. This gave me a better vantage point where I could see more of the surrounding area.
To best capture greater motion in the water, I had to set the shutter speed of my camera to be really slow. However, I had to be careful since the lighting was pretty bright. To accommodate this, I raised my aperture as high as I could and lowered my ISO to 100. This would limit the amount of light that was getting into the camera’s sensor and would keep the details from becoming too blown out. This, however, did not keep the sky from becoming completely white when it came time to edit the photograph for the fine art print.
EDITING A FINE ART PHOTOGRAPH PRINT
When it came time to edit the fine art photograph for print, I put my focus into fixing the sky. It was completely blown out, so I had to replace it in Photoshop. I did this by using the sky replacement edit in photoshop and it immediately improved the quality of the photograph. Balancing the colors was also important. I balanced the colors and added more depth through dodge and burn.
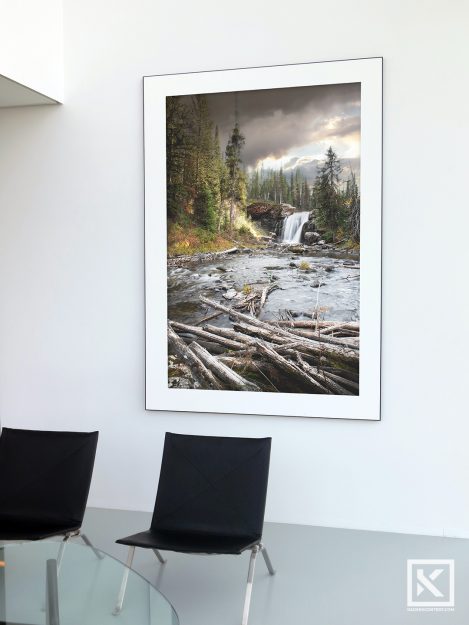
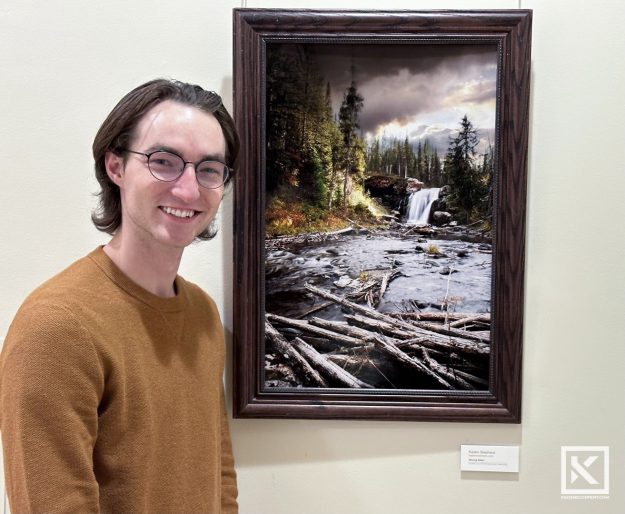
I had to do a few more edits to make the details sharper in my fine art photograph print. Once the photograph was printed, the details would become softer. I avoided this in my fine art print by sharpening all of the details in the photograph. Once I got my print back, I thought it looked amazing. We had the print of my fine art photograph placed in a frame, and it is now hanging in a building on campus. I am super happy with how it turned out. I even got to have a picture taken of me standing next to it. Printing a fine art piece did take a little longer than it would for just uploading a photograph online; however, I am super happy with the results.
FIND MORE
If you are interested in finding more Fine Art Photograph Print pieces, look here and here.
You can find more of my Commercial Photography here.
As always, thank you so much for looking into my content. I hope that it could both interest and inspire you as you continue on in your own endeavors.


